Introduzione
Strumenti
-
-
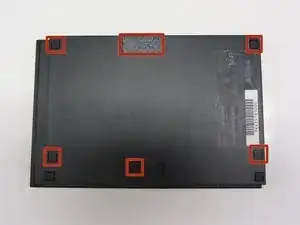
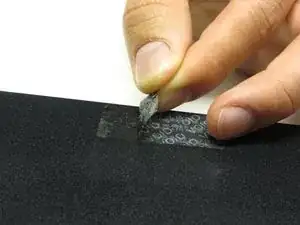
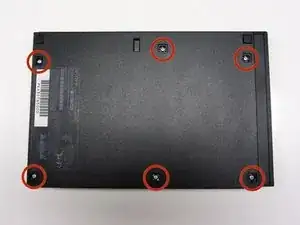
Locate the 6 feet on the base of the unit. Pry them off using a spudger to reveal the screws.
-
-
-
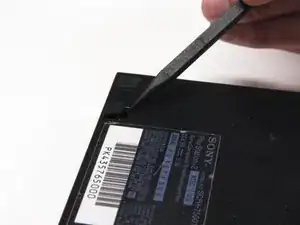
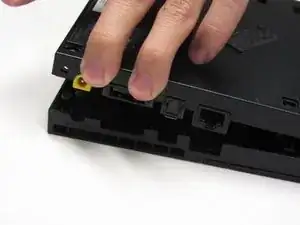
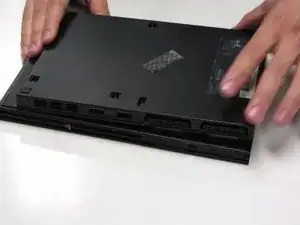
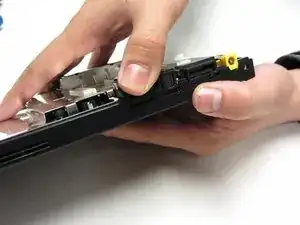
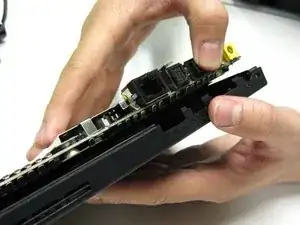
Starting at the corner at which the power and Ethernet ports are located, pry open the outer shell using a spudger and continue around the entire unit.
-
-
-
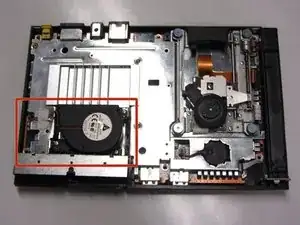
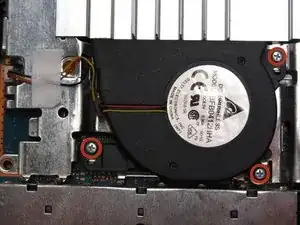
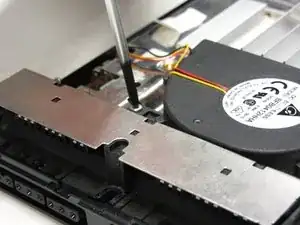
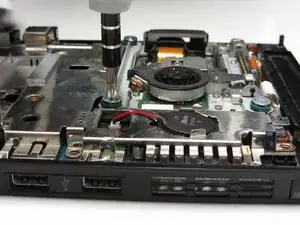
Remove all three 1.6 mm screws fastening the fan to the unit using a #1 Phillips screwdriver.
-
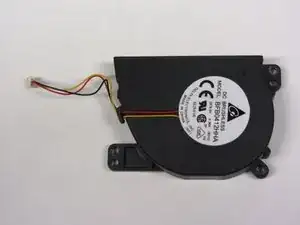
Gently lift and remove the fan from its compartment.
-
-
-
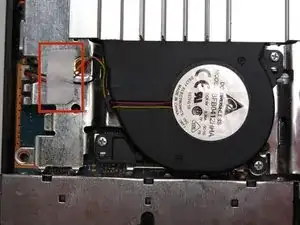
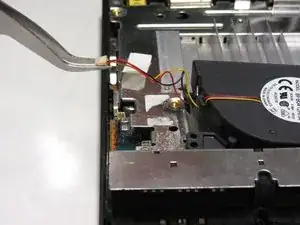
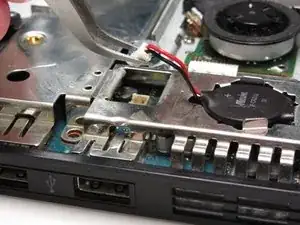
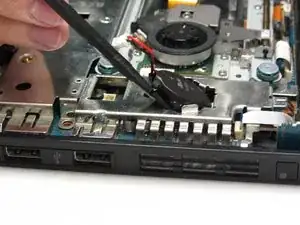
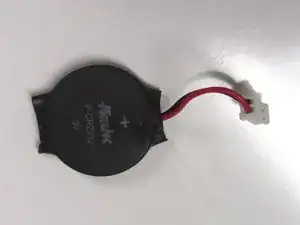
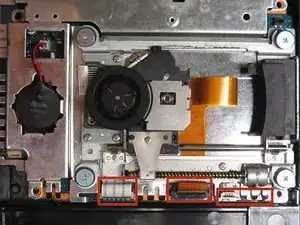
Locate the clock battery at the front, right section of the unit. The battery has a circular shape with red (+) and black (-) wires connecting to the motherboard.
-
-
-
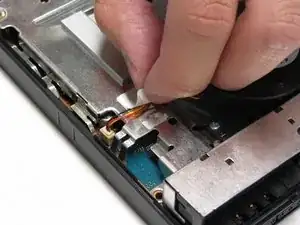
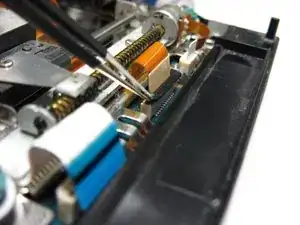
Lift the connector from the motherboard with a pair of tweezers using a firm, upward force.
-
-
-
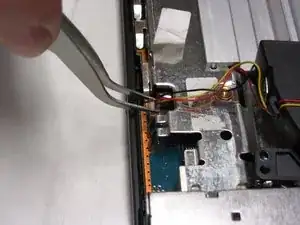
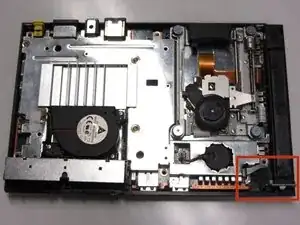
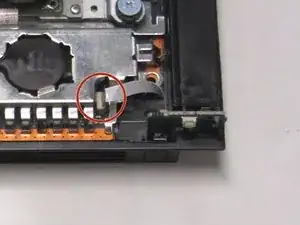
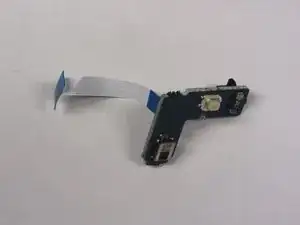
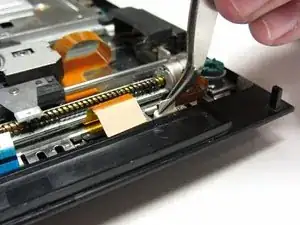
Gently detach the ribbon cable connecting the IR sensor to the motherboard.
-
Caution: Always remove ribbon cables by the plastic handles located on either end. Gripping a ribbon cable anywhere but the provided handles can damage the cable and render the component useless.
-
-
-
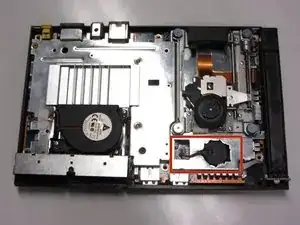
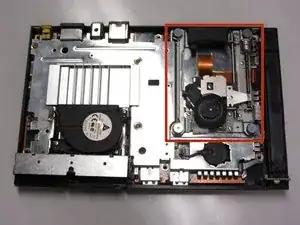
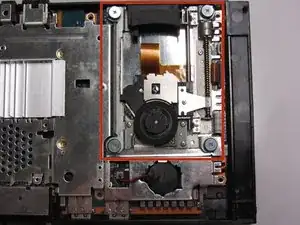
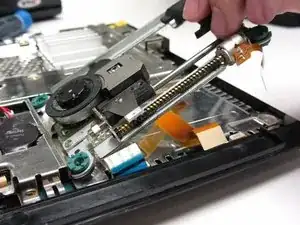
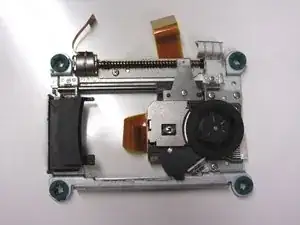
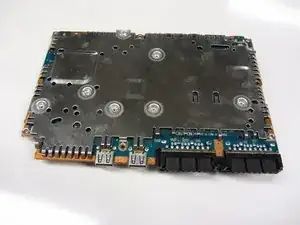
Locate the optical drive which occupies most of the space on the right side of the unit. It can be identified by the four screws with wide-diameter heads fastening the optical drive to the motherboard.
-
-
-
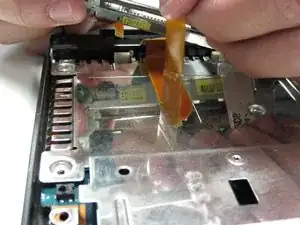
Remove any tape fastening the cables to the motherboard and gently lift and remove the optical drive.
-
-
-
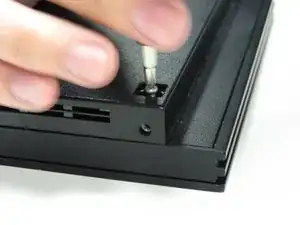
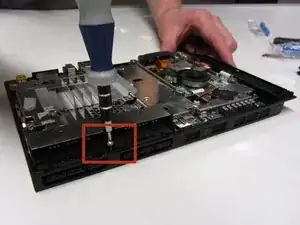
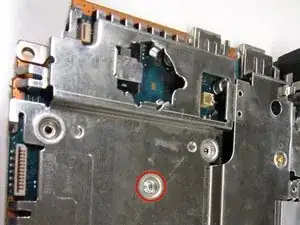
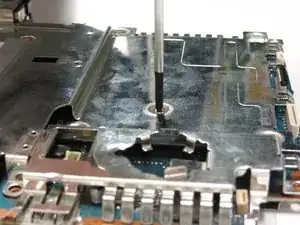
Remove the 2.4 mm screw located in between the controller ports using a #1 Phillips screwdriver.
-
-
-
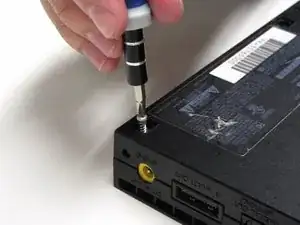
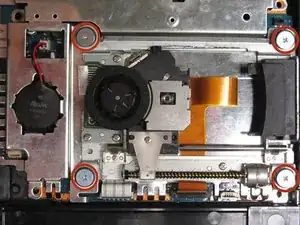
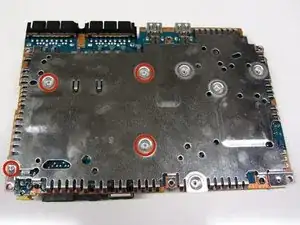
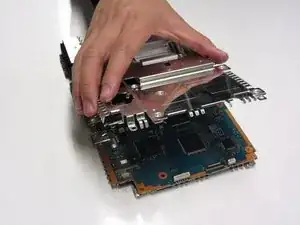
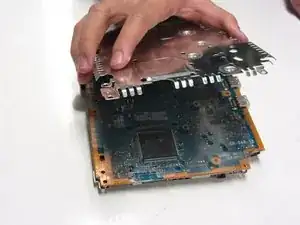
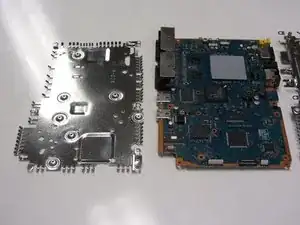
There are a total of five 1.6 mm screws which mount the metal chassis to the motherboard.
-
Remove the screw on top and the four screws on the bottom with a #1 Phillips screwdriver.
-


To reassemble your device, follow these instructions in reverse order.
2 commenti
نرجو اضافة اللغة العربية
Mi placa no tiene corriente, seguro tiene un corto quien me ayuda a solucionar, es la 77001, ya tiene botón y flex nuevo y no me da luz Led