Introduzione
The G3 processor is not soldered to the logic board, and installing a replacement is very easy.
Ricambi
-
-
Remove both expansion bay modules using the levers on the front of the computer.
-
Insert your index fingers inside the expansion bays and search for the two ribbed tabs on the underside of the upper case. The tabs are located near the bottom corners of the keyboard.
-
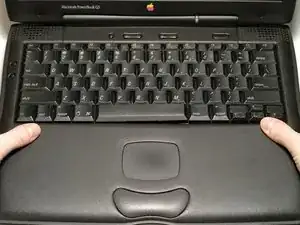
Pull the tabs toward yourself and the keyboard will pop up.
-
-
-
Pull the keyboard forward to disengage the tabs holding it in back and rotate it toward you.
-
Rest the keyboard on the trackpad.
-
-
-
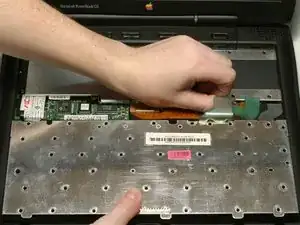
1) With your fingernails, grasp the locking bar on either side and pull up a small amount (about 1/16" or 2 mm).
-
2) After disengaging the locking bar, slide the cable out of the connector.
-
-
-
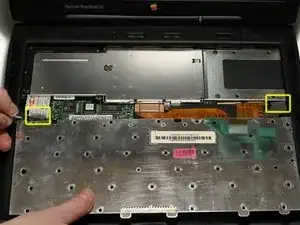
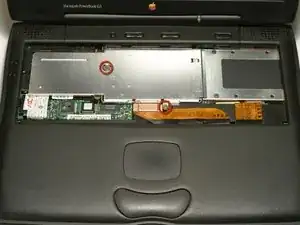
Disconnect the two keyboard connectors by disengaging the clamps and pulling the ribbons directly upward.
-
-
-
Slide a spudger downward between each plastic strain relief cable and the wall of the case in order to bow out the cable beyond the small tab holding it in place.
-
Once the strain relief cables are free, lift the keyboard off.
-
-
-
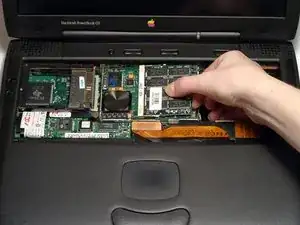
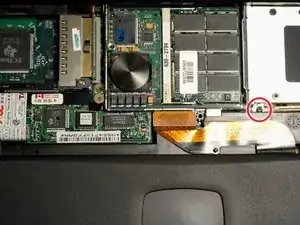
Use a spudger, the tips of your fingers, or a flat non-metal tool to pry up the processor's right side.
-
Remove the processor by sliding it up and to the right.
-


To reassemble your device, follow these instructions in reverse order.