Introduzione

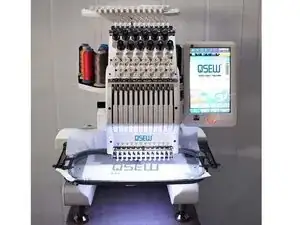
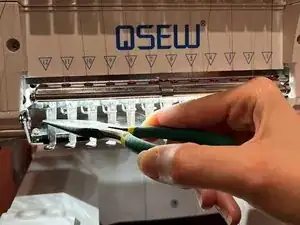
Attention, tailors! This manual offers a comprehensive guide on replacing a broken needle in your QSEW QS-1201 computerized embroidery machine. While the process is relatively straightforward, the machine may seem a bit intimidating. If you're not familiar with how it works, follow this guide, and you'll be back to embroidering your favorite items in no time. Pull up your socks and give it a try!

Before you begin, power off the machine and unplug the device from the outlet.

  1. ApYHerr6cuGZmbvb
    ApYHerr6cuGZmbvb
    5WZGYSeWI1YumXug
    5LCT3RFDdmMrSxHQ
    • Power off your machine and unplug it from the outlet.

    • This will prevent accidental activation and injury, even for experts!

  2. OCVa5wNN2e3wdhJj
    OCVa5wNN2e3wdhJj
    evtAUMqGWsJWvOmL
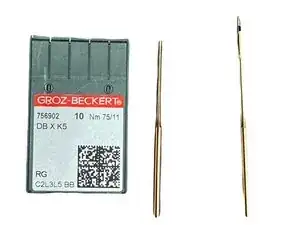
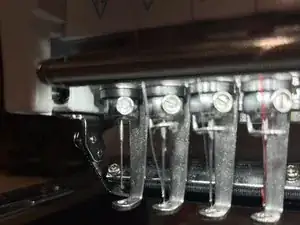
    • Have a close look at the difference between the broken needle ( left ) and the brand-new needle ( right ).

  3. LV1hRUxYBJ2PfHyR
    LV1hRUxYBJ2PfHyR
    VP2hXMoxtUqRjHKx
    TFPO6fyIbJfTP6fF
    • Locate the needle holder with the broken needle.

  4. iAP4PeDDPhNt65Ou
    iAP4PeDDPhNt65Ou
    OQVl5xoIPSTXA5bL
    vPHhUYUxBiZku3Yu
  5. fT1XdV2UbRfMuZYt
    fT1XdV2UbRfMuZYt
    ow5hVoULZl6gnPRC
    5G2QPgZklCWt5CZM
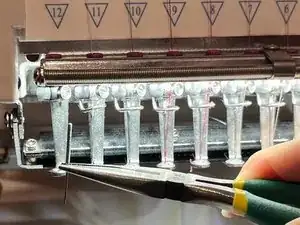
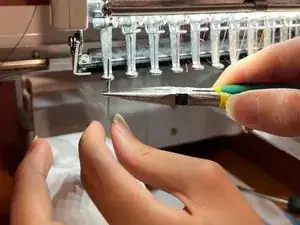
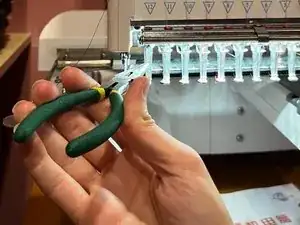
    • Gently secure the needle with the needle nose pliers.

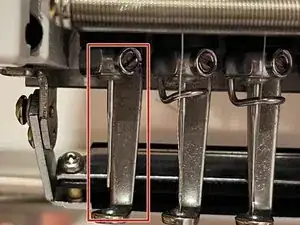
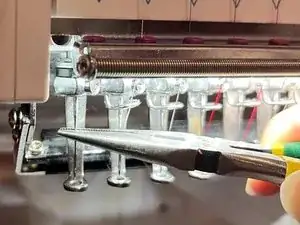
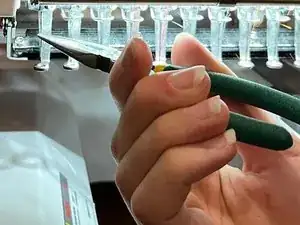
    • With a tight grip, pull down to remove the needle.

  6. PaB5aNREw6uWm5oK
    PaB5aNREw6uWm5oK
    vaGFskm6YqAyVSDw
    pfSRXKhg5KExKEx1
    • Discard the broken needle in a safe place.

    • By doing so, you ensure that no one gets injured when dealing with the trash.

    • Afterward, use the needle nose pliers to insert the new needle into the needle holder securely.

  7. v3uEjAPlVs6BsbBm
    v3uEjAPlVs6BsbBm
    GisT1MhqJ16ALMWV
    bEiC4T42VTW6LM3g
    • Use the 3 mm Flathead screwdriver to secure the screw, without over-tightening.

  8. ZwBGvfCrvWPpUSxM
    ZwBGvfCrvWPpUSxM
    PNEPkLa1yKGiF3Ag
    FOA1vEsFPEaJw1LH
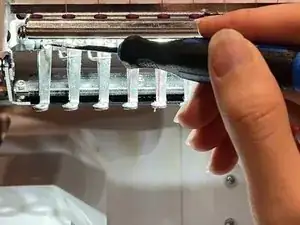
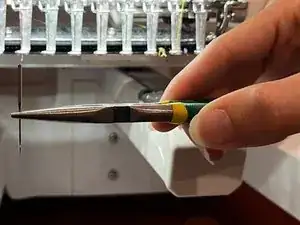
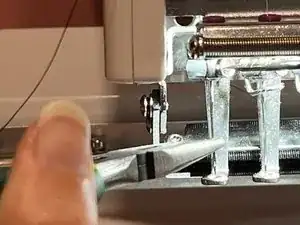
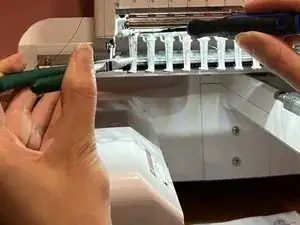
    • Move the needle using the pliers in a circular motion from left to right to verify it moves freely without hitting any surrounding components.

    • You're all set to use your embroidery machine!

Conclusione

To reassemble your device, follow these instructions in reverse order.

Reema

Membro da: 10/09/23

157 Reputazione

0 commenti