Introduzione

  1. MGV23VGYh41eoUCe
    • Before starting, remember to unplug the device.

  2. bwn2Ew1WYduGbX4X
    bwn2Ew1WYduGbX4X
    eR2GqZQHLUsVKWPK
    1FqiliP2TKFTMEed
    • Remove the handle by unscrewing the screw.

  3. gBgywPBsbpuUOKpX
    gBgywPBsbpuUOKpX
    XZHs2kqMpflvbXQS
    • Pry up the sanding belt to remove it.

  4. GLMBYCDpYgUSOSaK
    • Unscrew the four screws to access the drive belt.

  5. NDiWWSrDMxkpxcZe
    NDiWWSrDMxkpxcZe
    AUHpWfeNaPBxSeAM
    • Remove the drive belt.

  6. LA4cVIykPm5cxAKD
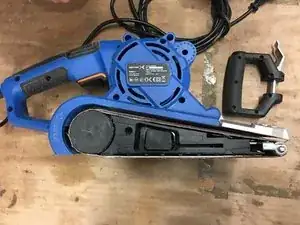
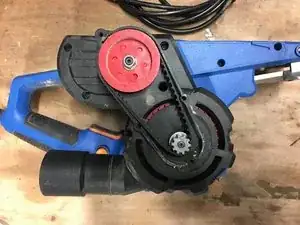
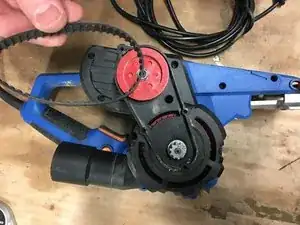
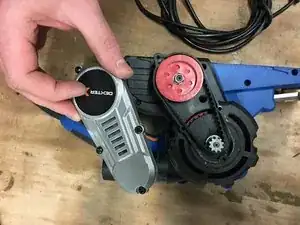
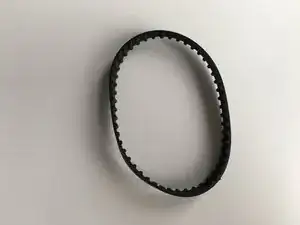
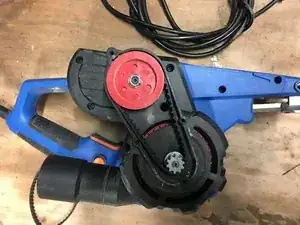
    • Replace with the new drive belt. To put it on, place the drive belt on the right wheel first.

    Quelle est la roue droite, la petite ou la grande ?

    Pascal -

    Une courroie crantée ne se détend pas, comment faire pour la mettre en place ?

    Pascal -

    Bonjour @pascal78602 spontanément, je dirais que la roue droite est celle sur la droite quand on regarde l'image, donc la petite roue. De quelle matière est composée la courroie ? C'est peut-être une histoire de température et elle est plus maniable si vous la laissez tempérer dans une pièce plus chaude que là où vous avez déjà essayé ?

    Claire Miesch -

  7. BThOpQPKiGqfsdWS
    BThOpQPKiGqfsdWS
    VYs1WxDWeBrIbWDw
    • Screw the protection cap back into place with the four screws.

  8. sdEfERRScxJFDuax
    sdEfERRScxJFDuax
    nQVJlPfpZLAeebyE
    • Replace the sanding belt and handle.

    Thanks but the difficult thing in these is often identifying then sourcing the belt rather than the disassembly which is intuitive. Could we have a part number or better still belt dimensions/number of teeth/pitch.

    David Mullens -

Céline Chemineau

Membro da: 29/01/20

16554 Reputazione

0 commenti