
Introduzione
Here's how to fix one of the most common failures on ghd straighteners
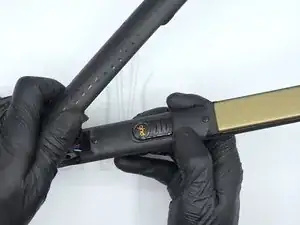
Strumenti
-
-
lift the round covers slightly with your finger to make a small opening.
-
Insert a thin flat screwdriver, or a lever if you have one in this opening.
-
Lift by trial and error to avoid breaking the teeth of these fragile covers. If they break, don't panic, you can glue them.
-
-
-
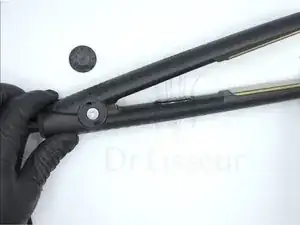
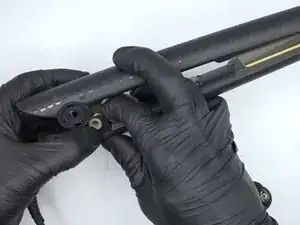
Sometimes these screws are mounted with screw glue. The best is to bring two screwdrivers, including a small one for better control.
-
Start by unscrewing the screw: By having the first fixed screwdriver on one side, and the other which unscrews on the other side.
-
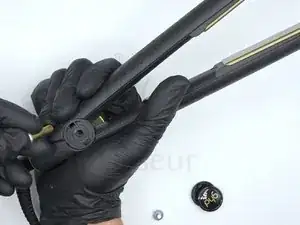
screw it out, push the shaft and take it out.
-
-
-
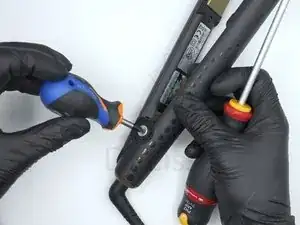
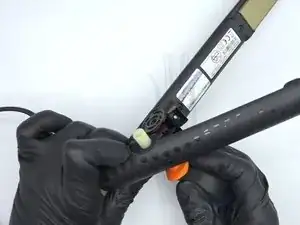
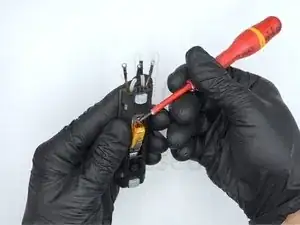
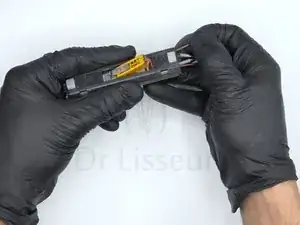
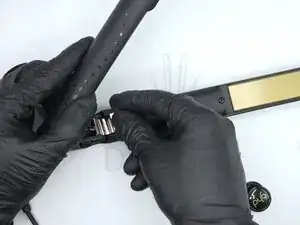
Remove the two screws from the button side cover.
-
Remove the cover equipped with the button.
-
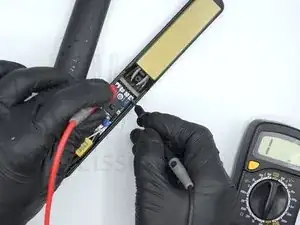
The electronic card is now accessible. You can test the thermal fuse if you wish.
-
-
-
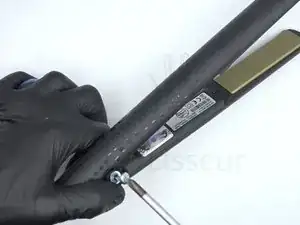
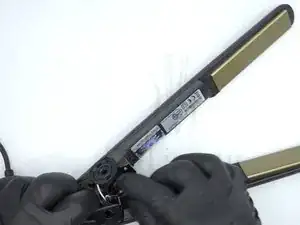
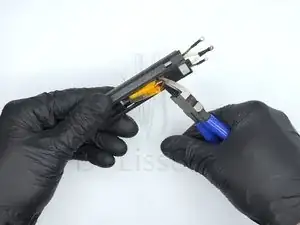
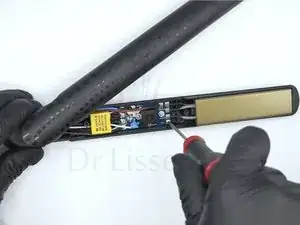
Unscrew the 4 screws that hold the plate to the electronic board.
-
The thermal fuse is now accessible.
-
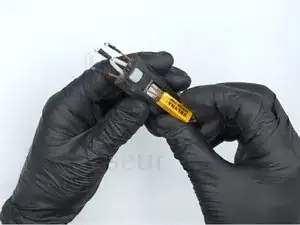
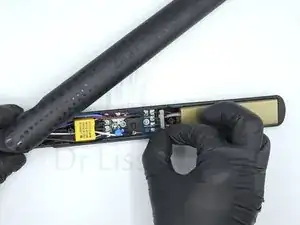
To remove the HS fuse, slightly pull out its cables as shown in the photo.
-
Using small pliers, scissors or nail clippers, cut the two cables.
-
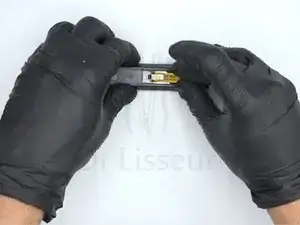
You can now easily pull out the fuse head and cables on the other side.
-
-
-
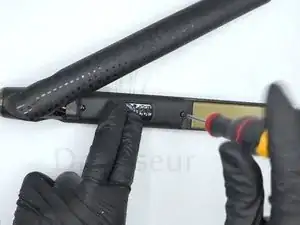
Insert the 2 cables of the new thermal fuse.
-
Lift the tab and insert the fuse head.
-
Pull the two cables and press on the head to firmly press the fuse against the ceramic plate.
-
-
-
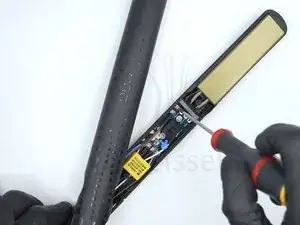
Refit the plate on the electronic card using the 4 screws.
-
Do not forget to put the silicone part, which protects the electronic card against heat.
-
Refit the cover fitted with the button using the two screws.
-
-
-
Connect the straightener cable
-
You can now test the operation.
-
If you have a thermometer, the temperature should be between 180°C and 190°C. If you don't have it, turn on the straightener and let it heat up for 5 min to make sure everything is fine.
-
-
-
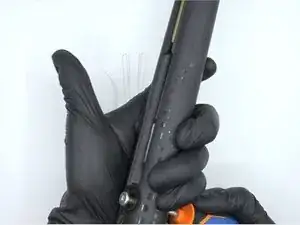
You can now reassemble everything:
-
First the spring, then the plastic axle, then the metal axle and finally the screws/washers and covers.
-

To reassemble your device, follow the steps in reverse order.

Un commento
Bonjour j'ai un lisseur GHD le model est 4.2B , je l'ai brancher j'ai entendu 2 bip et plus rien , pensez-vous que c'est le fuisible qui est HS ? Cordialement
Laurent -