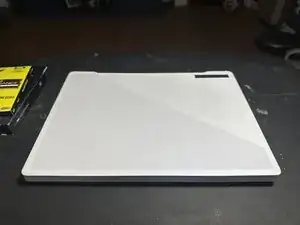
Introduzione
I will demonstrate how to properly replace any faulty storage or memory parts in your laptop. Over time, some parts may get old or might end up becoming faulty as well, and you'll need to replace them. Not everyone knows how easy it is to repair these problems with your laptop, and it'll save time and money.
Strumenti
Ricambi
-
-
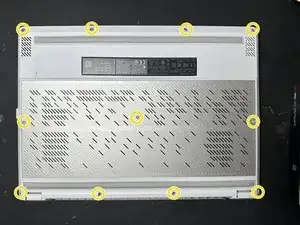
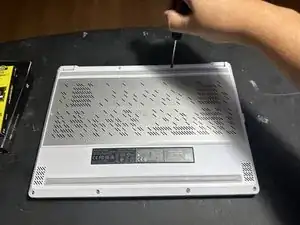
Grab your Philips screwdriver, rotate counterclockwise to unscrew each 1.2 mm screw; start at the bottom. The far right will not come off, but then the middle, and lastly, work your way to the top. Save these screws you will need them later.
-
-
-
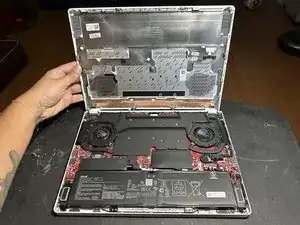
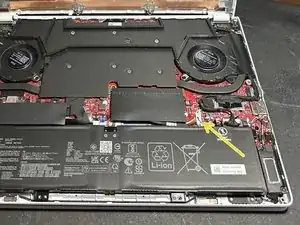
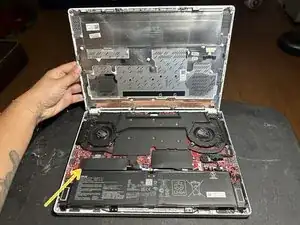
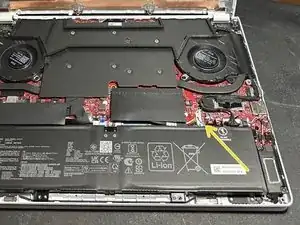
Locate the battery connector, and unplug the battery to make sure you're safe before we continue. For this, slide the little chrome part back and lift the White plastic piece straight up
-
-
-
To upgrade the RAM, peel the black cover on the right side to reveal the socket underneath. To insert the new stick, slide it in diagonally until the gold contacts are firmly in the socket, then press down on the sides of the stick until the levers snap into the notches
-
-
-
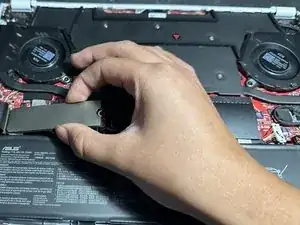
To replace the storage, locate the M.2 SSD under the longer black strip on the left and remove the screw holding it in place. Slide the SSD out of its socket, and replace it with the new one. Replace the 1 mm screw and heat shield.
-
-
-
Put the back cover on and put all the screws back, boot up your computer, and then you've successfully replaced the faulty parts to get your laptop up and running again.
-


When booting back up make sure to not freak out if it doesn’t start right away it does take a minute for the first boot up due to the laptop trying to register the new parts.
