Introduzione
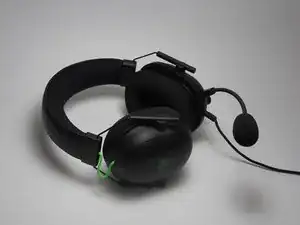
If your Razer BlackShark V2 is producing choppy, interrupted, or no audio, your headset’s cable may be damaged (to confirm diagnoses & solutions, see Razer Blackshark V2 Troubleshooting Page, "Audio Cutting Out" or “No Audio at All”). This guide will assist you in the replacement of this component. Be mindful of which layers of the headset assembly you're taking apart and that you don't adversely damage the holds, small wires, ear cushions, ear cushions’ rubber linings or plastic ridges, or headset itself when applying pressure.
Strumenti
-
-
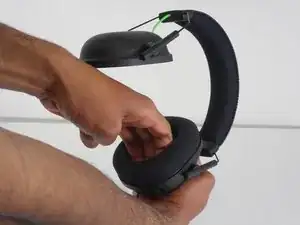
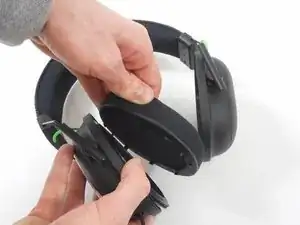
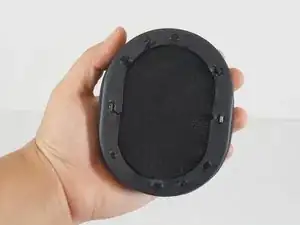
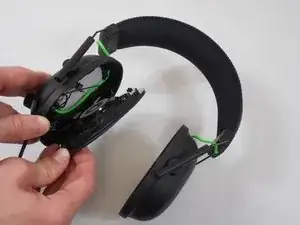
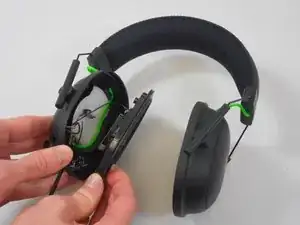
Scoop your middle and ring finger underneath the top or bottom inner portion of the ear cushion.
-
Pull from the hard plastic ridge, being sure not to pull from the soft cushion.
-
-
-
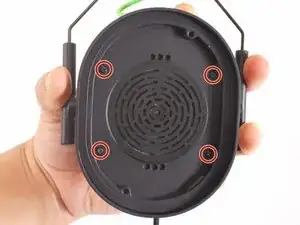
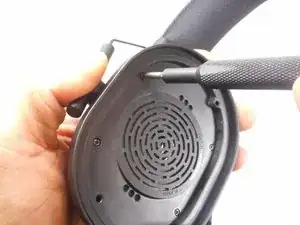
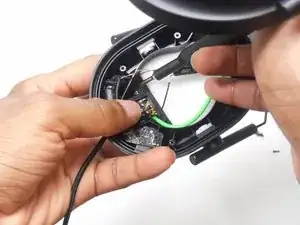
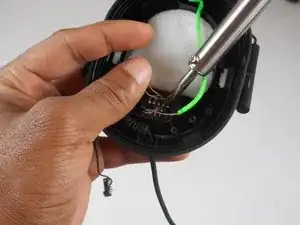
With heat or with a sharp tool, remove the glue around the wires that connect the speaker to the headset.
-
-
-
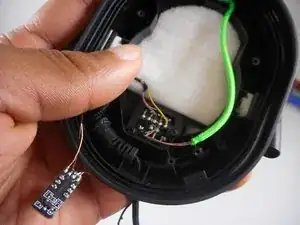
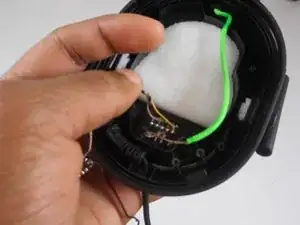
Locate the main cable after it protrudes through the opening in the headset and where the cable is attached to the motherboard.
-
-
-
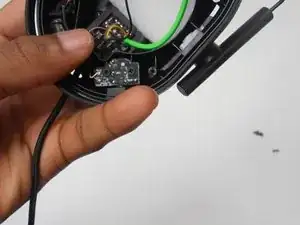
Remove the connecting glue attaching the wires to the motherboard with a sharp object or heat.
-


To reassemble your device, follow these instructions in reverse order.