Introduzione
-
-
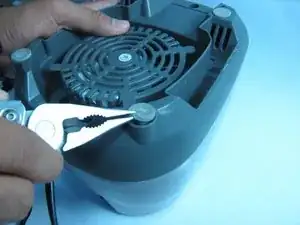
Remove the two base leg covers next to the power cord using pliers or a flat-head screwdriver.
-
-
-
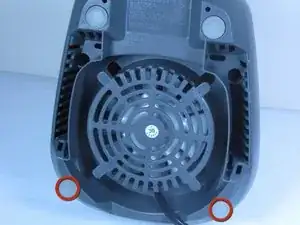
Remove the following screws that secure the top and bottom halves of the base.
-
One 1/4 Phillips screw
-
One TA-20 screw
-
-
-
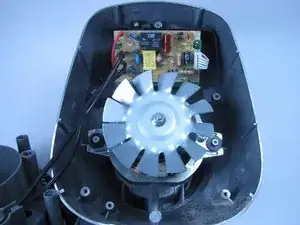
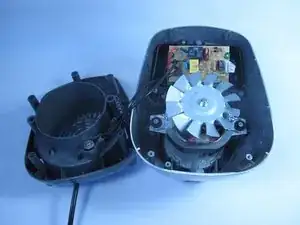
Lift the top half of the base from the bottom half of the base to reveal the internal mechanism.
-
-
-
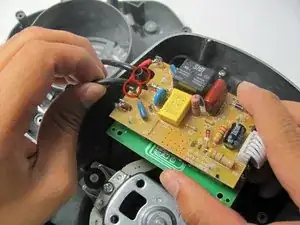
Tug on wires in the marked locations to make sure they are secure.
-
If the wire stays still, the connection is secure.
-
If you still have problems with the blender, it is probably a problem with the motor. Since the motor is irreplaceable, you will have to order a new blender.
-
-
-
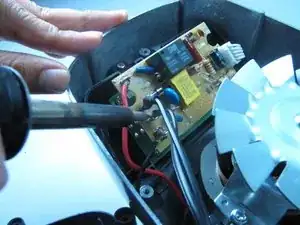
If the wire comes off, the connection is insecure. You will need to solder the connection to make it solid again.
-
If you don't know how to solder, here is a link to show you how. http://www.aaroncake.net/electronics/sol...
-


To reassemble your device, follow these instructions in reverse order.