Introduzione

If the speaker in your Casio Exilim EX-Z850 is not working or does not produce clear sounds, you will need to replace it. This guide will show you step by step how to access the speaker inside of your camera.

  1. PmusVKLb5T2QZQP1
    PmusVKLb5T2QZQP1
    Ae2RsBw4NESlfcWn
    FQ2TVHRctiyd6S5F
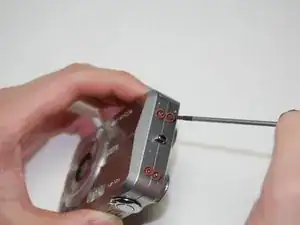
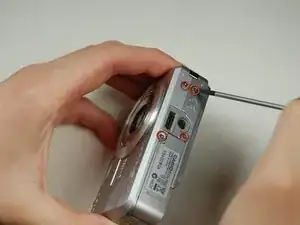
    • Remove the screws on both sides and the bottom of the camera with the Phillips #00 screwdriver.

    • The bottom screws are longer than the side screw.

  2. jyvKbrVp1CdfJoI6
    • Gently pry apart the rear casing from the body of the camera.

    • Do not pull the casing completely away from the camera or you will damage the ribbon securing the rear casing to the contents inside the camera.

  3. 6ptYKInFupN3GbcA
    6ptYKInFupN3GbcA
    AgEdmRZmhIvt4qVW
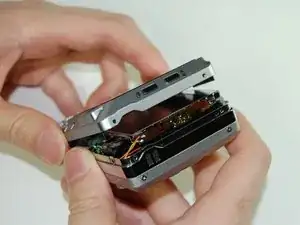
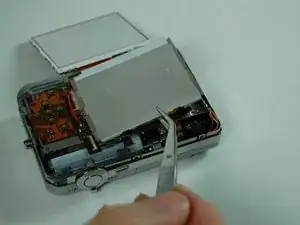
    • Use the tweezers to gently peel the ribbon from the contents inside of the camera, leaving it connected to the rear casing.

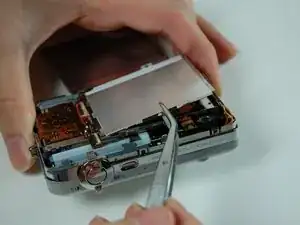
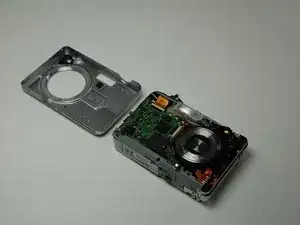
    • Set aside rear casing.

  4. uOdEUMRAxAX4WJmG
    uOdEUMRAxAX4WJmG
    PUO6GBddLPZgLRDw
    • Use the tweezers to pry the LCD screen from the frame.

    • The bottom of the LCD screen is attached to the frame by black tape.

  5. ZGCEEA3YyUJHFmR1
    ZGCEEA3YyUJHFmR1
    2guRUFJRhq4ZxNBr
    • Use the tweezers to flip the LCD screen to the other side.

    • The LCD screen has a ribbon on the bottom of it that is connected to the contents inside of the camera, do not pull it apart.

  6. GQmKkju44egVXDtA
    GQmKkju44egVXDtA
    SBvM4qkRVvhpCC5h
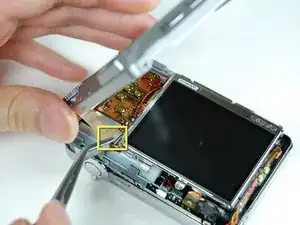
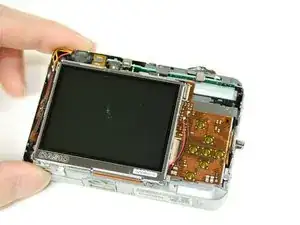
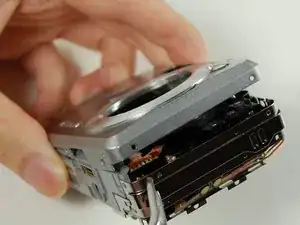
    • Pry the LCD casing from the tape that is underneath it and then flip it to the opposite side to expose the contents under it.

  7. sNOvJixJjMRY2LyF
    sNOvJixJjMRY2LyF
    2ivbWHDlEwrnYJHF
    WdtqTCHqWiX52eUU
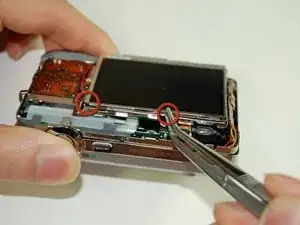
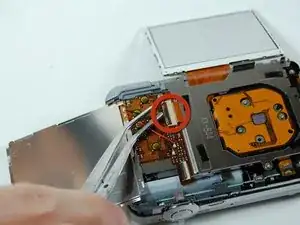
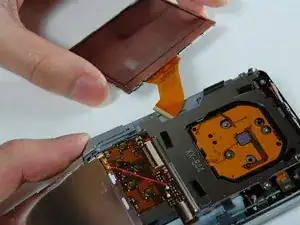
    • Use the tweezers to flip open the connector that is holding the ribbon connected to the LCD screen in place.

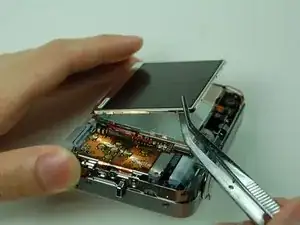
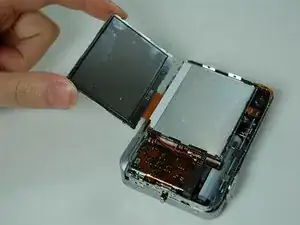
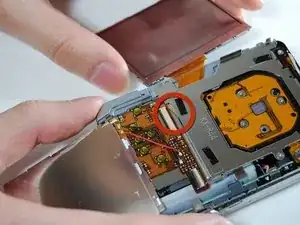
    • Remove the LCD screen with the ribbon from the camera.

  8. f3HwoCTbsg1UjFNH
    f3HwoCTbsg1UjFNH
    dyWynClMFSiNOatP
    • Remove the front casing from the body of the camera.

  9. lykdd231VxMWPnNS
    lykdd231VxMWPnNS
    qPYqWlmXvPxBCYo2
    • Remove two screws on the side where the battery is located using the Phillips #00 screwdriver.

    • Pull the side casing so it becomes dislocated from the top of the camera frame.

  10. Sm5FfxeDnwjuytLd
    Sm5FfxeDnwjuytLd
    aRVAYCdljiPGK1Wo
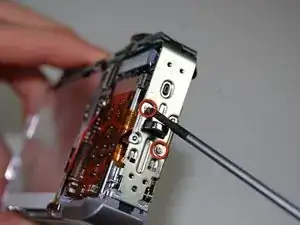
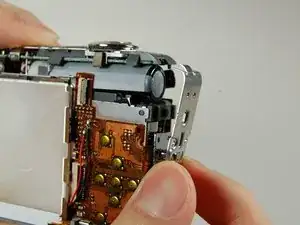
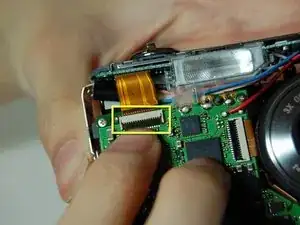
    • On the front of the camera, near the flash flip, there is a connector holding a ribbon. Remove the ribbon from the connector.

  11. qAkKQGHTgIkRW646
    qAkKQGHTgIkRW646
    PmApDCU3SFdcG41O
    LJ1Nd1B1KGIZETPI
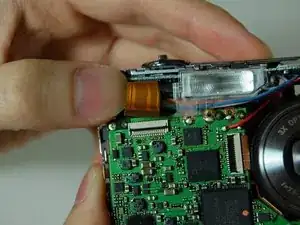
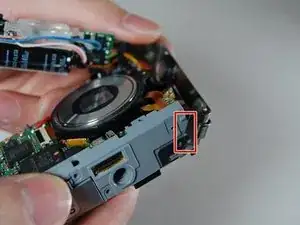
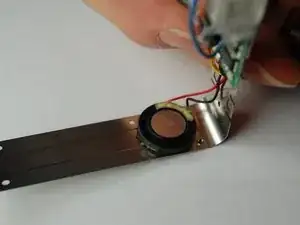
    • Carefully remove the L shaped frame from the camera by popping the frame off the bumps and tabs located at the bottom of the camera.

    • There is a yellow and orange wire soldered onto the camera. Be careful not to disconnect them.

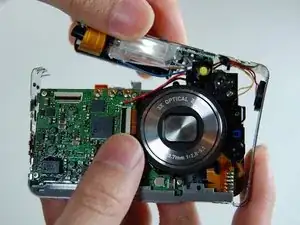
    • The blue box is the speaker.

  12. vZUVruVgLwd2A1Hl
    • Use the tweezers to remove the speaker.

Conclusione

To reassemble your device, follow these instructions in reverse order.

Christian

Membro da: 28/01/11

320 Reputazione

0 commenti