Introduzione
Segui questa guida per rimuovere la scheda madre di un controller Sony DualSense della PlayStation 5.
Questa è una guida solo prerequisita! Questa guida fa parte di un'altra procedura e non deve essere eseguita da sola.
-
-
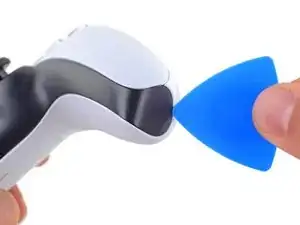
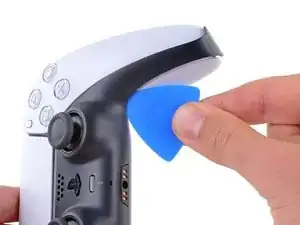
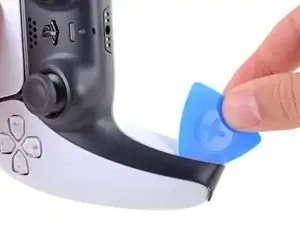
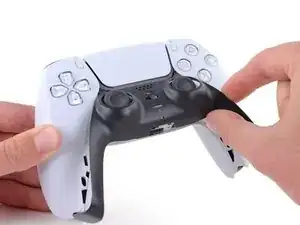
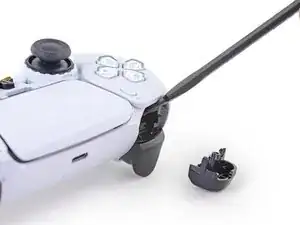
Inserisci un plettro al di sotto del rivestimento centrale nell'angolo in basso a destra per rilasciare le clip che lo attaccano alla scocca.
-
-
-
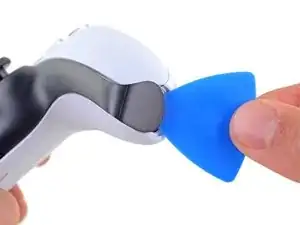
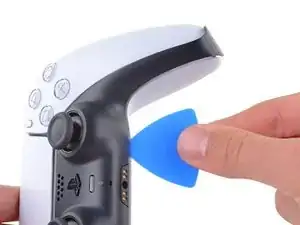
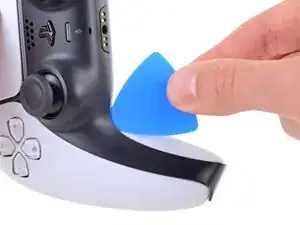
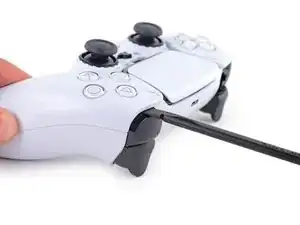
Fai scorrere il plettro attraverso il bordo in basso a destra del rivestimento centrale per rilasciare le clip che lo attaccano alla scocca.
-
-
-
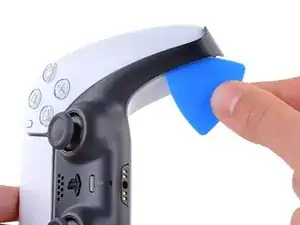
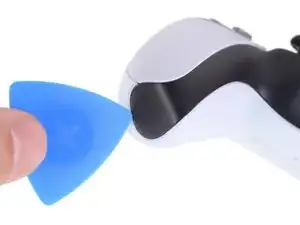
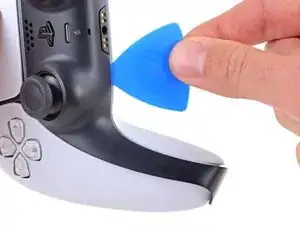
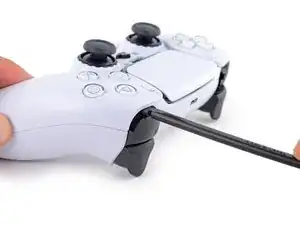
Inserisci un plettro sotto il rivestimento centrale nell'angolo in basso a sinistra per rilasciare le clip che lo attaccano alla scocca.
-
-
-
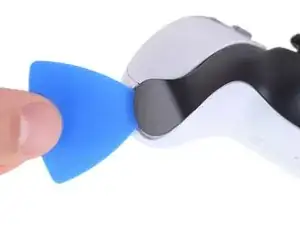
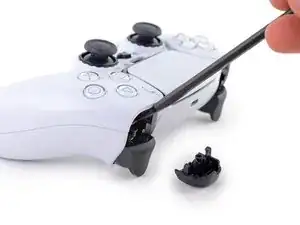
Fai scorrere il plettro attraverso il bordo in basso a sinistra del rivestimento centrale per rilasciare le clip che lo attaccano alla scocca.
-
-
-
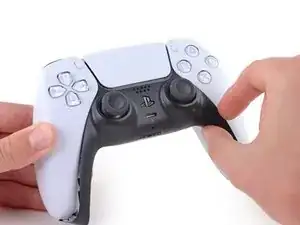
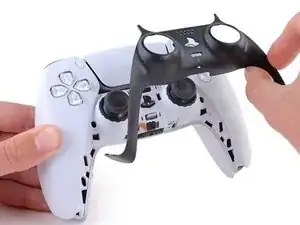
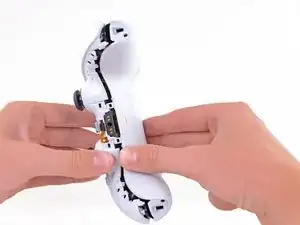
Usa le dita per sollevare il bordo inferiore del rivestimento centrale per rilasciare le clip rimanenti.
-
Solleva il rivestimento centrale sopra i joystick per rimuoverlo.
-
-
-
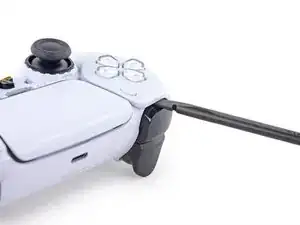
Inserisci la parte piatta dello spudger all'interno della fessura sopra il pulsante L1.
-
Fai leva verso l'alto e rimuovi il pulsante L1.
-
-
-
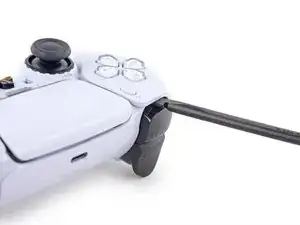
Inserisci la parte piatta dello spudger all'interno della fessura sopra il pulsante R1.
-
Fai leva verso l'alto e rimuovi il pulsante R1.
-
-
-
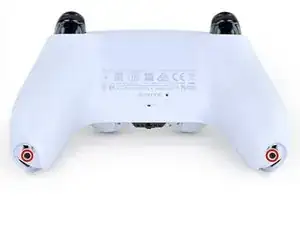
Usa un cacciavite a croce Phillips per svitare le due viti da 6,4 mm che tengono fermi gli angoli in basso della copertura inferiore.
-
-
-
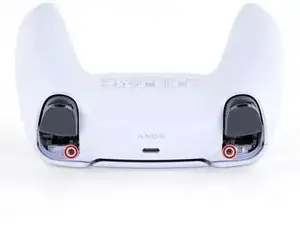
Usa un cacciavite a croce Phillips per svitare le due viti da 6,4 mm dietro i tasti L1 ed R1.
-
-
-
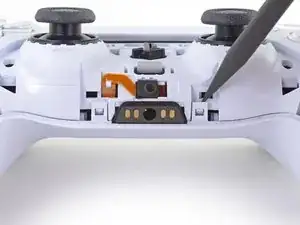
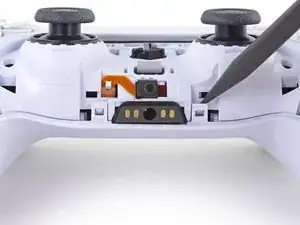
Usa la punta di uno spudger per rilasciare i due ganci su entrambi i lati della presa jack.
-
-
-
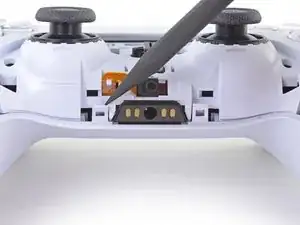
Prendi la linguetta del cavo a nastro del microfono inferiore con le dita o un paio di pinzette e scollegalo dalla scheda madre.
-
-
-
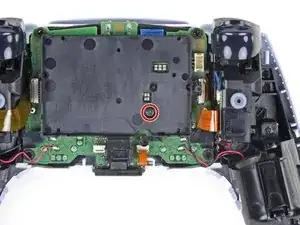
Usa un cacciavite a croce Phillips per svitare la vite da 6,4 mm che tiene fermo il supporto della batteria.
-
-
-
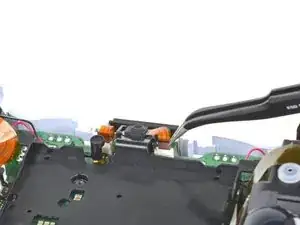
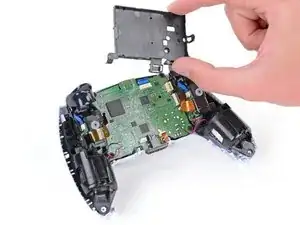
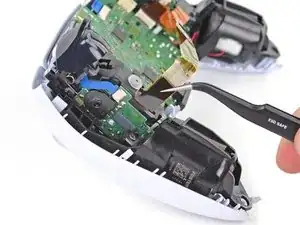
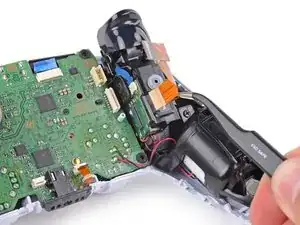
Prendi l'aletta del cavo a nastro del gruppo del grilletto destro con un paio di pinzette o le dita e tira verso l'alto per scollegarlo dalla scheda madre.
-
-
-
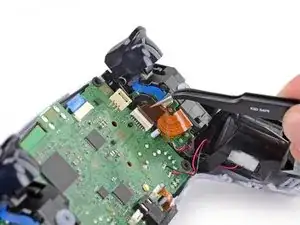
Prendi l'aletta del cavo a nastro del gruppo del grilletto destro con un paio di pinzette o le dita e tira verso l'alto per scollegarlo dal gruppo del grilletto.
-
Rimuovi il cavo a nastro.
-
-
-
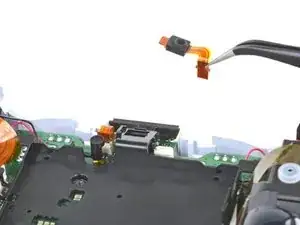
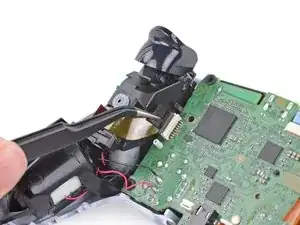
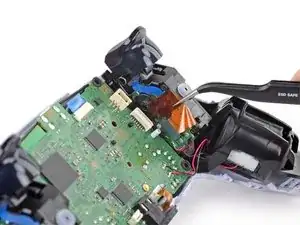
Prendi l'aletta del cavo a nastro del gruppo del grilletto sinistro con un paio di pinzette o le dita e tira verso l'alto per scollegarlo dalla scheda madre.
-
-
-
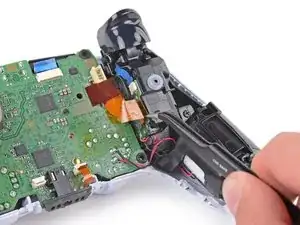
Prendi l'aletta del cavo a nastro del gruppo del grilletto sinistro con un paio di pinzette o le dita e tira verso l'alto per scollegarlo dal gruppo del grilletto.
-
Rimuovi il cavo a nastro.
-
-
-
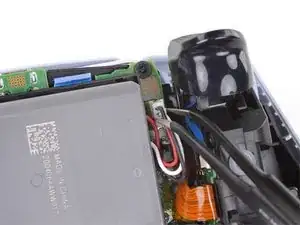
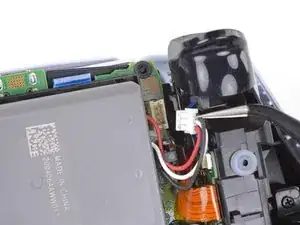
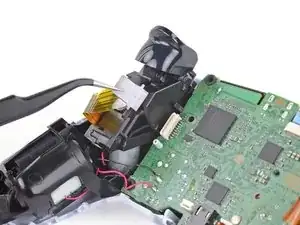
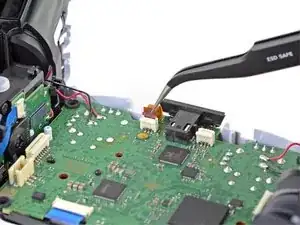
Usa un paio di pinzette o le dita per prendere la linguetta del cavo a nastro del microfono superiore e tirala verso l'alto per scollegarlo dalla scheda madre.
-
-
-
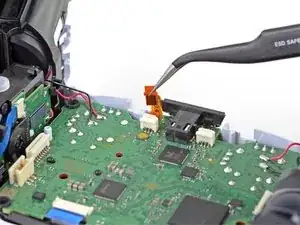
Usa un paio di pinzette o le dita per prendere la linguetta del cavo a nastro del touchpad e tirala verso l'alto per scollegarlo dal connettore sulla scheda madre.
-
-
-
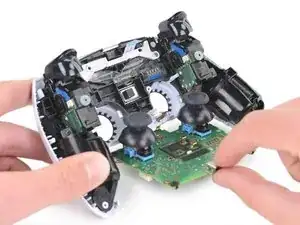
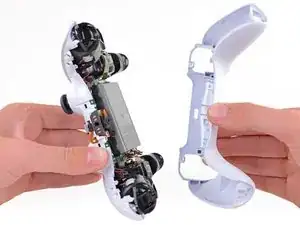
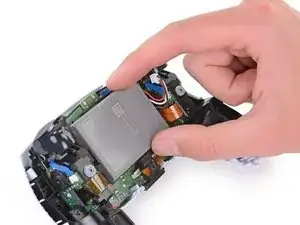
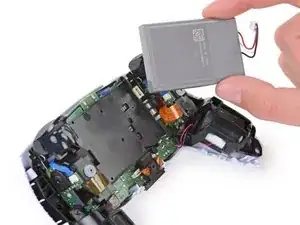
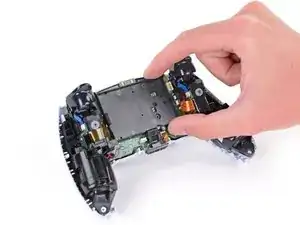
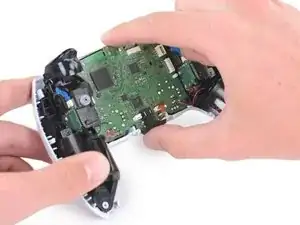
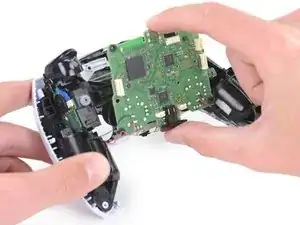
Fai passare delicatamente le levette analogiche attraverso la copertura anteriore e solleva la scheda madre.
-


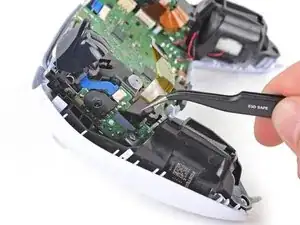


Per rimontare il tuo dispositivo, segui le istruzioni in ordine inverso.
Porta i tuoi rifiuti elettronici a un riciclatore certificato R2 o e-Stewards.
La riparazione non è andata come previsto? Prova delle soluzioni di base ai problemi, oppure rivolgiti alla nostra comunità Risposte per trovare aiuto.