Introduzione
This guide will show the replacement of the solid state drive (SSD) of the Samsung ATIV Book 9 NP900X3K-S01US.
-
-
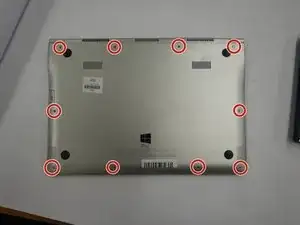
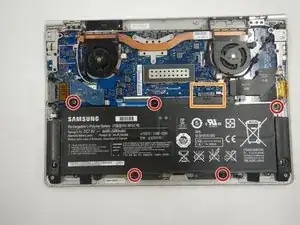
Unscrew the five Phillips #00 screws which connect the battery to the frame of the laptop.
-
Lift the battery from the bottom edge, taking care as it is disconnected from the motherboard.
-
-
-
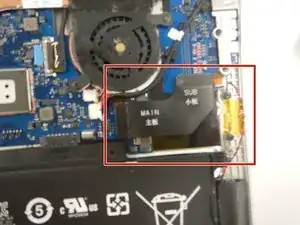
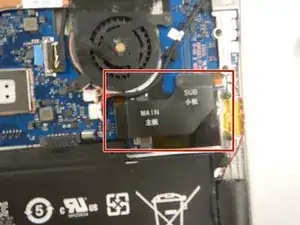
Remove the interconnect ribbon cable labeled “main” and “sub” by prying the pin connections up with a spudger or plastic opening tool.
-
-
-
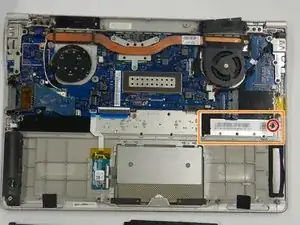
Remove the single screw holding down the SSD with a Phillips #00 screwdriver.
-
Remove the SSD from its slot located to the right, just above the battery.
-
Conclusione
To reassemble your device, follow these instructions in reverse order.