Introduzione
This is a step-by-step guide to removing the track pad of the Samsung Chromebook 3. Prior to beginning this guide, you will need to remove the bottom case and the battery.
Ricambi
-
-
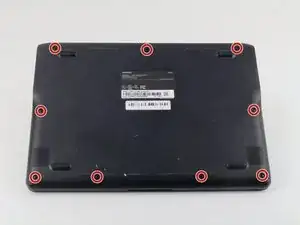
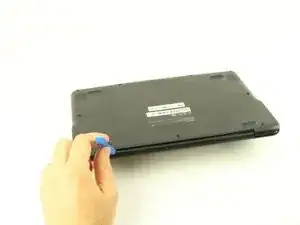
Place the Chromebook face down so that the bottom case is exposed.
-
Using a Phillips #00 screwdriver, remove nine 4.6mm screws from the back casing.
-
-
-
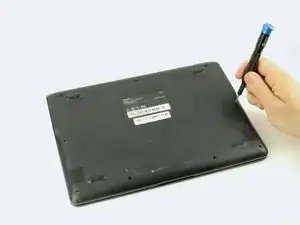
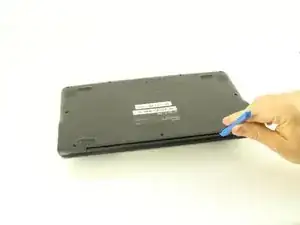
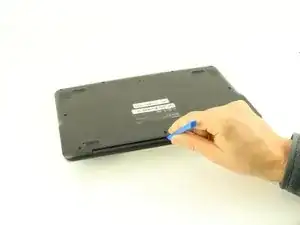
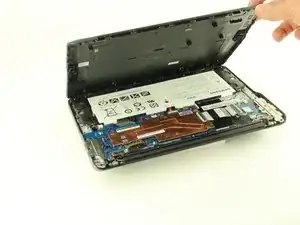
Use a iFixit opening tool to gently pry the case up from the vent on the hinge side of the Chromebook.
-
-
-
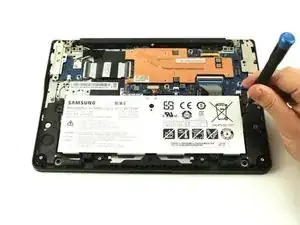
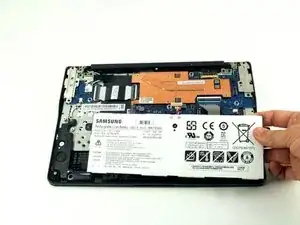
Locate the battery and remove the four 4.6mm screws at the corners which attach it to case using a Phillips #00 screwdriver.
-
-
-
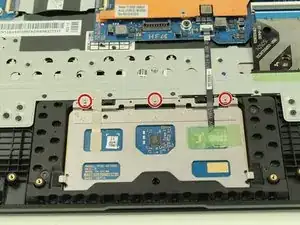
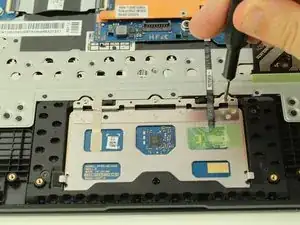
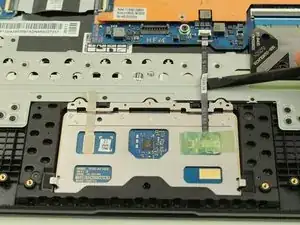
Remove the three 2.3mm screws along the top of the trackpad using a Phillips #00 screwdriver.
-
-
-
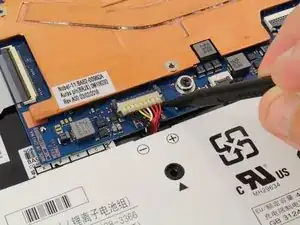
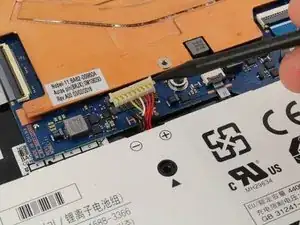
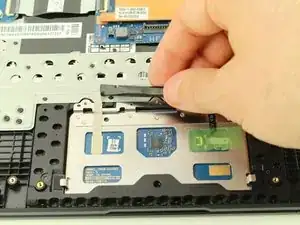
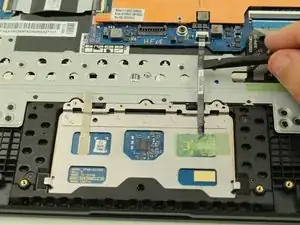
There's more adhesive on the cable ribbon on the upper left side that connects the trackpad to the motherboard. Use your spudger to lift the cable ribbon up from the adhesive.
-
-
-
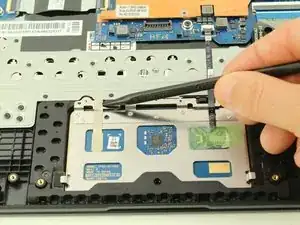
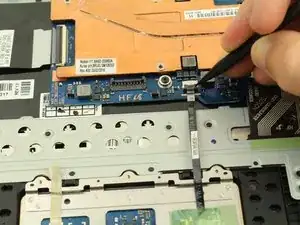
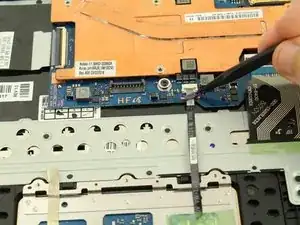
Use a spudger to lift the grey plastic piece locking the cable ribbon in place to its connection on the motherboard.
-
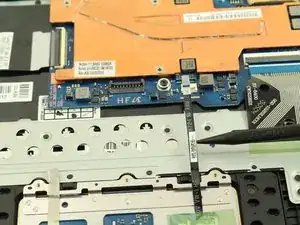
Take the end of the cable ribbon out from the connector.
-
-
-
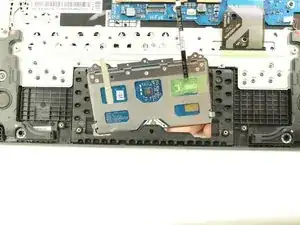
From the keyboard side, nudge the trackpad down and around the lip on the upper edge and finally pull your trackpad out to freedom!
-


To reassemble your device, follow these instructions in reverse order.