Introduzione

This guide demonstrates the replacement of the motherboard in a Samsung Galaxy On5.

Make sure you check if the problems you are experiencing could be related to any other part of the phone, such as the LCD Screen or faulty wiring. Once you are certain the issue is a broken motherboard, use this guide to aid you in replacing it.

  1. BINt3QToqOBuqZXB
    • Locate the side notch that allows you to open the back casing.

  2. aO3vfLZpUoFNuRZl
    aO3vfLZpUoFNuRZl
    KYZ2MoFBF11Buodi
    uE1tkssx1viUZDJQ
    • Use a plastic prying tool or your fingernail to pop the back cover off of the phone.

  3. CDPvelw6mORCNEFa
    CDPvelw6mORCNEFa
    qrxmMh1BpnpyXRUi
    RoRQEABbZYNr6b1p
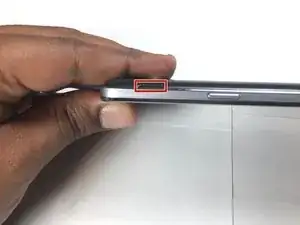
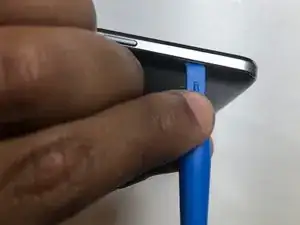
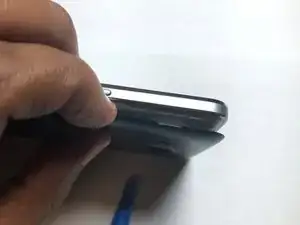
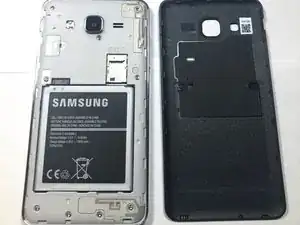
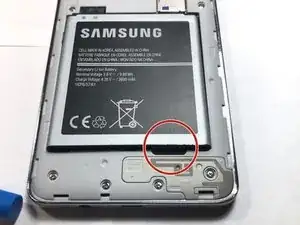
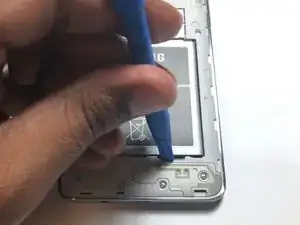
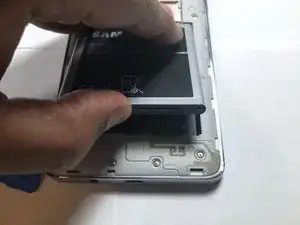
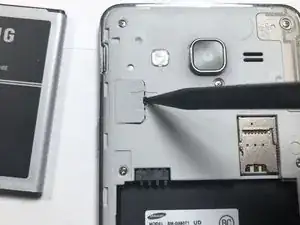
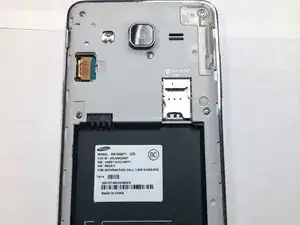
    • Locate the battery notch and remove the battery, using either your finger or a plastic prying tool.

    • Be careful not to puncture the battery. Lithium-ion batteries are highly flammable when exposed to oxygen.

  4. XDeLfW6NNTtpHKPO
    XDeLfW6NNTtpHKPO
    hqXOpejY6wAVerob
    • Before disassembling the phone, take out the SIM card and microSD card.

    • Use a plastic pry tool to slide both of the cards out.

    • Do not use a metal pry tool. Using this could cause damage to the cards and/or card holder.

  5. VepQnweSQYdYiHte
    VepQnweSQYdYiHte
    q4AXv6LkEUrBIMGN
    1MUUwnUTHAUkUDHJ
    • Use the plastic Spudger tool to pry open the LCD ribbon cable cover.

    • This part might be a little hard to open. Take your time and be careful not to push too hard as doing so could result in damage to the ribbon.

  6. T6QmTSGMCCXW2GAV
    T6QmTSGMCCXW2GAV
    lWClcuKlOSPPeVy4
    DsZ2qAimD5cWOftK
    • Using a plastic pry tool, carefully pry the LCD ribbon cable from the logic board.

    • Do not use a metal pry tool. Metal pry tools can cause damage to the logic board and to the ribbon cable.

    • This LCD ribbon cable sends signal from the logic board to the LCD screen.

    Not strictly necessary, unless one is removing the display.

    Andrius Tamulis -

  7. l6Baumgt2rDgfsOO
    l6Baumgt2rDgfsOO
    W2nf21tWMKZaRhYq
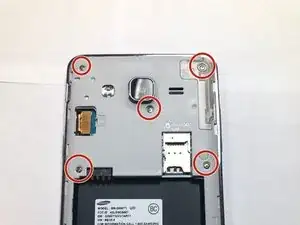
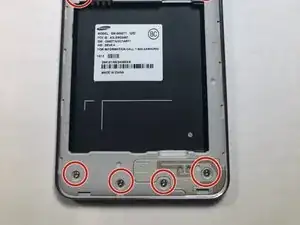
    • Take a Phillips #00 head and remove all 9 screws. Once done place them aside where you won't lose them.

    • All 9 screws are the same size.

  8. nWdQDjbWkG6xGle3
    nWdQDjbWkG6xGle3
    hZ44LkOsoXLHA6FP
    • Use an iFixit plastic pick to pry away the LCD from the back assembly.

    • This process will take some time due to the glue that's holding the LCD and back assembly together. Slowly move around the edge of the screen to loosen the glue up.

    • If you have a heat gun, you can use it to heat up the glue. Heating up the glue makes it easier to separate the LCD and back assembly.

    Takes some time, and prying away the top of the phone - where the battery isn’t - is tricky. One can easily start unintentionally prying the display from the assembly.

    Andrius Tamulis -

  9. yrLHKZOAFMoOXFEX
    yrLHKZOAFMoOXFEX
    CrXfYJGrpDDepdiE
    HYDbirIcEbJMSXfK
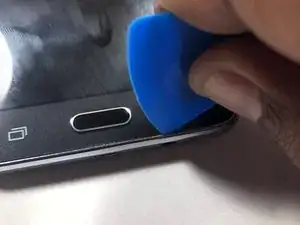
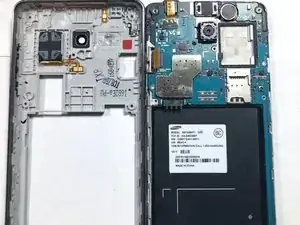
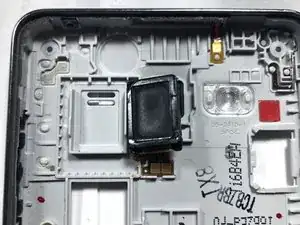
    • Once both the LCD and back assembly come apart, look at the back assembly where the speaker is located.

    • Once located, take the plastic pry tool to remove the speaker from its housing and replace it with a new one.

  10. N53ZXas3IqJVSo2A
    N53ZXas3IqJVSo2A
    rTUPIFUPFniqPMwp
    • Use a plastic pry tool to lift the front-facing camera from its housing.

    • Always use plastic pry tool over metal tools when working on delicate electronic devices.

  11. 4v2SuafahYI6Dnxt
    • Once the camera is out of the housing, disconnect the camera from the logic board.

  12. 24WIySfdrVtOxqhE
    • You have now sucessfully removed the front-facing camera.

  13. V4dQQMIHDWOMTuES
    • Using a Phillips #00 screwdriver, remove the screw securing the rear-facing camera.

    • When using a metal tool always be aware of where you're placing the bit. Damage to the motherboard can be irreparable with normal tools.

  14. 2IygZEZ6ggynFlBp
    2IygZEZ6ggynFlBp
    4CDhJ2NxfA22g3YR
    4WmrJMrIVDXpKJnT
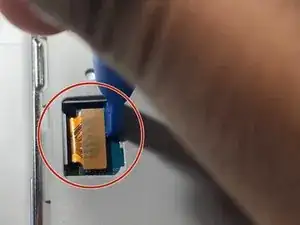
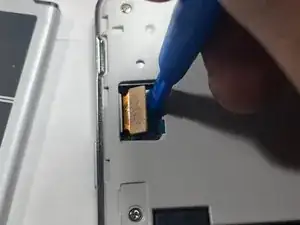
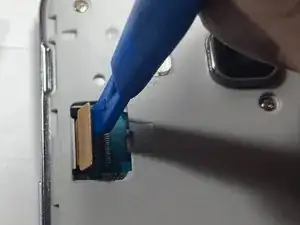
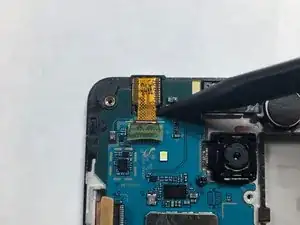
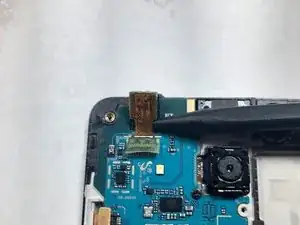
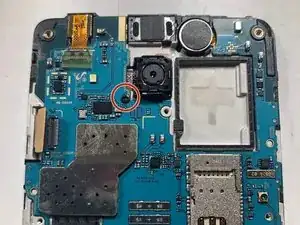
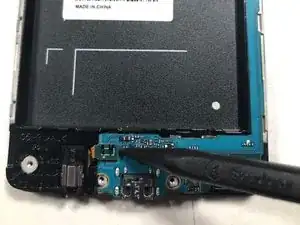
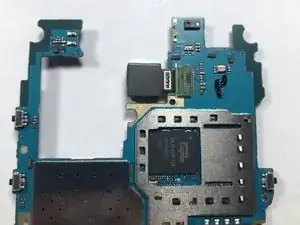
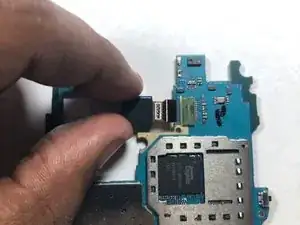
    • Use a plastic pry tool to disconnect the headphone ribbon from the motherboard.

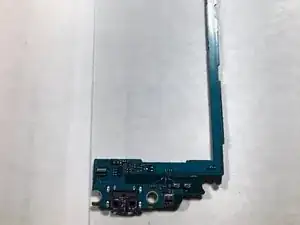
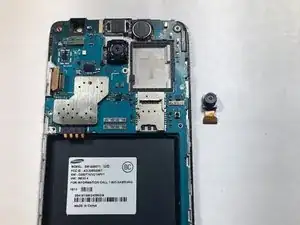
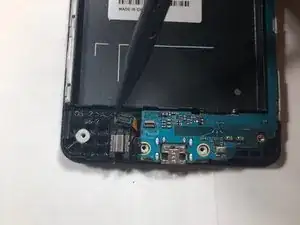
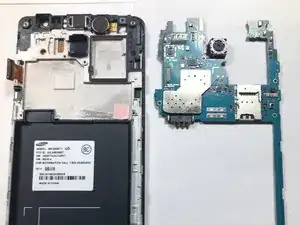
    • Remove the motherboard from the LCD housing by lifting up from the ends of the logic board.

    My headphone assembly just fell out at step #8.

    Andrius Tamulis -

  15. Q4FhCCuCZqxgvtZc
    Q4FhCCuCZqxgvtZc
    pit4veUO65BalroW
    BKTZICO3CvGFLWMX
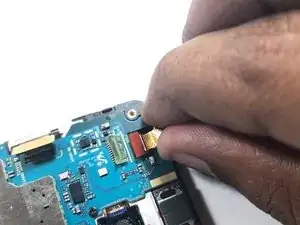
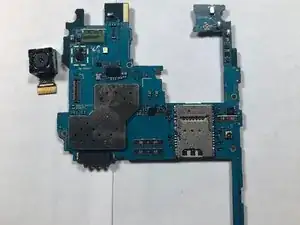
    • Flip the logic board so the camera lens is facing down rather than at you.

    • Use your finger to remove the camera from its connection on the logic board.

  16. TKfvGtqYpLuFIr4E
    • Once the logic board is stripped of the cameras, replace the logic board.

    I need the logic board of samsung galaxy on5 where can i get it

    rahul pillai -

    Product kab aaega

    Chandan kumar -

    Kab aaega product

    Chandan kumar -

Conclusione

To reassemble your device, follow these instructions in reverse order.

The Dark Night part 2

Membro da: 19/09/18

983 Reputazione

Un commento

Sir Samsung on5 pro motherboard price

Status Creator Shankar -