Introduzione
Strumenti
-
-
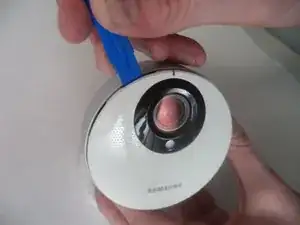
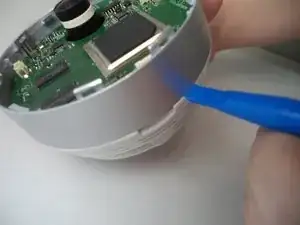
Using a plastic opening tool, apply pressure to various points around the camera to pry open the front panel.
-
-
-
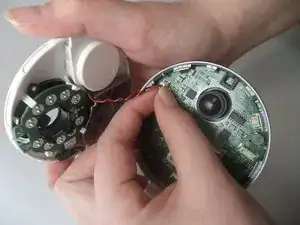
Remove both of the connecting wires from the motherboard.
-
Be careful to not bend headers or damage the wires.
-
-
-
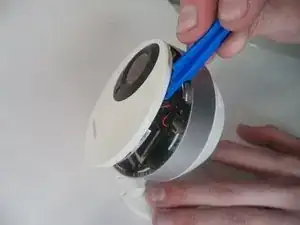
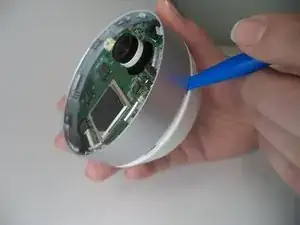
Apply a plastic opening tool to the gray plastic band around the case of the camera. Insert the edge of the spudger between the case of the camera and the gray plastic band.
-
-
-
Apply pressure with the plastic opening tool to various areas of the gray plastic band to pry it from the white plastic back of the case.
-
-
-
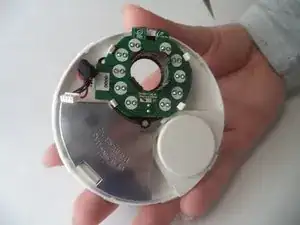
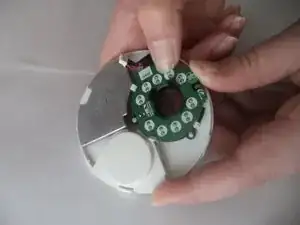
Locate the small circuit board surrounding the lens in the removed front portion of the device.
-
-
-
Push the four white tabs away from the center of the lens housing while pulling the led ring up near each tab.
-

To reassemble your device, follow these instructions in reverse order.