
Introduzione
Evaporator cover removal prereq
-
-
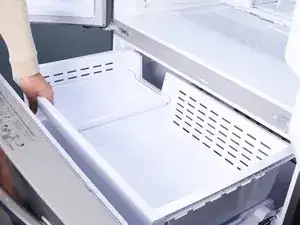
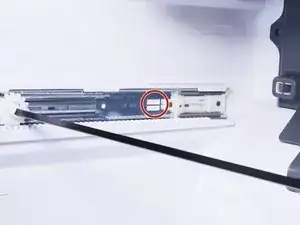
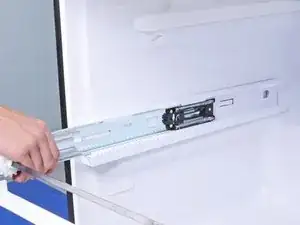
Use a flathead screwdriver or your fingers to press in the plastic tab near the inner end of the drawer rail.
-
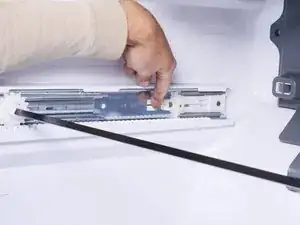
While pressing the plastic tab, grasp the rail with your free hand and slide it towards you slightly to unlock the rail.
-
-
-
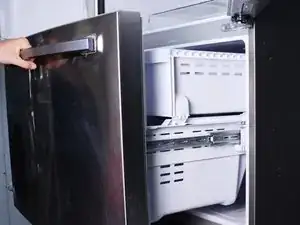
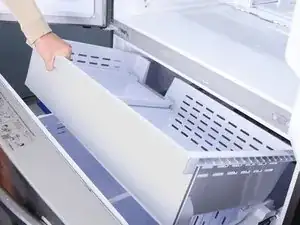
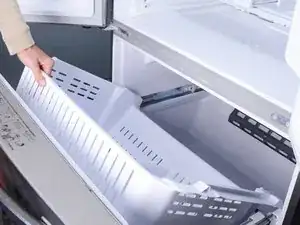
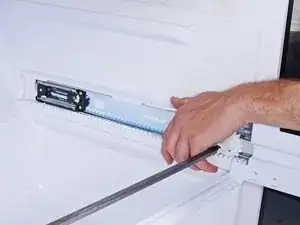
Once both rails are unlocked, firmly pull both rails to slide them out of the refrigerator wall guides.
-
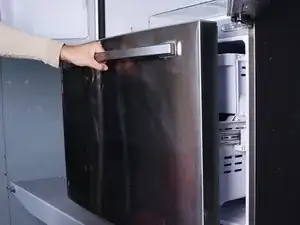
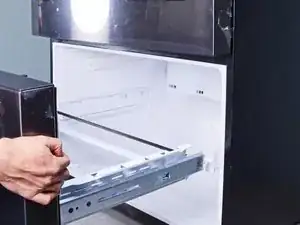
Remove the freezer drawer.
-
Push the geared torsion bar until it rests at the very end of the rails.
-
Align the drawer rails to the refrigerator wall guides.
-
Close the freezer drawer until the rails lock back in place.
-
-
-
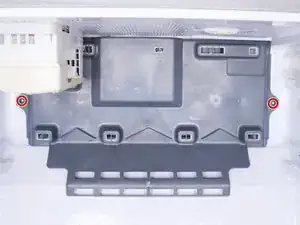
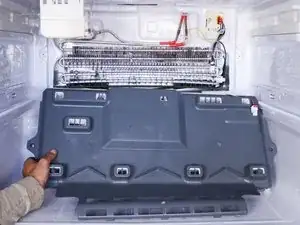
Use a Phillips screwdriver to remove the two 18.5 mm‑long screws securing the evaporator cover to the refrigerator.
-
-
-
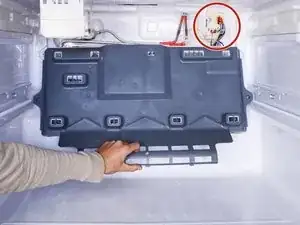
Lift the bottom edge of the evaporator cover away from the refrigerator to release the bottom clips.
-
Don't try to fully remove the cover. It's still connected by a few wires.
-
Shift the evaporator cover downwards to access the connectors in the top right corner of the freezer compartment.
-
-
-
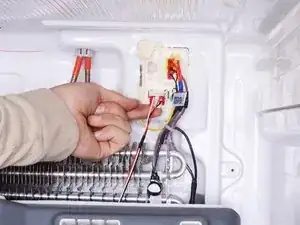
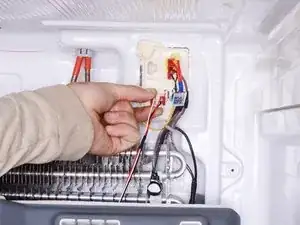
Squeeze the bottom edge of the fan connector to unlock it from the freezer wall.
-
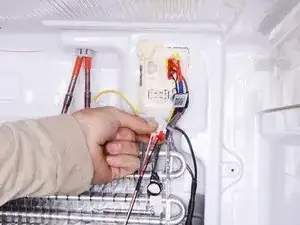
Pull and disconnect the fan connector.
-

To reassemble your device, follow these instructions in reverse order.
