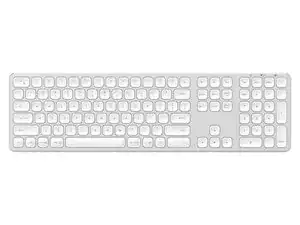
Introduzione
Overall the disassembly of the Satechi keyboard was very frustrating because of the heavy use of adhesive in the product. This product was definitely not designed to be easily repairable.
-
-
Remove the rubber feet (they are simply glued in place)
-
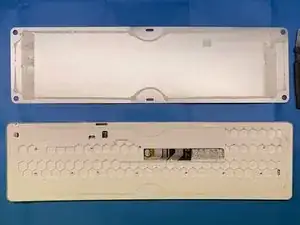
Use a heat source to soften the adhesive that holds down the bottom plate
-
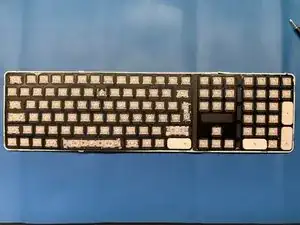
Check the pictures to see where the adhesive is applied inside the device
-
Use a plastic pick or some other tool to cut through the adhesive
-
Remove the bottom plate
-
-
-
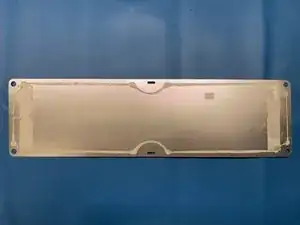
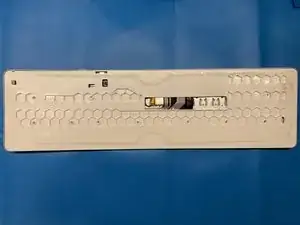
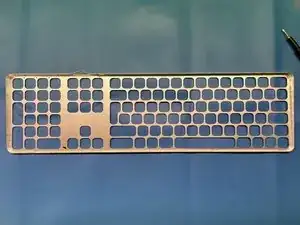
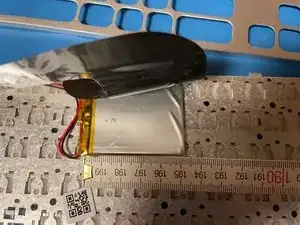
In order to get to the electronics inside we have to first remove the aluminium top cover
-
This is necessary because the plastic with the electronics underneath is clued to the top cover and is not removable without removing the clue
-
To remove the top cover first check out the images to see where to adhesive is applied on the cover
-
Use some heat source to soften the adhesive
-
Use a plastic pick or some other tool to cut through the adhesive (if the adhesive is really soft then simply applying pressure to the keycaps can help remove the cover)
-
Remove the cover
-
-
-
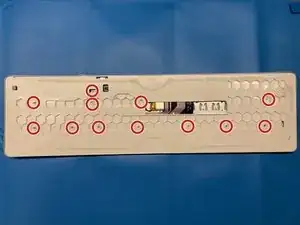
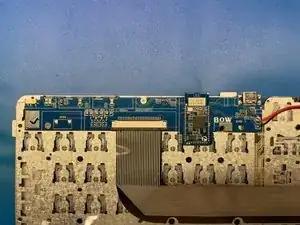
Start by removing the twelve Phillips #00 screws marked in the picture
-
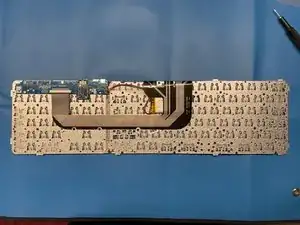
Now you should be able to lift the plastic cover
-

To reassemble your device, follow these instructions in reverse order.