Introduzione

If your Sonos Roam is unresponsive then try this guide to replace the large ribbon.

The large ribbon connects the inner and outer circuit boards. This allows for it to transmit energy and information throughout the device that allows for it to function properly.

Before using this guide, try rebooting your Sonos Roam.

There are steps that recommend (not require) the use of the iOpener. This will help with carefully removing the adhesive used to keep this device together. Refer to this link on how to properly use the iOpener.

  1. fQq56AbQJRPOaTYu
    fQq56AbQJRPOaTYu
    KsW2s361JCkYIJQT
    5MBYncQL2NxagpDy
    • Power off your Sonos Roam before beginning disassembly.

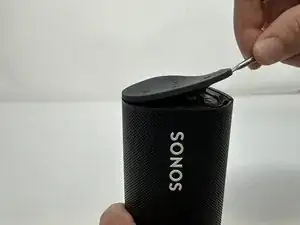
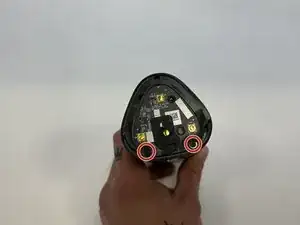
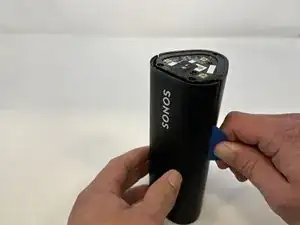
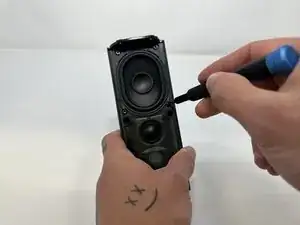
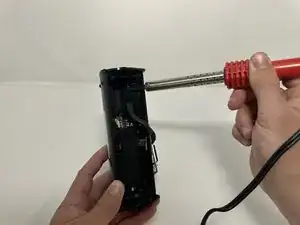
    • Use the metal spudger to pry the end cap with the buttons.

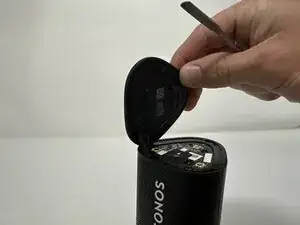
    • Pry from all sides to loosen the adhesive.

    • Use the iOpener, a blowdryer, or a similar heating device to loosen the adhesive if having difficulty.

  2. Fa1WAjLd1PTbOgJf
    Fa1WAjLd1PTbOgJf
    bjRsPyljKxuOH4NV
    • Flip the device to the other end cap.

    • Use the metal spudger to loosen the adhesive.

    • Use the iOpener, a blowdryer, or a similar heating device to loosen the adhesive if having difficulty.

  3. 3NJEEKwTJ3cHVylI
    3NJEEKwTJ3cHVylI
    PuNOCsS2YDgUkTLT
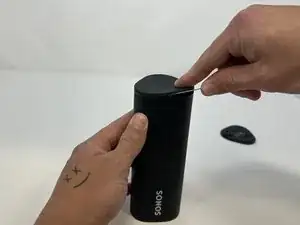
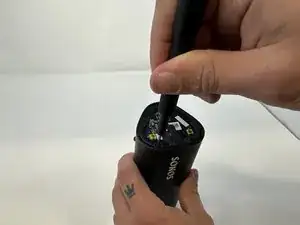
    • Flip the device so that the Sonos logo is on the top.

    • Use the Torx T6 screwdriver to remove the two 6 mm screws.

  4. 2yXndWqBYFKlbDYx
    2yXndWqBYFKlbDYx
    sNeZtEdHfKjO2uGw
    • Flip the device.

    • Use the Torx T6 screwdriver to remove the two 6 mm screws.

  5. eqhulqqTvQLmoNXq
    eqhulqqTvQLmoNXq
    L1IKTYCJPR6WbaRs
    ufiHRMw4APQ5MnRX
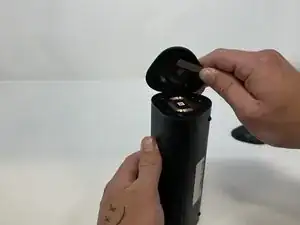
    • Flip the device so the Sonos logo is on the top.

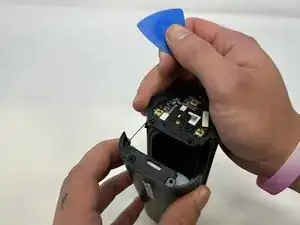
    • Use the iFixit opening picks to wedge between the split of the grille and the back of the speaker to pry the grille apart.

    • Use the iOpener, a blowdryer, or a similar heating device to loosen the adhesive if having difficulty.

  6. u5MDFTO53QorTvph
    u5MDFTO53QorTvph
    OnmpcYbrSNVmjZpv
    • Use the TR10 Torx screwdriver to remove the six 7 mm screws.

  7. 4BWE6oPmMVUWrYSU
    4BWE6oPmMVUWrYSU
    NbYFWEtK2YIubaXV
    xdHkiRKIsZp413SS
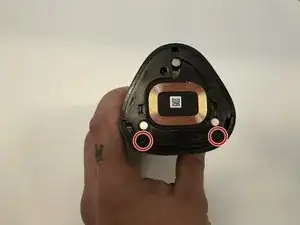
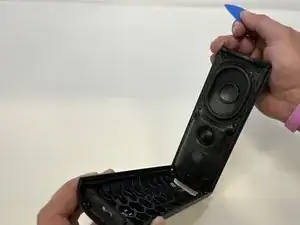
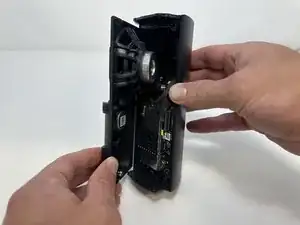
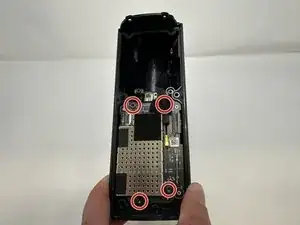
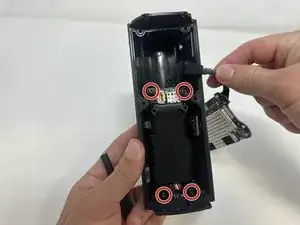
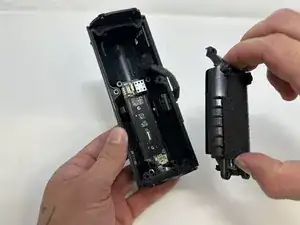
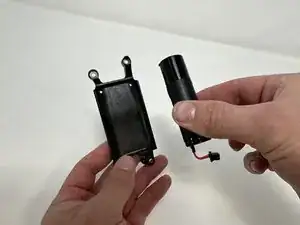
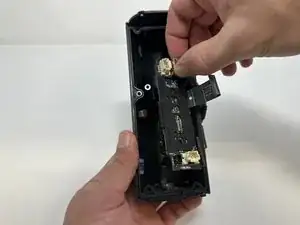
    • Begin to carefully separate the speaker module from the device.

    • Firmly squeeze the middle of the plug using the tweezers to pull it out of the socket.

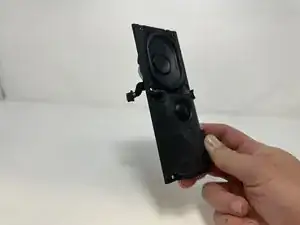
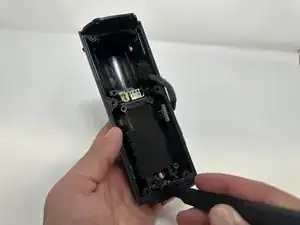
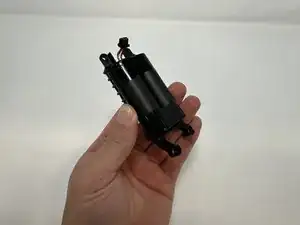
    • Separate the speaker module from the device.

  8. qDHExrQGCmIq1wqD
    qDHExrQGCmIq1wqD
    rPR1A2VOnUo5KwTC
    • Use the TR10 Torx screwdriver to remove the four 7 mm screws.

  9. AhKurEl34YkSN5vw
    AhKurEl34YkSN5vw
    h2Xy5qFBO4rWYlYZ
    opEsR3fXZVtixprJ
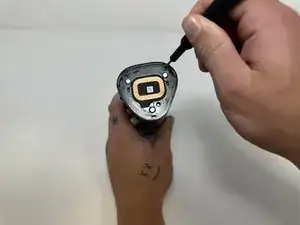
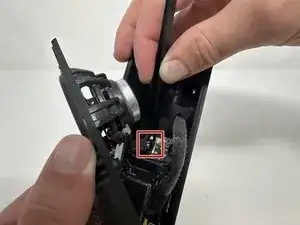
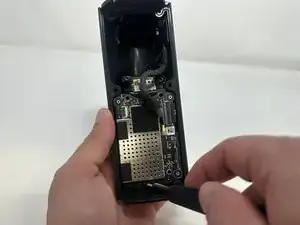
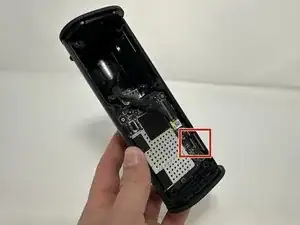
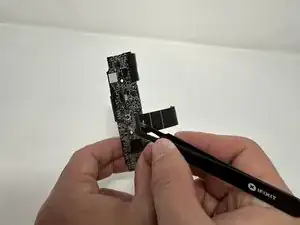
    • Use the tweezers to flip the latch holding the large ribbon in place.

    • Grab the large ribbon with the tweezers and pull upwards to remove it.

    • Use the tweezers to flip the latch holding the small ribbon in place.

    • Grab the small ribbon with the tweezers and pull upwards to remove it.

  10. OAnYlvoXEsNNiMBy
    OAnYlvoXEsNNiMBy
    ftRCdLC5WUgYXUaP
    fwwNFhcU1a1FKHUU
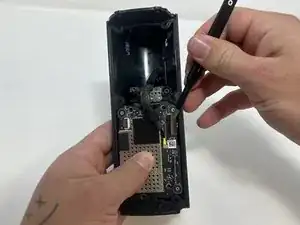
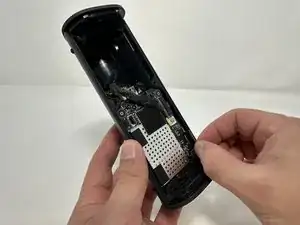
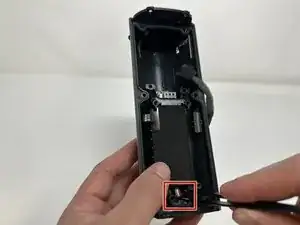
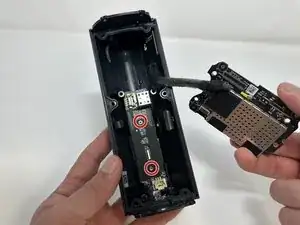
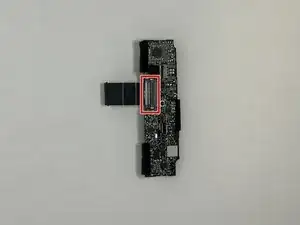
    • Grab the metal piece sticking out of the outer circuit board.

    • Pull upwards to remove the outer circuit board.

  11. XUYPSAS1fErfPgD4
    XUYPSAS1fErfPgD4
    jGi3uFKQiWVyXA2F
    • Soldering Iron is very hot and can cause injury if not used properly.

    • Use a soldering iron to desolder the outer circuit board from the speaker casing.

  12. FTnHwpJMYqaGxHW2
    FTnHwpJMYqaGxHW2
    1s3gFifHVnJAJbvf
    • Use the TR10 Torx screwdriver to remove the four 7 mm screws.

  13. HgdPNQnhSsmxOINy
    HgdPNQnhSsmxOINy
    2LOcWQj3RFKkpAyI
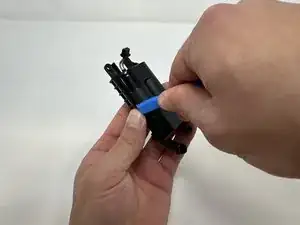
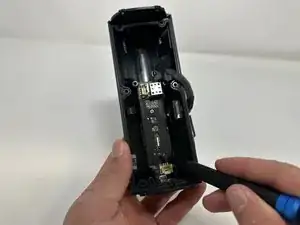
    • Use the tweezers to firmly squeeze the middle of the plug.

    • Pull the plug out to remove it from its socket.

    • Remove the battery from the device.

  14. OqeBoOA5g2gWHayM
    OqeBoOA5g2gWHayM
    rJPZqwIOkwuEkotZ
    UPigsy2wbI2LwZoS
    • Use the iFixit opening tool to pry the battery out of its casing.

    • Use the iOpener, blowdryer, or a similar heating device to loosen the adhesive if having difficulty.

  15. yYF1xT5DKlVIUpMg
    • Remove the battery from its casing.

  16. EFBnYbRmxRTOdvdJ
    EFBnYbRmxRTOdvdJ
    ZtVYFmcXfJQhF1bA
    • Use the TR9 Torx screwdriver to remove the two 5 mm screws.

  17. QJjv6MFHDiOXs5Kf
    QJjv6MFHDiOXs5Kf
    OC4hg1SgUt2cjjbQ
    w4rNR6LDCJHvDBaa
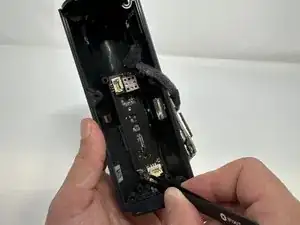
    • Use the tweezers to firmly squeeze the center of the plug.

    • Pull the plug out to remove it from its socket.

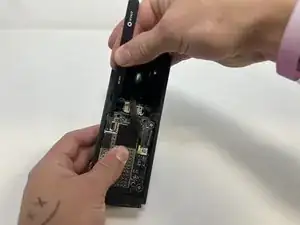
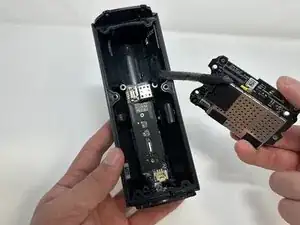
    • Grab the metal box to remove the inner circuit board.

  18. nLAZrt2jVsin5UUQ
    nLAZrt2jVsin5UUQ
    ZKRqBHCqS4L4uIwb
    MV2wsTXPVsBOITp4
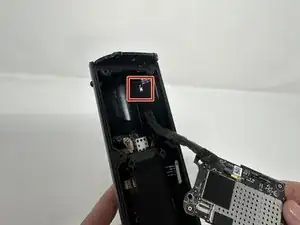
    • Flip the inner circuit board around so the button and USB-C port are facing upward.

    • Use the tweezers to flip the large ribbon latch up.

    • Pull the large ribbon away from the inner circuit board to remove it.

Conclusione

To reassemble your device, follow these instructions in reverse order.

Lauren Young

Membro da: 20/09/23

524 Reputazione

Un commento

Replace the ribbon or reposition it?

Sabin Oana -