Introduzione
If the audio in your device is not working, you may need to replace the audio module. This easy step-by-step guide will walk you through the necessary steps to do so.
Strumenti
-
-
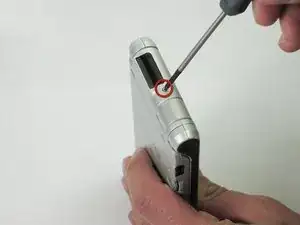
Unscrew the 2.5mm screw located on the left side of the device with a Phillips #00 screwdriver.
-
-
-
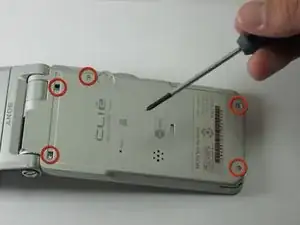
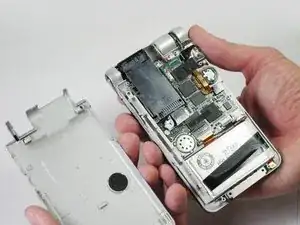
Unscrew the five 2.5mm screws on the back panel with a Phillips #00 screwdriver.
-
Remove the back panel by lifting it away with your hands.
-
-
-
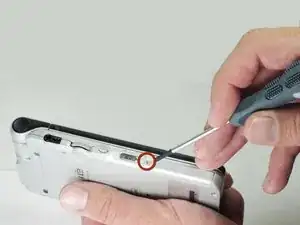
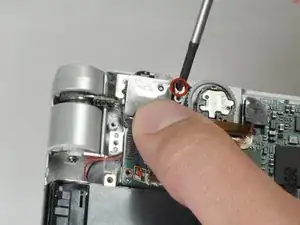
Unscrew the 2.5mm screw on the top portion of the audio module with a Phillips #00 screwdriver.
-
-
-
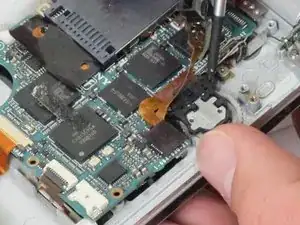
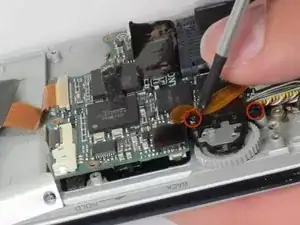
Lift up the orange ribbon cable and unscrew the two 2.5mm screws located at the corners of the audio module with a Phillips #00 screwdriver.
-
-
-
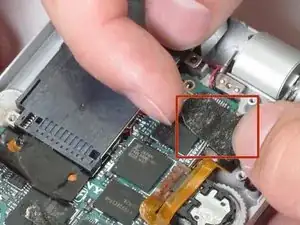
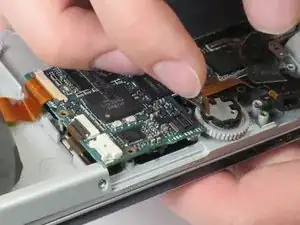
Unplug the audio module from the motherboard by disconnecting the wires by lifting the orange wire up.
-
To reassemble your device, follow these instructions in reverse order.