
Introduzione
If your device is not holding a charge or simply will not turn on, it is possible that you need to replace the battery. This easy guide will take you through the necessary steps in order to remove the battery so you may install a new one.
Strumenti
Ricambi
-
-
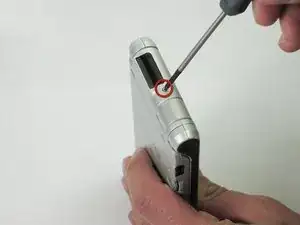
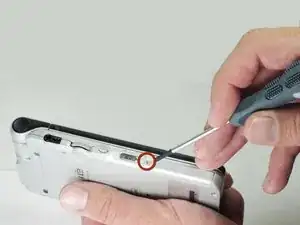
Unscrew the 2.5mm screw located on the left side of the device with a Phillips #00 screwdriver.
-
-
-
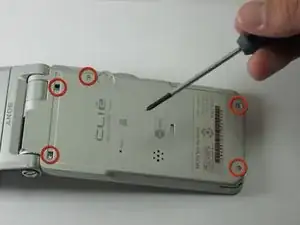
Unscrew the five 2.5mm screws on the back panel with a Phillips #00 screwdriver.
-
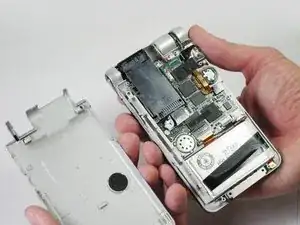
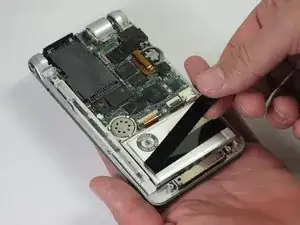
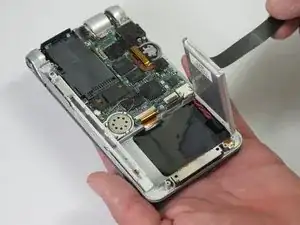
Remove the back panel by lifting it away with your hands.
-
-
-
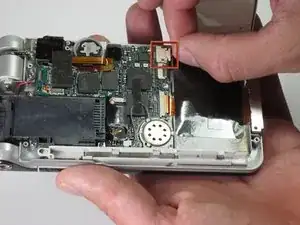
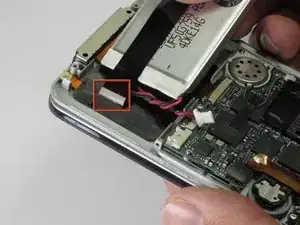
Disconnect the battery pack from the motherboard by unplugging the power cables. Gently pull the wire toward the bottom of the device.
-
Conclusione
To reassemble your device, follow these instructions in reverse order.
Un commento
Hi, this is really helpful, thank you.