Introduzione

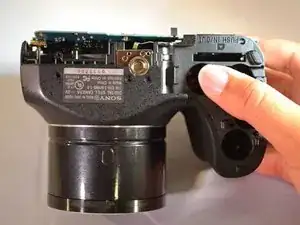
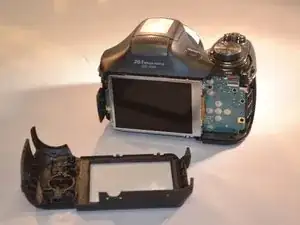
The tripod port may be loose, broken or faulty. In any case, replacement of the tripod port involves first removing the LCD Screen and the Motherboard. Please refer to the LCD Screen prerequisite guide and the Motherboard prerequisite guide for proper removal of the LCD Screen and the Motherboard.

  1. eHQTstOxjCxowUDm
    eHQTstOxjCxowUDm
    1r4H6XwWn4jiUVA6
    DDv64n3RFLcWeEIR
    • Using a screwdriver, remove the five 6mm screws located on the back panel.

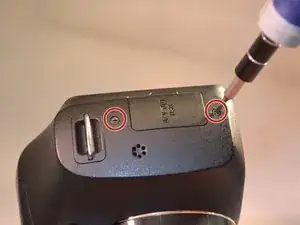
    • Using a screwdriver, remove the two 3mm screws located on the back panel.

  2. ZYcaungNRT1ZW3KV
    • Using a screwdriver, remove one 6mm screw on the front panel.

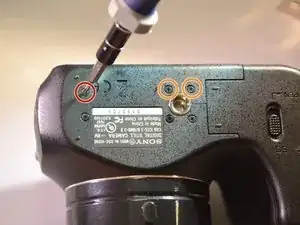
    • Using a screwdriver, remove two 3mm screws on the front panel.

  3. JGDZXvQCGo3LODcC
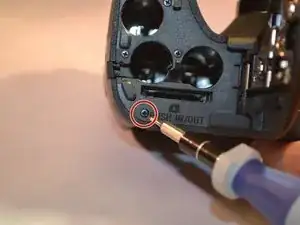
    • Open the SD Door, unscrew and remove the single 6mm screw closest to "PUSH IN/OUT" under the SD card slot.

  4. dXIRCdoYo3ZaRLqN
    dXIRCdoYo3ZaRLqN
    jWLbZVInLJxRdqBH
    • Remove the back panel (the LCD and motherboard are exposed).

  5. CyjGNcxoSN4ZsZSa
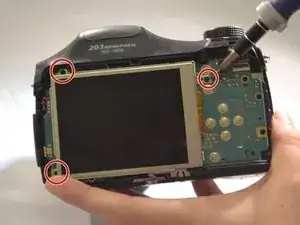
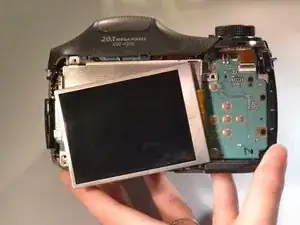
    • Using a screwdriver, remove the three 4mm screws that attach the LCD to the camera motherboard. (The LCD is contained in a holding plate, attached to the motherboard with a ribbon cable.)

  6. TFglwqmdhnCv3I4X
    • Using a screwdriver, remove the single 4mm screw at the bottom of the holding plate.

  7. fDiNNLYjoJJJLVLR
    fDiNNLYjoJJJLVLR
    5CYPUt2PwTLUhOHx
    • Lift the holding plate away from the motherboard and set aside.

  8. qbdlCfo2r1ElpK6I
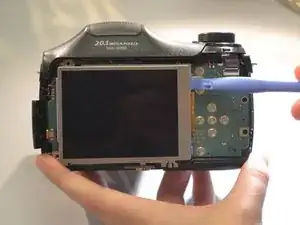
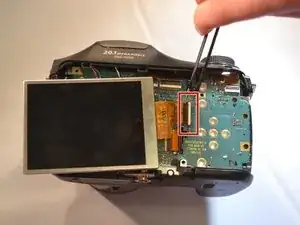
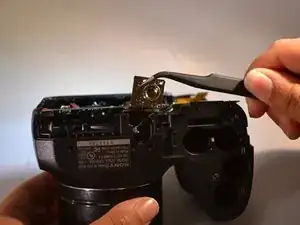
    • Using tweezers, open the LCD ribbon port by lifting the black hinge. (The LCD ribbon cable will detach.)

  9. pu5MFSQY2YRxUsfk
    pu5MFSQY2YRxUsfk
    LkflXhxdsPRfRTeu
    ZR5JSAESqxbMshY4
    • Using tweezers, remove the LCD with the ribbon cable and set aside.

  10. RZQ4Yy2GZErL1QVy
    • Disconnect the four amber-colored ribbon cables from the motherboard using tweezers.

  11. NEfsGTjCFrFwSuMF
    • Disconnect all wires from the motherboard by using a soldering iron.

    • Users unfamiliar with a soldering iron should be extremely careful as the device can get very hot.

  12. aeHAQkoKtPAEXtYn
    • Gently lift the motherboard away from the camera body.

  13. XOZcSdNqNpdLTmSr
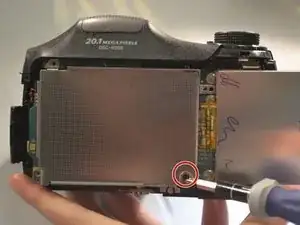
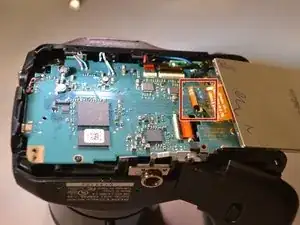
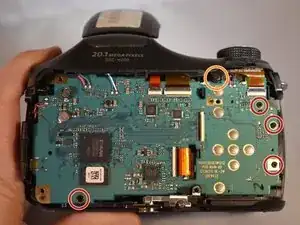
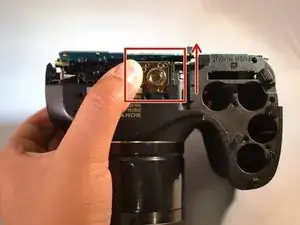
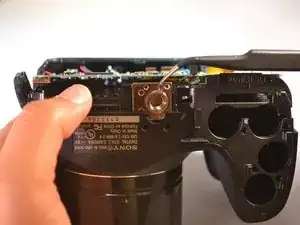
    • Using a screwdriver, remove the four 4mm screws from the motherboard.

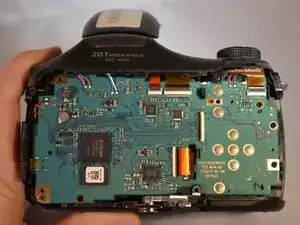
    • Then remove the single 4mm screw connecting the motherboard to the main body of the camera.

  14. OS6HUep2C1euOQw6
    • Lift the motherboard away from the camera body (the tripod port is exposed)

  15. V4GqxmyMm5ZHfMaf
    V4GqxmyMm5ZHfMaf
    yURnhM6CtKaMSk2r
    MQNppxLJsE1bDRBa
    • Using tweezers, lift the tripod port up and away from the camera body

Conclusione

To reassemble your device, follow these instructions in reverse order.

Chantilly Higbee

Membro da: 08/04/15

152 Reputazione

0 commenti