Introduzione

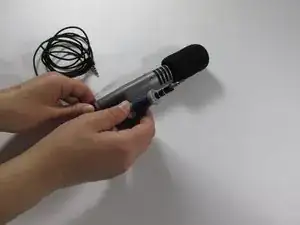
This guide will show you how to dissemble a Sony ECM-MS907 microphone. This guide will help you if you believe any of the pieces apart of your microphone are broken or dirty that need to be replaced or cleaned.

For names of the microphone parts, please click the link below:

Microphone Parts' Manual

For signs that your microphone is broken, please click the link below:

How to tell if a Microphone is Broken

  1. 2YlGH5m6gXrCYDYJ
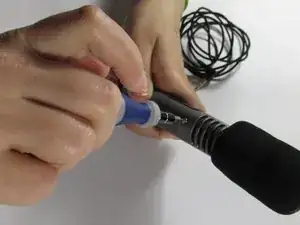
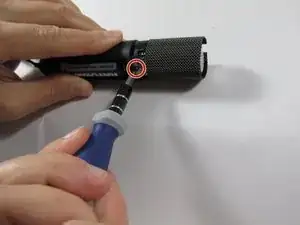
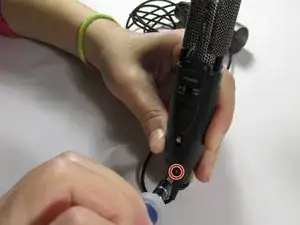
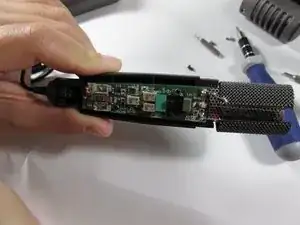
    • Using the Phillips #00 screwdriver, remove the screw securing diaphragm to the base of the microphone.

  2. tXfG5Cil4LkMIQeY
    tXfG5Cil4LkMIQeY
    cPc6sxejrkP4hANI
    • Separate the microphone into two pieces to reveal the internal shield cover.

  3. ApNhJUoK2LyKFEdD
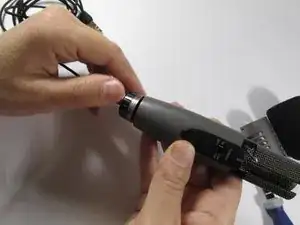
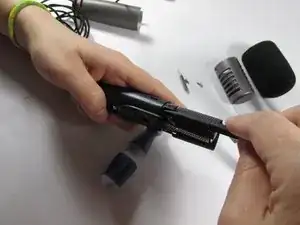
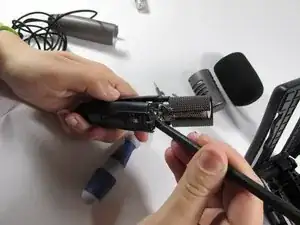
    • Unscrew the base of the microphone in a clockwise motion and separate the bottom and top of the microphone.

  4. EU6JQP2bfOERTkV6
    • Using a Phillips #2 screwdriver, remove the screw directly above the battery.

  5. M1rnmxPom5DfMxbD
    • Use a Phillips #0 screwdriver to remove the black screw near the bottom of the microphone.

  6. hXKprlg5A1KfgKcN
    hXKprlg5A1KfgKcN
    ed24jw2oKDPjBCyk
    Kq6dJUF5Jv6MqYgq
    • Use the heavy duty spudger to detach the grip area from the microphone.

Conclusione

To reassemble your device, follow these instructions in reverse order.

Kefaya

Membro da: 23/01/14

364 Reputazione

0 commenti