Introduzione
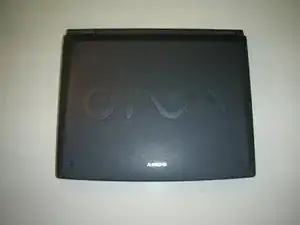
This guide will help you replace the clock battery in your Sony Vaio PCG-981L computer. Before starting, check to make sure your computer model matches the one in this guide as there may be differences in design. Next, make sure all of your files are saved and backed up, shut down your computer properly, and remove all cords.
Strumenti
-
-
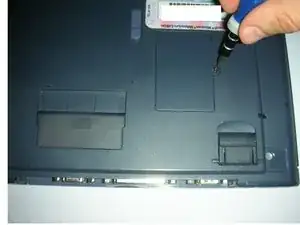
Flip your computer upside down.
-
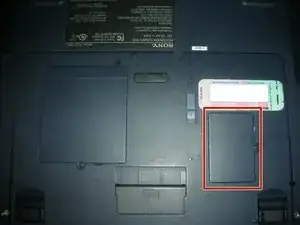
Use a Phillips #1 screwdriver to remove the single screw securing the cover.
-
-
-
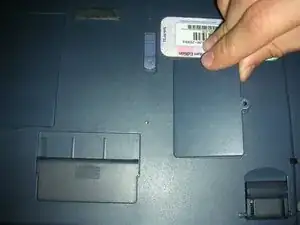
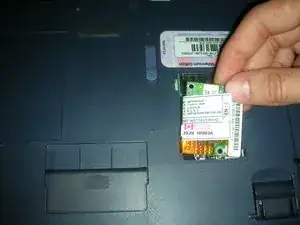
After removing the cover, identify the two screws holding the computer chip in place.
-
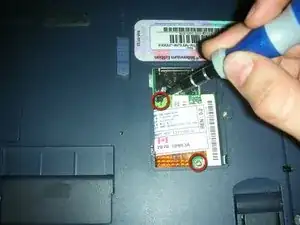
Use a Phillips #1 screwdriver to remove the two screws that secure the computer chip by turning your screwdriver counterclockwise.
-
-
-
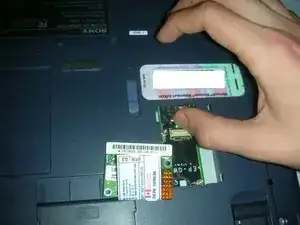
Using your thumb or index finger, locate the clock battery on the upper part of the capsule.
-
Apply pressure to the clock battery until it pops out and remove it from your computer.
-
-
-
Push your new clock battery into place using your thumb or index finger at the same place where you removed the old clock battery.
-
-
-
Carefully replace the computer chip and secure the two screws using your Phillips #1 screwdriver by turning the screwdriver clockwise.
-
-
-
Flip your computer right side up and turn it on to make sure everything is functioning properly.
-


If your computer does not function properly after you have completed this guide, please review the guide to see if you missed a step. If not, contact your computer manufacturer for assistance.