
Introduzione
Che stiate accatastando la legna da ardere in vista dell'inverno, o stiate andando in città per bere un caffè, non rinunciate a indossare i vostri jeans preferiti solo perché si è staccato un bottone. Con l'aiuto di questa guida e di un martello, i vostri jeans torneranno come nuovi in pochi minuti.
Per i ricambi o per ricevere ulteriore assistenza, contatta il Servizio Clienti di Patagonia.
Strumenti
Ricambi
-
-
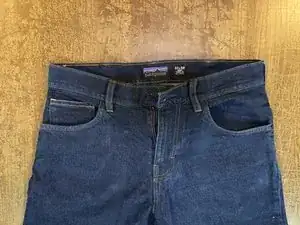
Posiziona i jeans con la parte frontale rivolta verso l'alto, su di un tavolo robusto o un banco da lavoro.
-
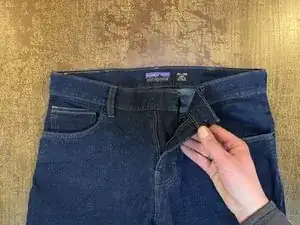
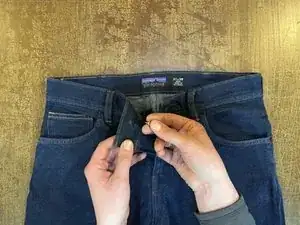
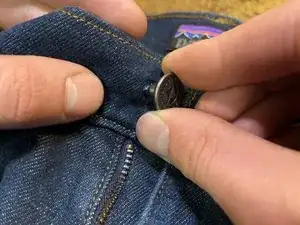
Apri la zip per rivelare il foro del bottone mancante.
-
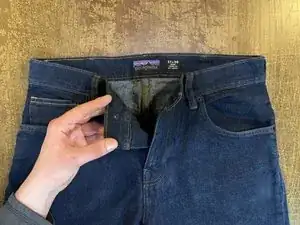
Con le dita, tieni il girovita in corrispondenza del foro e rivoltalo, così da poter vedere il retro del foro stesso.
-
-
-
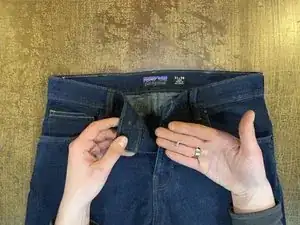
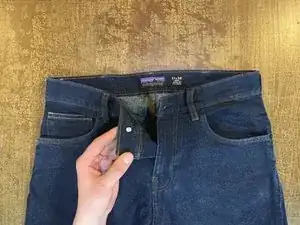
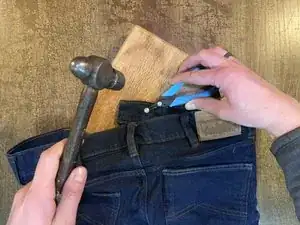
Inserisci il rivetto nella parte posteriore del foro.
-
Fai passare il rivetto attraverso il foro.
-
-
-
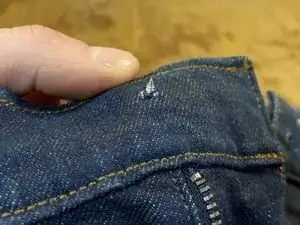
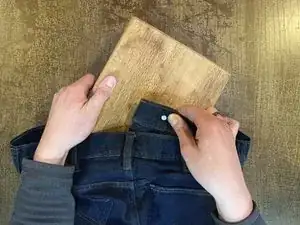
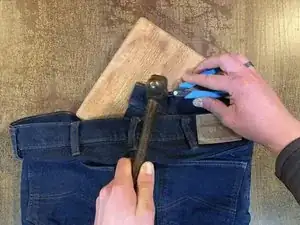
Inserisci una superficie piana, come un pezzo di legno o un tagliere, direttamente sotto al bottone.
-
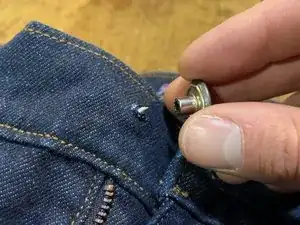
Assicurati di utilizzare un martello o mazzuolo piccolo (da 0,5 kg), così da evitare di danneggiare il rivetto e il bottone. Dai una martellata decisa verso il basso al rivetto, per fissarlo al bottone.
-


10 commenti
Nice, but let's consider how this situation occurs. The tack comes out of its hole, just simply replacing it is not realistic, unless the new tack is significantly bigger. So how do you "repair" the hole such that it will hold a tack again?
As noted in step 2, you can move the tack over to where the denim isn't damaged. If that will cause the jeans not to fit properly, you can sew a folded piece of denim behind the hole (sew around the edges on the inside of the jeans) and punch the tack through the new piece.
I didn´t have a new button and was in a pinch. Just ripped the old button off completely, jammed it in the tail end of a hammer and yanked it apart with som pliers. Then i followed the instructions in this fix. Worked like a charm, so far...
Thanks I’m gonna try this first!
The best thing to do is patch the hole. I simply use fabric glue and some pieces of blue jeans that you probably have hanging around. Trim off the extra threads and then apply fabric glue to the back of the waist band covering the hole made by the old button. Do the same on the front and then let dry. about 30 minutes or so, if you have a machine I always stitch back and for on the edges. Trim any edges or use additional glue to tack them down. Now because you have strengthened the hole carefully push the back of the button through where you can see the end, add the front to the nail end and turning the garment face down on a protected hard surface hammer about 3 times and check to see if it is sturdy, continue to hammer until you have reached the objective. Now you have got many more years with that button.