
Introduzione
Se hai problemi con il tuo OnePlus 6 come il non mantenere la carica o non accendersi, puoi seguire questa guida per sostituire la batteria del tuo telefono.
La batteria del telefono si occupa di fornire energia al tuo telefono, e avere una batteria in buone condizioni è la chiave per la longevità del tuo dispositivo.
Alle volte, la batteria del telefono, anche nel OnePlus 6, può esaurirsi e causare frustrazioni. Questi problemi possono essere dovuti ad una miriade di motivi come il sovraccarico del telefono con troppe app o per via di una batteria difettosa od esaurita. Assicurati di aver dato un'occhiata alla pagina di Risoluzione Problemi OnePlus 6 per verificare se c'è una soluzione semplice, prima di procedere con la sostituzione. Se nulla di ciò dovesse funzionare, questa guida passo passo ti mostrerà come sostituire la vecchia batteria con una nuova, così da riavere il tuo OnePlus 6 operativo come prima.
Strumenti
Ricambi
-
-
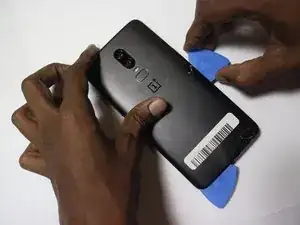
Accendi la pistola termica alla minor temperatura e scalda delicatamente gli angoli curvi del pannello del telefono.
-
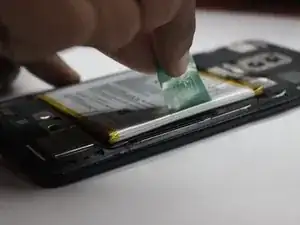
Inserisci gli sturmenti di apertura tra il pannello frontale e posteriore e falli scorrere lungo il perimetro per rimuovere l'adesivo che tiene tutto insieme.
-
Ripeti l'operazione fino a quando il pannello non sarà completamente rimosso.
-
-
-
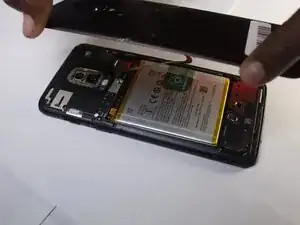
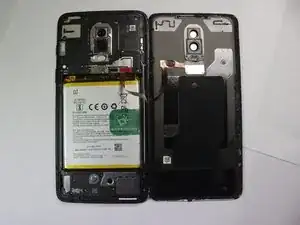
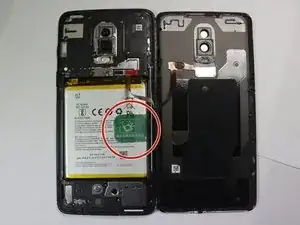
Delicatamente solleva il pannello posteriore, facendo attenzione a non danneggiare il cavo del sensore del lettore di impronte.
-
-
-
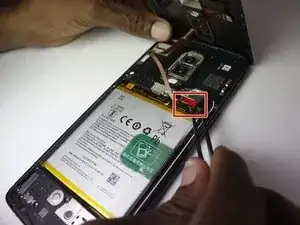
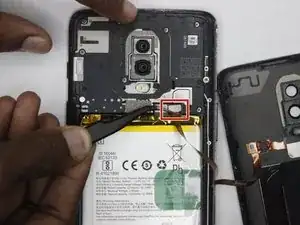
Usando un paio di pinzette, tira delicatamente il cavo rosso e scollegalo dal dispositivo.
-
Rimuovi completamente il pannello posteriore dal dispositivo.
-
Per riassemblare il dispositivo, segui le istruzioni nell'ordine inverso.
Per avere delle performance ottimali, dopo aver completato al guidia, calibra la tua nuova batteria.
Porta il tuo rifiuto elettronico in un centro di smaltimento autorizzato R2 o e-Stewards.
6 commenti
How do I glue the phone back together when I am done? Do I need to add more glue? Do I just heat it with the heat gun again and squeeze it together?
I agree, this is unclear.
The "Parts" section at the top includes "Precut adhesive card", but when you click on that item, it gives a whole bunch of different size options for rolls of tape (8mm, 5mm, 1mm, etc.) and it's unclear which size to get. Does anyone have details of this?
Greg -
Great tutorial, battery is fixed thank you ! If you prefer videos, this one is a good complement https://www.youtube.com/watch?v=OBN7Tc7J...
Battery good so far, instructions clear enough! I turned the phone on immediately after replacing the battery to make sure everything worked. This was to avoid putting the phone back together only to find it wouldn't turn on, and then having to dismantle it again.
One thing you may want to pay attention to is not to separate the screen (front) layer from the phone, rather than the back side, which is what I did on my first try.
I opted not to get adhesive strips and I simply applied thinly cut electrical tape around the phone's edges, on the outside, to keep it together after fixing. Not terribly aesthetic but does the job well enough, especially if you use a book-style phone case like me.
Pretty doable fix for a first-timer, especially when using the fixit tools (picks, spudgers etc). Happy with the results. Thank you for the guide!
Nic F -
I used half a razor blade here
derhagen -