Introduzione
Ricambi
-
-
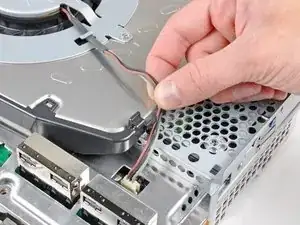
Sfila i cavi della ventola dalla guida di plastica attorno al dissipatore.
-
Disconnetti la ventola dalla scheda madre.
-
-
-
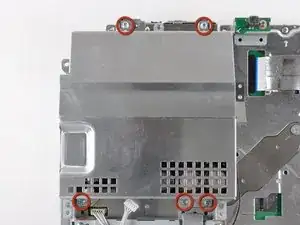
Rimuovi le due viti Phillips da 9 mm che fissano il lettore delle schede di memoria allo chassis.
-
-
-
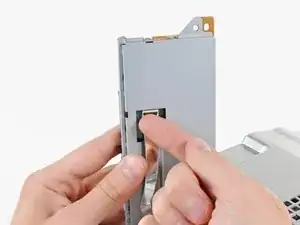
Solleva il lettore delle schede di memoria dalla PS3 quanto basta per poter accedere al suo cavo piatto.
-
Inclina verso l'alto il blocco di sicurezza presente sulla presa del cavo piatto del lettore di schede di memoria.
-
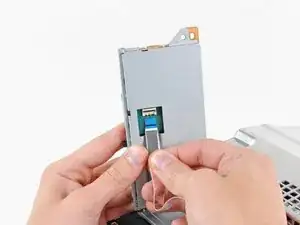
Tira il cavo piatto fuori dalla presa e rimuovi il lettore di schede di memoria.
-
-
-
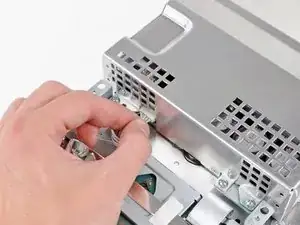
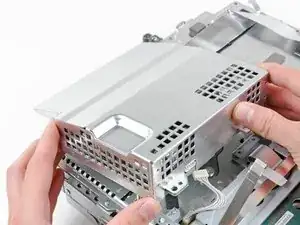
Solleva l'alimentatore prendendolo per il suo lato anteriore per affrancarlo dalle due spine collegate alla scheda madre.
-
Rimuovi l'alimentatore.
-
-
-
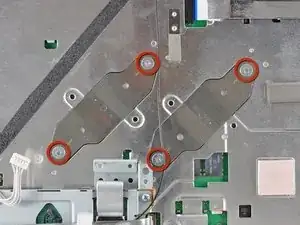
Solleva l'alimentatore prendendolo per il suo lato anteriore per affrancarlo dalle due spine collegate alla scheda madre.
-
Rimuovi le due staffe tenute ferme dalle viti che hai appena rimosso.
-
-
-
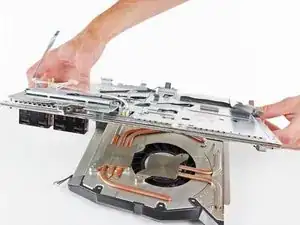
Solleva la scheda madre dal dissipatore.
-
Ricorda di applicare un nuovo strato di pasta termica quando rimonterai il dissipatore.
-


Per rimontare il tuo dispositivo, segui queste istruzioni in ordine inverso.
