Introduzione
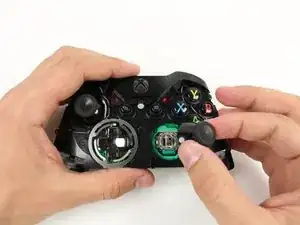
Questa guida ti mostrerà come sostituire la tua levetta analogica. Se hai una levetta analogica difettosa, sei arrivato nel posto giusto.
Strumenti
Ricambi
-
-
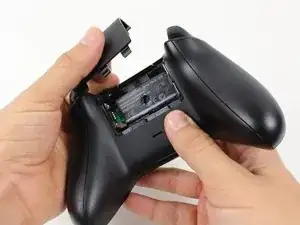
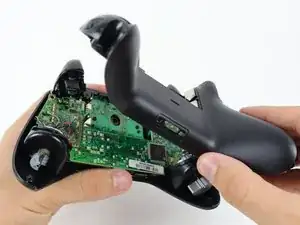
Agguanta il controller saldamente per rimuovere la copertura posteriore dell'impugnatura, fai forza con lo spudger nella fessura tra la parte frontale e posteriore della copertura.
-
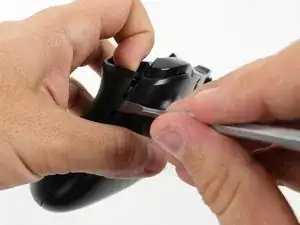
Stacca la copertura posteriore dell'impugnatura muovendo avanti ed indietro lo spudger. Ripeti questa operazione lungo tutta la lunghezza della fessura, tutt'intorno all'impugnatura.
-
-
-
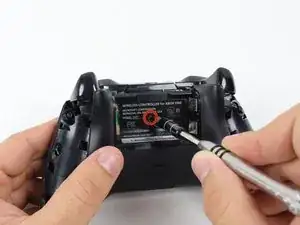
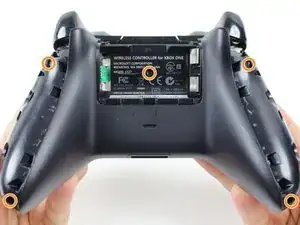
Usa un cacciavite e fai un foro al centro dell'etichetta.
-
Rimuovi le cinque viti da 10 mm poste sul retro del controller usando il cacciavite Torx Security T8.
-


Per riassemblare il dispositivo, segui le istruzioni nell'ordine inverso.
30 commenti
Is there any advice for a controller that has had this repair, but continues to drift? I have done this repair successfully many times, and now i have a controller that (with 2 different replacement parts) continues to drift.
Is there a reset or config I can do?
Jim -
Drift issues are a different problem you would need to solder a new joystick box to fix that this is for loose or damaged thumb sticks
I used a cotton ball on my Xbox one Elite to fix drifting issues.
ajcroyle -
Does anyone know the correct SKU for the joystick box for the Model 1537 in particular? And any link to purchase it. Thanks
ZuYao -
Can i apply 2 thumbsticks off the xbox 360 controller when i removed them?
You can try to solder the connections on, but I wouldn't put it past Microsoft to make different connections. You can try it, let us know how it works out if you do.
Alec -
Any luck with the 360 component transplant?
Hi I also have a drifting issue with my Xbox one controller & I was wondering is some lubrication on the joy stick would fix the problem