Introduzione
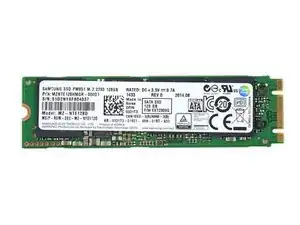
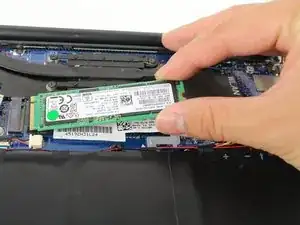
Questa guida ti mostrerà come sostituire l'SSD nel Dell XPS 13. Se il tuo SSD originale funziona ancora, assicurati di creare un backup completo o clonarlo prima di iniziare. Puoi seguire questa guida sia per aumentare la capacità del disco, sia per sostituirne uno difettoso. Se installi un SSD vuoto, Dovrai reinstallare Windows (o il sistema operativo che preferisci) una volta conclusa la riparazione.
Ricambi
-
-
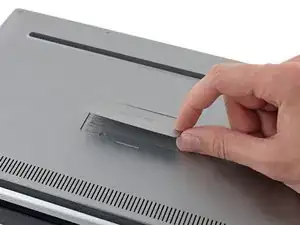
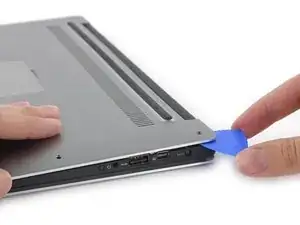
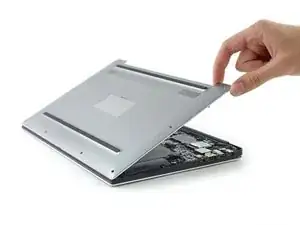
Usa dei plettri o uno strumento per fare leva in plastica per rilasciare i ganci della copertura, iniziando dal bordo posteriore.
-
-
-
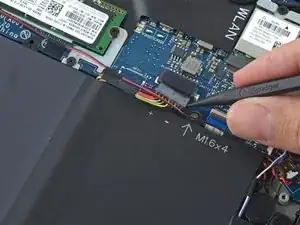
Tira il connettore del cavo della batteria verso la batteria stessa per scollegarlo dalla sua presa.
-
Se il connettore è incastrato, spingilo un po' da un lato, poi spingi l'altro, per "guidarlo" fuori dalla presa.
-
Se hai dei problemi a guidare il connettore fuori dalla presa, usa la punta di uno spudger per spingere delicatamente sull'indentazione del connettore per sfilarlo.
-
Apri lo schermo e premi il tasto di accensione per cinque secondi per scaricare qualsiasi carica dal sistema.
-


Per rimontare il tuo dispositivo, segui le istruzioni in ordine inverso.
12 commenti
I’m kinda new on pc upgrading. So once I install a new m.2 I’ll need to install a new window 10 right
Yes, you have to install windows again. or you can clone your existing ssd onto the new one using some adapters easily found online
You will have to reinstall unless you are buying a samsung m.2 which comes with a disk duplicator utility. The xps 13 cames with a samsung early life evo disk (128GB) and transferring from 1 evo to another is very easy with the app. I believe its the same with every disk though I havent tried the latter.
Dell has some nice recovery tools:
https://www.dell.com/support/kbdoc/en-us...
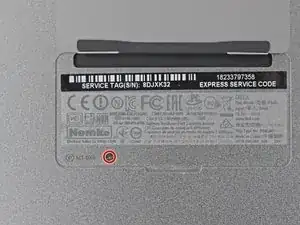
I downloaded a recovery image to use from a USB drive. I am using it to reinstall the Windows that came with the PC. You don't have to be the original owner but you do need to have the Dell asset number usually stored in the bios
https://www.laptopmag.com/articles/upgra...
helpful resource
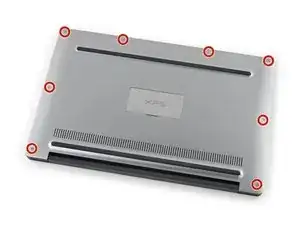
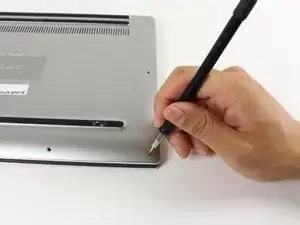
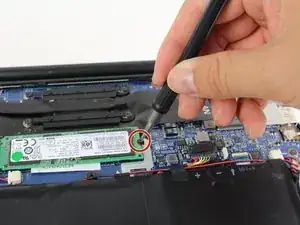
Missing a step about removing the tiny Phillips head screw under the XPS flip up cover in the middle. Also, there are hooks all the way around the cover so it doesn’t simply lift off.
curtis_p_brown -
What about step 3???
Peter Hecht -
Please dont hurry , take your Time to follow this procedure. It takes 20 min (not 5) and step 4 requires half of this Time. Good luck.
Peter Hecht -
+1 Peter Hecht is right - getting the little clips the back is snapped on with is time consuming and a bit fiddly for people not used to “spudging” off covers. Starting from the back is the key those come loose much easier and help with the rest
Doug Steinschneider -