Introduzione
Assicurati che il tuo dispositivo sia spento prima di iniziare. Quindi appoggialo su un tavolo con lo schermo rivolto verso il basso.
Ricambi
-
-
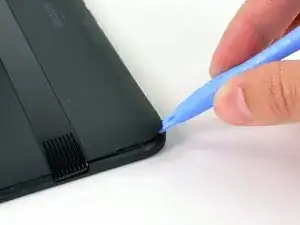
Infila uno strumento di apertura in plastica sotto l'angolo in basso a destra del Kindle Fire.
-
Fai leva finché non senti un rumore di scatto.
-
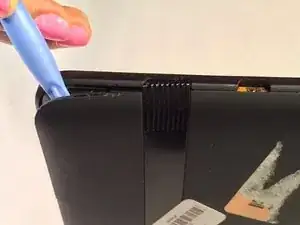
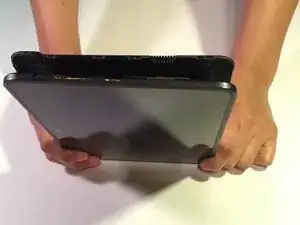
Ripeti questa procedura lungo tutto il perimetro del dispositivo per rilasciare i ganci che tengono insieme le due metà della copertura. Rimuovi la copertura posteriore.
-
-
-
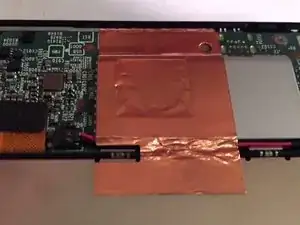
Se il tuo adesivo ha del nastro in rame attaccato alla batteria, separali attentamente dalla batteria.
-
-
-
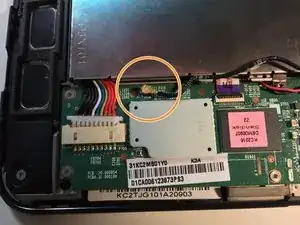
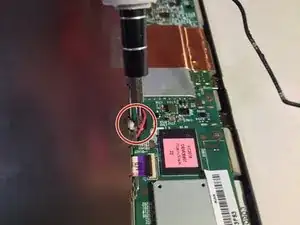
Trova il connettore del cavo dell'antenna, che è semplice da trovare se cerchi il cavo nero con la punta d'orata che passa attorno alla batteria.
-
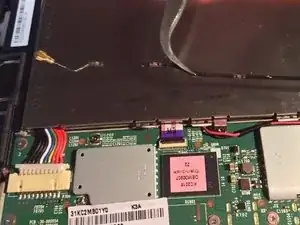
Solleva e tira il connettore e il cavo dell'antenna che passa attorno alla batteria.
-
-
-
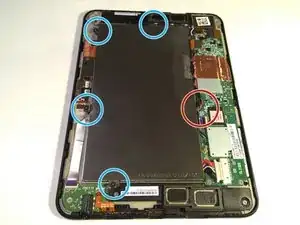
Trova e svita le quattro viti da 3 mm con un cacciavite a croce Phillips #00.
-
Svita la vite da 2 mm con un cacciavite Torx T5.
-
-
-
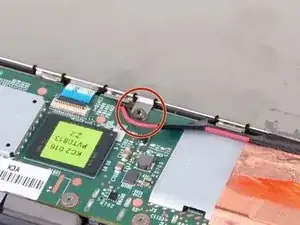
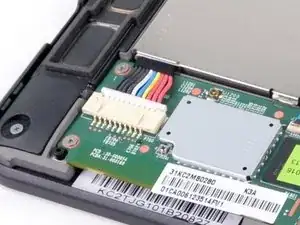
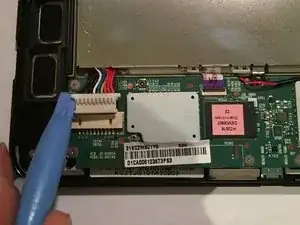
Scollega il pezzo di plastica che collega i cavi alla scheda madre usando lo strumento di apertura in plastica.
-

Per rimontare il tuo dispositivo, segui le istruzioni in ordine inverso.
6 commenti
Help. During our removal of the battery, the red and black wires that run along the long edge of the battery pulled free of their plug. Now we can't get them reattached. Not sure about polarity either.
Marc -
Where can you get a replacement battery
Easy peasy! The hardest thing was getting the back cover off (and back on). Our local electronic repair store refused to open the case for me (they’ll never get any business from me), so I asked my dentist to do it, and he did (and loved it). I can’t remember where I ordered the battery from; I just put the model number in a search engine and got several hits. The one I bought was new, cheap ($14), came in two days, and had all the tools with it! Thanks, ifixit; I’ll get a few more years out of this older one, which I use for crosswords puzzles and solitaire; you know, stuff you do in the waiting room. btw, I’m a 78-year-old woman.
Just Me -
Nice work, proud of you.I would have never thought to ask your Dentist.
Dano -