
Introduzione
Questa guida ti aiuterà ad accedere in sicurezza alla batteria del Surface e ad installarne una nuova.
Strumenti
Ricambi
-
-
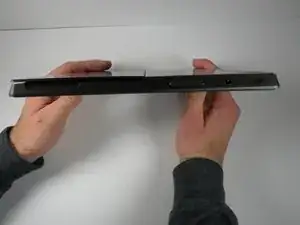
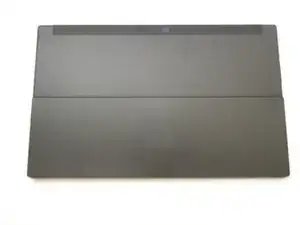
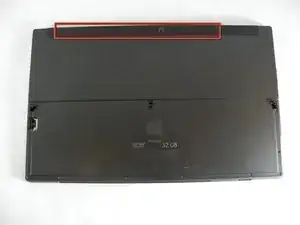
Gira attentamente il tablet a faccia in giù.
-
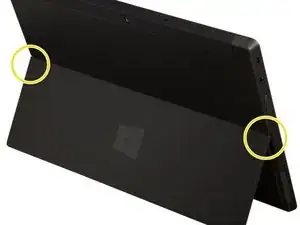
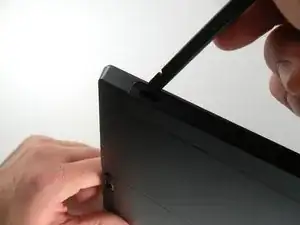
Tira gli angoli inferiori per aprire il cavalletto.
-
Fai riferimento alle immagini.
-
-
-
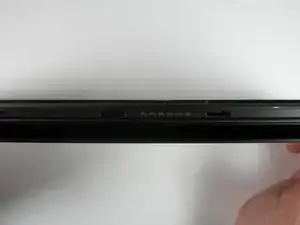
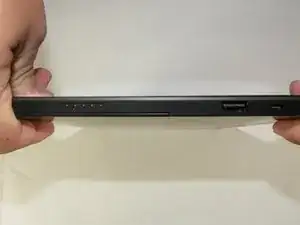
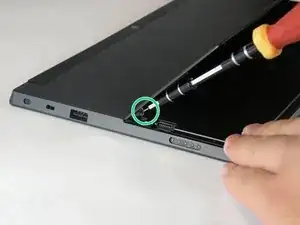
Svita le due viti Torx T5 da 5,08 mm. Le due viti sono posizionate all'estremità destra e sinistra della cerniera del cavalletto.
-
Assicurati di non spanare la testa delle viti mentre le sviti.
-
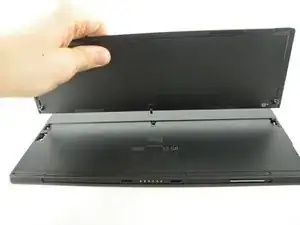
Dopo aver rimosso tutte le viti fai ondeggiare delicatamente il cavalletto finché la leva nel centro viene liberata, rilasciando il cavalletto.
-
-
-
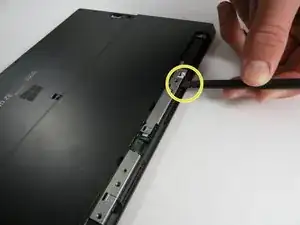
Usa uno spudger o uno strumento a testa piatta simile per fare leva sui ganci del bordo evidenziato nell'immagine. Rimuovi il rivestimento in plastica che copre la camera con lo strumento scelto.
-
-
-
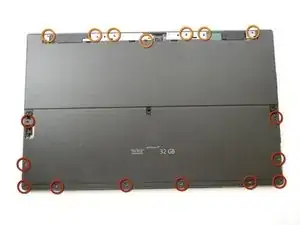
Ora svita le dieci viti Torx T5 da 5,92 mm posizionate sotto il cavalletto.
-
Svita le sette viti Torx T5 da 5,87 mm posizionate sotto il rivestimento della camera. C'è un'etichetta che copre la seconda vite da sinistra.
-
Separa la scocca posteriore dal telaio infilando uno spudger nella fessura tra i due.
-
Continua a far scorrere lo spudger attorno gli angoli e lungo i bordi per liberare i ganci che fissano la scocca al dispositivo.
-
-
-
Ruota il dispositivo di 180° in moco che il bordo inferiore sia rivolto verso di te.
-
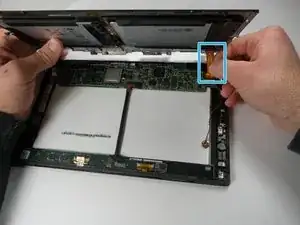
Un cavo a nastro collega la batteria fissata sulla scocca posteriore alla scheda madre. Solleva lentamente la scocca finché non riesci ad accedere al cavo.
-
Usa uno spudger per scollegare il cavo dalla sua presa, spingendolo parallelamente alla scheda madre.
-
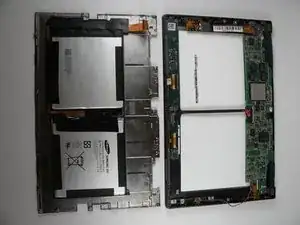
Rimuovi la scocca posteriore sollevandola dal dispositivo.
-
-
-
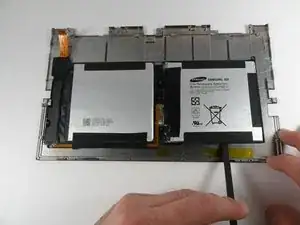
Infila delicatamente lo spudger sotto un bordo della batteria e fallo scorrere più volte sotto tutti i bordi finché non è separata dalla scocca.
-

Per rimontare il dispositivo, segui le istruzioni in ordine inverso.
12 commenti
An excellent guide, i would have thought i was going to break the surface if it wasn't for this guide simply showing how to remove certain items that are just clipped in place. Highly recommend obtaining a set of plastic prising tools, available from auction sites under i-phone repair tools else you will damage the plastic covers.
I have a Surface RT and the battery stopped charging. Eventually, it completely drained and was no longer useable. The charger was definitely working but connecting the charger to the Surface RT did not allow functionality.
Disconnecting and reconnecting the battery solved my issue. RT now is working. Thanks! This helped me avoid replacing the power supply.
I have been scouring the internet these past few days for a solution to the same problem you had. I have been wondering if the problem was poorly attached cables or a dead battery. Yours is the first comment I've read suggesting "yes" to incorrect cable attachment. Just to clarify: you detached and re-attached your Surface RT battery cable? You did not replace the battery with a new battery?
dw97459 -
I have a Microsoft Surface, in trying to change the battery the Surface was reassembled with glue.
Could I open it to replace the battery and then reassemble it?
Thank you.
Thes instructions should include publish date and which generation of Surface they are based on. It’d be unfortunate if lead someone to disassemble a device that has changed.
BigMo -