Introduzione
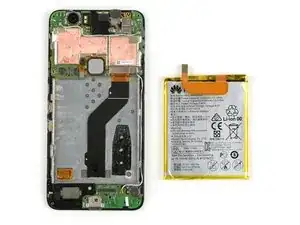
Usa questa guida per sostituire la batteria del tuo smartphone Nexus 6P. In fase di rimontaggio applica del nuovo adesivo dove necessario.
Se la tua batteria è gonfia, prendi adeguate precauzioni.
-
-
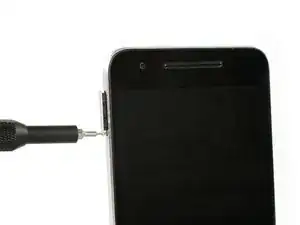
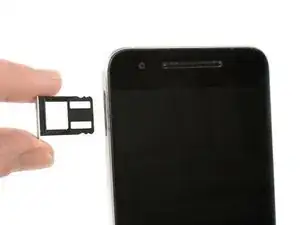
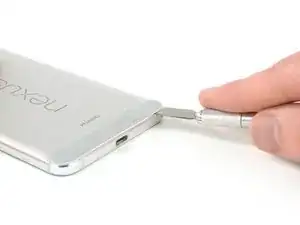
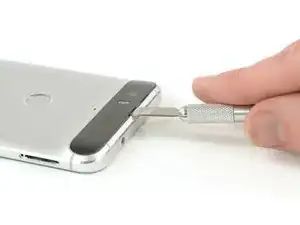
Con uno strumento estrazione SIM tira fuori e rimuovi il vassoio della scheda SIM.
-
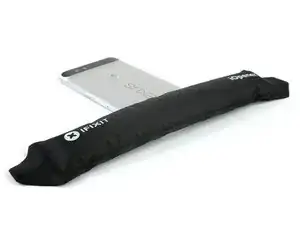
Usa un iOpener per ammorbidire l'adesivo sotto il piccolo coperchio di plastica sulla parte inferiore del telefono.
-
-
-
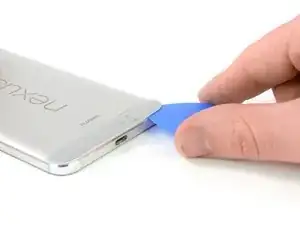
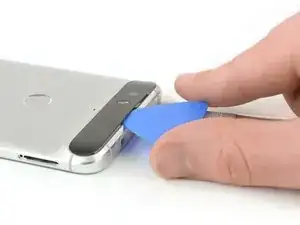
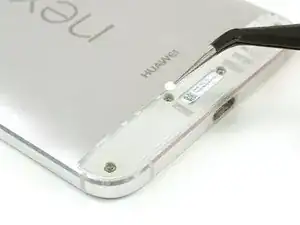
Inserisci un coltello fra il telefono e il coperchio di plastica. Solleva il coperchio finché riesci ad inserirci un plettro di apertura.
-
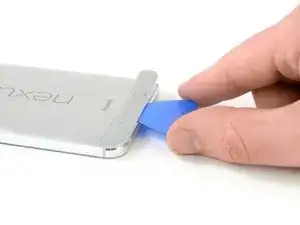
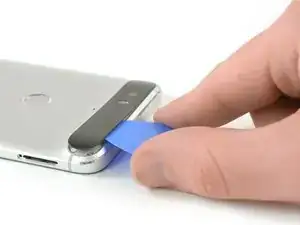
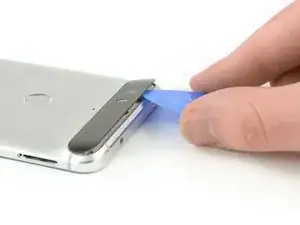
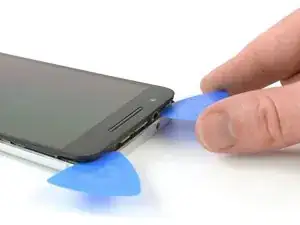
Fai scorrere il plettro di apertura sotto il coperchio di plastica per tagliare l'adesivo.
-
-
-
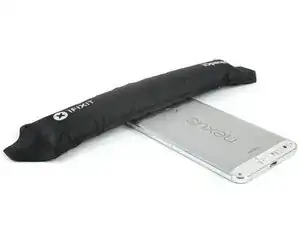
Usa un iOpener per ammorbidire l'adesivo sotto il coperchio di vetro sulla parte superiore del telefono.
-
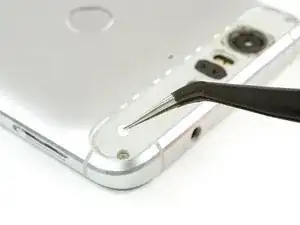
Inserisci un coltello fra il telefono e il coperchio di vetro. Solleva il coperchio finché riesci ad inserirci un plettro di apertura.
-
-
-
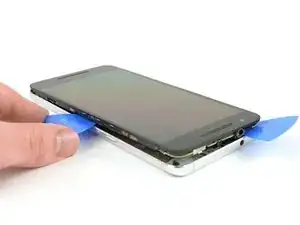
Fai scorrere il plettro di apertura sotto il coperchio di vetro per tagliare l'adesivo sottostante.
-
Solleva il coperchio di vetro.
-
-
-
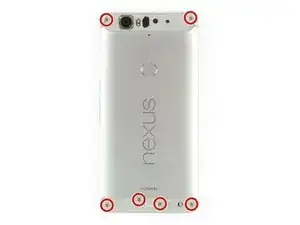
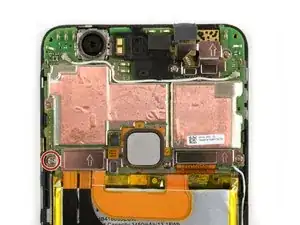
Svita le sei viti a croce Phillips #00.
-
Usa delle pinzette per rimuovere eventuali sticker presenti sulle teste delle viti per avere una migliore presa con il cacciavite.
-
-
-
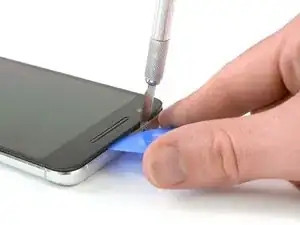
Inserisci un coltello fra la cover posteriore metallica e il vetro frontale per creare una fessura. Inserisci un plettro di apertura in questa fessura e fallo scorrere verso l'angolo superiore destro.
-
Inserisci un secondo plettro di apertura e fallo scorrere verso l'angolo superiore sinistro.
-
Fai scorrere i plettri lungo i lati per sganciare le clip di plastica che fissano il case posteriore al telaio centrale.
-
Rimuovi la cover posteriore.
-
-
-
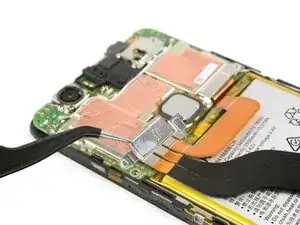
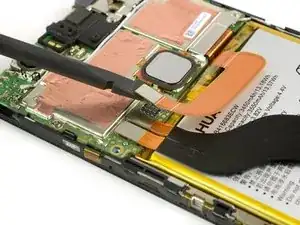
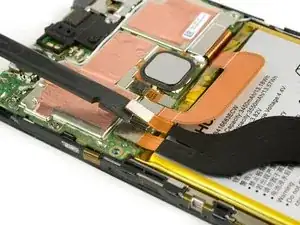
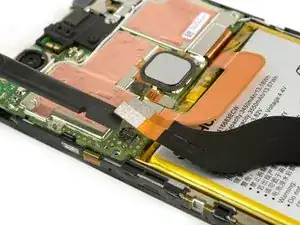
Usa l'estremità piatta di uno spudger per disconnettere il cavo di interconnessione dalla scheda figlia.
-
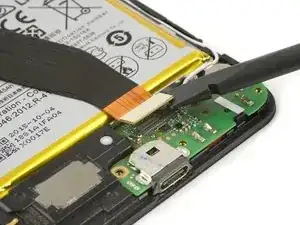
Usa un iOpener per ammorbidire l'adesivo sotto la batteria.
-
-
-
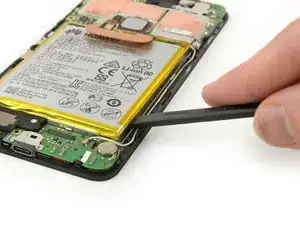
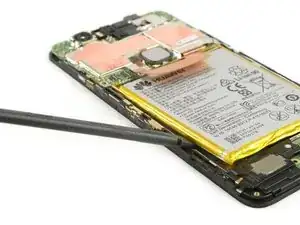
Inserisci l'estremità piatta di uno spudger fino al notch e fallo delicatamente scorrere lungo il bordo per tagliare l'adesivo.
-
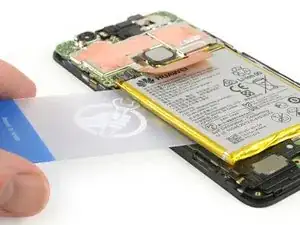
Usa una scheda di plastica per tagliare l'adesivo residuo sul lato sinistro sotto la batteria.
-

Per rimontare il tuo dispositivo segui queste istruzioni in ordine inverso e applica del nuovo adesivo dove necessario.
Dopo aver completato questa guida, calibra la batteria appena installata.

37 commenti
In case anyone is wondering, I was able to get the two small back covers to reassemble without using new adhesive. I didn’t have any on hand so I just used a heat gun to warm the adhesive that was left over and firmly held them in place. So far it seems to be holding well.
Adhesive? I’m wondering what kind of adhesive to use for reassembly?
Didn’t need any additional adhesive and the iopener worked fine for both loosening adhesive for disassembly and getting it sticky again for reassembly.. Managed not to break the glass camera cover!
any tips on using the iOpener for the top glass? It dosen’t seem to be helping me at all. :(
For the heat gun users — any approximate temperature, and distance from phone, to not damage it?
Kamal -
Hi Kamal,
my advice is the be very, very gentle with a heat gun. Especially the small plastic cover at the bottom end deforms within seconds. Try the lowest heat you can, with a good distance to the cover. Then try to remove the cover. If it doesn’t go off, lower the distance of the heat gun to the phone and try again and so on. I recommend to rather pry a little bit more than to use to much heat. If the cover deforms you’ll need a new one.
Dominik Schnabelrauch -
Is their a particular time i should have my heat gun on it like for ex: 10 secs
PlayStation Studios -
Hi,
there’s no particular time but I advise you to go only for a couple of seconds and then try to remove the plastic cover. If you can’t manage to remove it, repeat the heat gun process and so on. Under strong heat the plastic cover deforms very fast and is not usable anymore.
Dominik Schnabelrauch -
Hi,
I used a hair dryer (exhaust air about 60°C) instead of a heat gun: this temperature was sufficient to soften the glue. The plastic and glass cover could be removed without damage.
Daniel Demuth -
The Ifixit SIM removal tool is a bit rough for the 6P SIM eject opening I suggest a small paper clip and its easier for aged fingers to use.
Terry Ess -
The IOpener may need to be applied more than once in cold weather. Even for a first time repairer it is possible to remove the small lower rear cover without damage.
Terry Ess -