
Introduzione
Utilizza questa guida per sostituire la batteria esausta o morta del tuo OnePlus 8T.
Se la tua batteria è gonfia, prendi adeguate precauzioni. Per la tua sicurezza, scarica la batteria sotto il 25% prima di smontare il telefono. Questo riduce il rischio di un pericoloso evento termico nel caso la batteria venga accidentalmente danneggiata durante la riparazione.
Ti servirà dell'adesivo di ricambio per rincollare alcuni componenti durante il rimontaggio.
Ricambi
-
-
Spegni il tuo telefono.
-
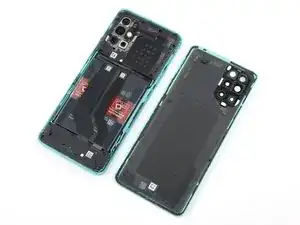
Riscalda un iOpener per allentare l'adesivo al di sotto del vetro posteriore. Applica l'iOpener per almeno due minuti. Potresti aver bisogno di ripetere questo passo diverse volte durante la rimozione del vetro posteriore.
-
-
-
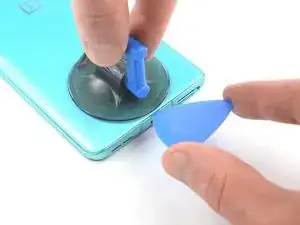
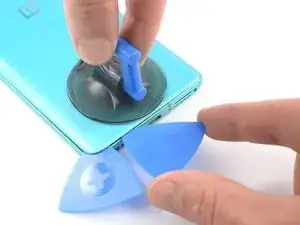
Applica una ventosa sul retro del telefono, il più vicino possibile al centro del bordo inferiore.
-
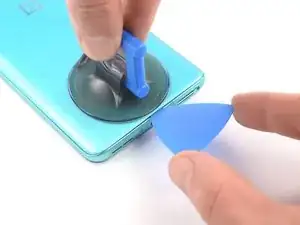
Tira su la ventosa per creare una fessura tra il vetro posteriore e il telaio.
-
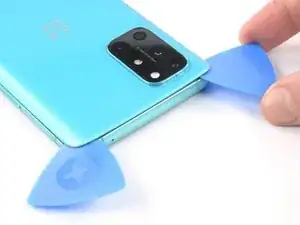
Inserisci la punta di un plettro all'interno della fessura e fallo scorrere fino all'angolo inferiore sinistro.
-
Lascia il plettro in posizione per impedire che l'adesivo si rincolli.
-
-
-
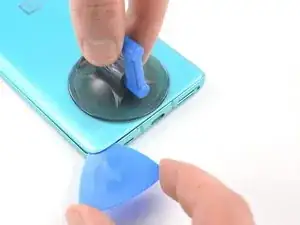
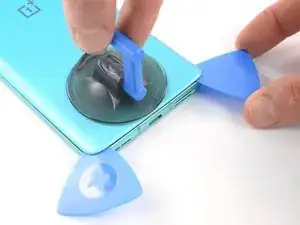
Inserisci un secondo plettro al di sotto dell'angolo inferiore sinistro.
-
Fai scorrere il plettro lungo il bordo inferiore fino all'angolo inferiore destro.
-
Lascia il plettro nella sua posizione per impedire all'adesivo di richiudersi.
-
-
-
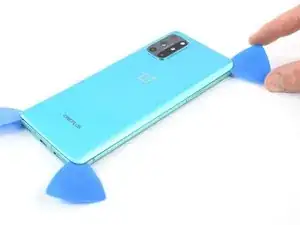
Inserisci un terzo plettro al di sotto dell'angolo inferiore destro.
-
Fai scorrere il plettro lungo il bordo destro fino all'angolo superiore destro.
-
Lascia il plettro nella sua posizione per impedire all'adesivo di richiudersi.
-
-
-
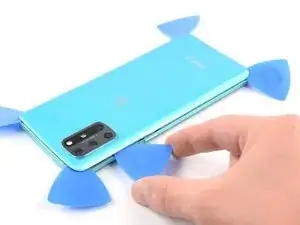
Inserisci un quarto plettro al di sotto dell'angolo superiore destro.
-
Fallo scorrere lungo il bordo superiore fino all'angolo superiore sinistro per tagliare l'adesivo.
-
Lascia il plettro nella sua posizione per impedire all'adesivo di richiudersi.
-
-
-
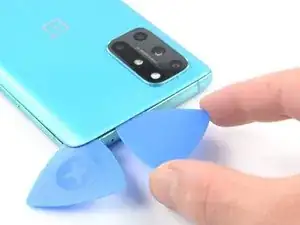
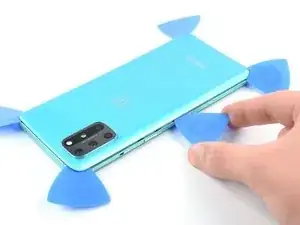
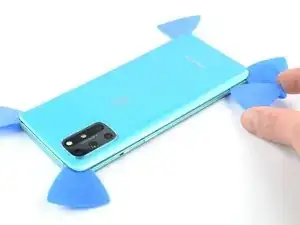
Inserisci un quinto plettro al di sotto dell'angolo superiore sinistro.
-
Fai scorrere il plettro lungo il bordo sinistro fino all'angolo inferiore sinistro per tagliare l'adesivo restante.
-
-
-
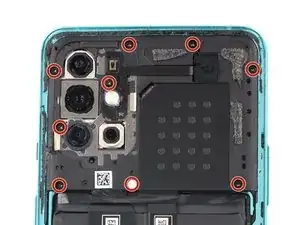
Utilizza il cacciavite a croce Phillips per rimuovere le nove viti da 3,8 mm che fissano la copertura della scheda madre.
-
-
-
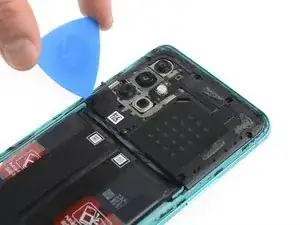
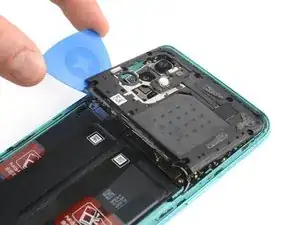
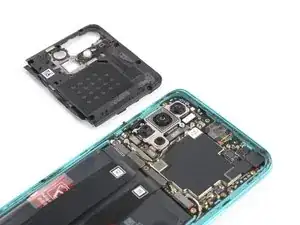
Inserisci la punta del plettro sotto l'angolo inferiore sinistro della copertura della scheda madre.
-
Utilizza il plettro per sollevare la copertura della scheda madre e per togliere le clip di plastica che la tengono ferma.
-
-
-
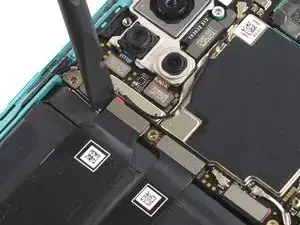
Usa uno spudger per scollegare la batteria dal suo attacco facendo leva direttamente sul connettore.
-
-
-
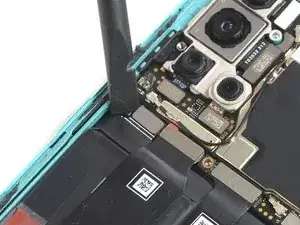
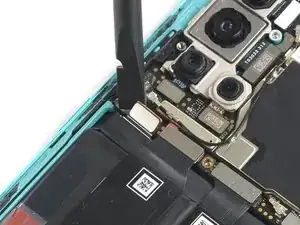
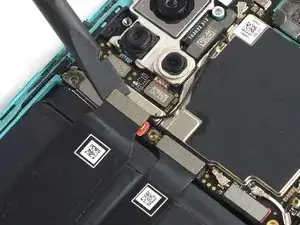
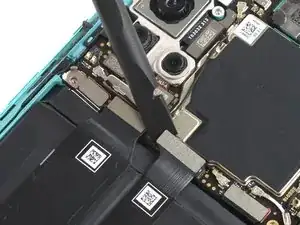
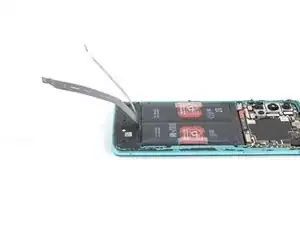
Usa la punta piatta dello spudger per scollegare i due cavi flessibili che coprono la batteria.
-
-
-
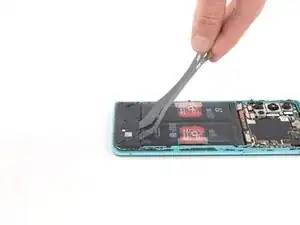
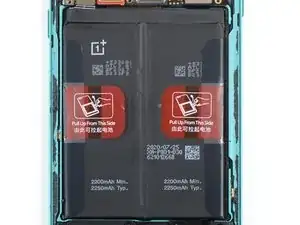
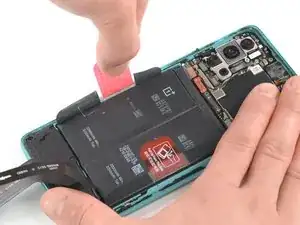
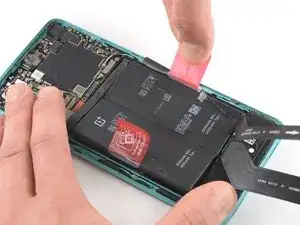
Stacca l'aletta rossa e l'adesivo nero dal bordo sinistro della batteria.
-
Alza l'aletta con forza moderata e salda per separare la batteria dall'adesivo che la tiene al suo posto.
-
-
-
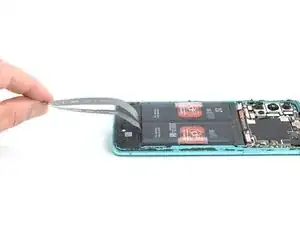
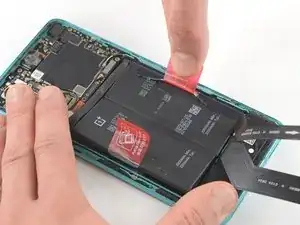
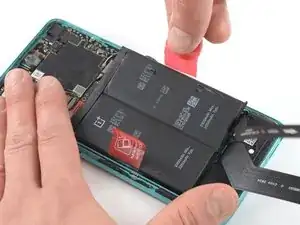
Stacca l'aletta rossa e l'adesivo nero dal bordo destro della batteria.
-
Alza l'aletta con forza moderata e salda per separare la batteria dall'adesivo che la tiene al suo posto.
-


Se possibile, accendi il tuo dispositivo e prova la tua riparazione prima di installare il nuovo adesivo e sigillare il telefono.
Fissa la nuova batteria con dell'adesivo già tagliato o con del nastro biadesivo. Per posizionarlo correttamente, applica il nuovo adesivo nel dispositivo nei punti in cui si trovava il vecchio adesivo, non direttamente sulla batteria. Premi saldamente la nuova batteria in posizione.
Per rimontare il dispositivo, segui le istruzioni in ordine inverso. Applica del nuovo adesivo dove necessario, dopo aver pulito le aree interessate con dell'alcool isopropilico (>90%)
Per prestazioni ottimali, calibra la batteria appena installata. Caricala al 100% e continua a caricarla per almeno altre due ore. Poi usa il tuo dispositivo finché non si spegne a causa della batteria scarica. Infine, caricala ininterrottamente fino al 100%.
Porta i tuoi rifiuti elettronici a un riciclatore certificato R2 o e-Stewards
La riparazione non è andata secondo i piani? Prova delle soluzioni a problemi di base o chiedi alla nostra comunità Risposte per trovare aiuto.

7 commenti
This doesn't look too bad. Heat the back cover enough to cut through the adhesive, then lift off the back cover. Unscrew 9 tiny #00 phillips screws and pop off the mobo cover. Lift 3 ribbon cable connectors. Pull the battery off the adhesive. Clean off all the old adhesive from under the battery and around the edge of the back cover. Then reverse the process to reassemble. You would need a new battery, and a new back cover if you broke the original one trying to remove it. You can get a new back cover from Amazon for $20, but the reviews all said it's not Gorilla Glass, and it's far less durable and crack-resistant than the OEM cover. Finding a good quality replacement battery seems to be more difficult, I don't see even one battery for sale on Amazon that says specifically that it fits this phone.
My refurbished OP8T's battery gave up randomly one day. Plugging in any charger/any attempt to boot would just briefly showed a lightning bolt icon and would fade to black.
With that said, I completed my fix yesterday evening without any issues. I used a blow-dryer to loosen the back cover rather than the iFixit heating tool, and it worked fantastically. I removed the dead stock battery and replaced it with a 4600mAh from eBay, taking care to move the sticky pull tabs from the old battery to the new for future repairs. The battery and two removed cables snapped in with an audible click.
When reseating the motherboard cover, be aware there's a little connector that needs to line up with the board, and that will click into place.
I resealed my device with gorilla glue (but there are better, more tailored glues on Amazon). I am a little worried about water and dust getting in now that I've broken the seal, so I would be very wary of that.
In total, repairs cost about $40 and 40 minutes of my time. Great guide!
Update 10/10/2023
So exactly a year later, my OnePlus 8T has given up on me. A few weeks ago, I noticed it began randomly shutting off. The screen would "fade" to black and I'd have to hold the power button down to start it back up. Today, it turned off completely and refuses to turn back on or boot into recovery.
I'm not sure if this was due to the third-party battery giving out (Generic 4600mAh battery from eBay) or if it was caused by any range of software issues. I'll be leaving it on the charger overnight and attempting another battery swap shortly, so hopefully that works.
Michael, please let us know how the next replacement goes. I’m attempting my first replacement right now. Thanks.
A question, the 8T has a battery rated at 4400mAh, while the battery in the store is 2200mAh. is this a mistake or does the replacement battery have half the battery life of the original?
I would assume that the replacement battery in the store is actually two 2250mAh cells packaged together in a series just like the stock battery that comes in the OnePlus 8T (it physically looks like it, even though its not labeled as such).
OPPO's SuperVOOC which is rebranded as Warp Charge in the OnePlus phones depends on multiple cells in a series to charge as fast as it does without introducing extra wear. So I highly doubt that iFixit would sell a replacement that doesn't meet these specs. It's probably just not labeled correctly and should be identical to the stock in capacity, both typical and rated.
Matt B. -