Introduzione
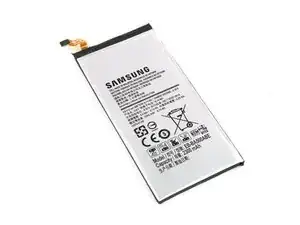
Se il tuo Galaxy A5 non tiene più la carica, usa questa guida per sostituire la batteria usurata.
Se la tua batteria è gonfia, prendi adeguate precauzioni.
Questa guida include la rimozione del display e del telaio centrale. Avrai bisogno di nuove strisce adesive per attaccare la batteria e il display al telefono.
Prima di smontare il tuo telefono, scarica la batteria sotto il 25%. La batteria può prendere fuoco e/o esplodere se forata inavvertitamente, ma le possibilità che questo succeda sono molto più basse se è stata scaricata in precedenza.
-
-
Spegni il tuo telefono.
-
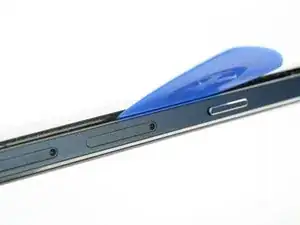
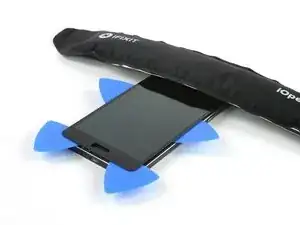
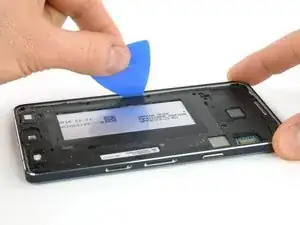
Usa un'iOpener per allentare l'adesivo sul bordo dello schermo. Concentrati prima sui bordi e poi sulla parte inferiore.
-
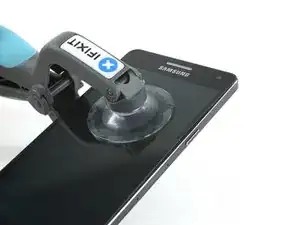
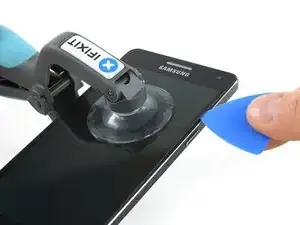
Solleva leggermente lo schermo con un'iSclack o una ventosa per inserire un plettro di apertura nella fessura.
-
-
-
Quando la colla è sufficientemente morbida sul lato, puoi sollevare leggermente lo schermo per inserire un plettro di apertura sotto lo schermo.
-
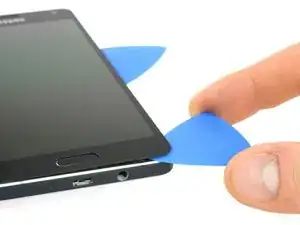
Prendi un secondo plettro e fallo scorrere lungo il bordo inferiore.
-
Ripeti l'ultimo passo e questo dall'altro lato.
-
-
-
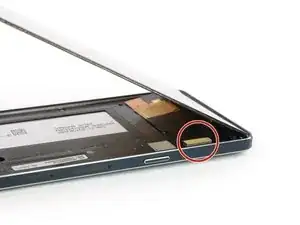
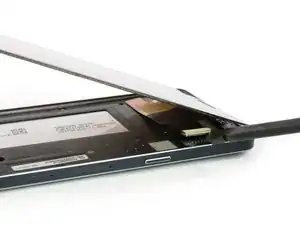
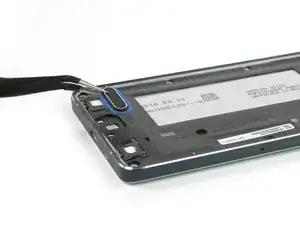
Nell'angolo superiore destro si trova il connettore del display. Usa uno spudger per staccarlo.
-
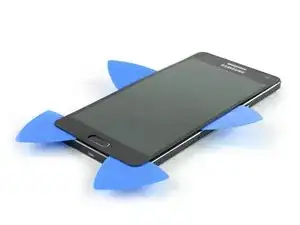
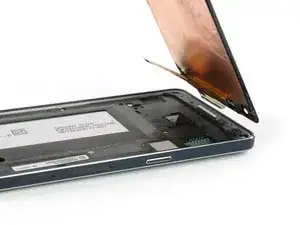
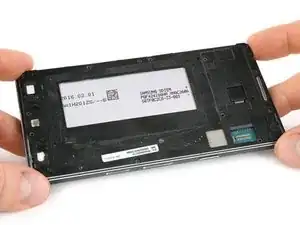
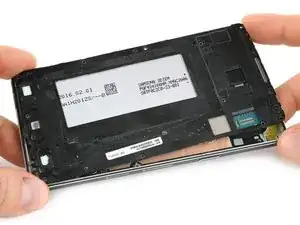
Ora puoi rimuovere lo schermo.
-
-
-
Estrai il pulsante home e mettilo da parte.
-
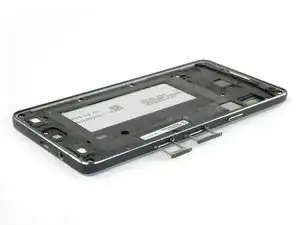
Rimuovi i vassoi della scheda SD e della scheda SIM.
-
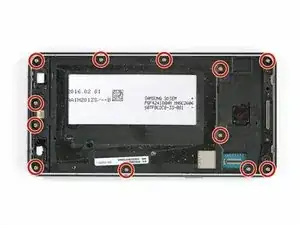
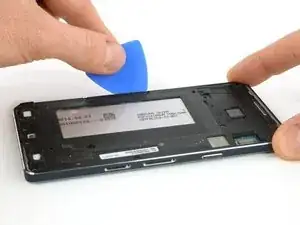
Rimuovi le dodici viti Phillips #00 dal telaio.
-
-
-
Inserisci la punta di un plettro di apertura sotto i pulsanti volume per estrarre il telaio. In questo modo si dovrebbero sganciare le clip sul lato e l'angolo superiore sinistro.
-
Spingi il plettro sotto i pulsanti volume per staccare l'angolo superiore sinistro.
-
-
-
Spingi la parte superiore verso il lato sinistro aperto per far girare e uscire il telaio centrale.
-
-
-
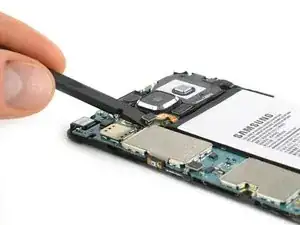
Disconnetti la batteria con uno spudger.
-
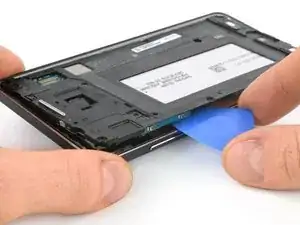
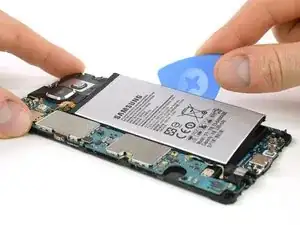
Inserisci un plettro di apertura fra il telaio centrale e la batteria per separali dall'adesivo.
-
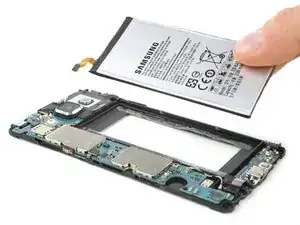
Fai leva per rimuovere la batteria.
-

Per rimontare il tuo dispositivo, segui queste istruzioni in ordine inverso. Riapplica dell'adesivo dove necessario.

5 commenti
Shattered my screen and cut off the wires for both the “home” and “overview” buttons. There is nothing wrong with this guide but a few simple tips would have saved me a lot of pain (and my favorite phone which is now garbage). First, the screen is made of two layers (glass sandwiched to an LCD) you need to make sure you are prying out both of these layers and not just one. Second, there is no indication of how hot to get the phone for softening the glue (presumably getting it too hot is also detrimental). I guess I didn’t get it hot enough because my screen never budged. I tried sliding in a razor blade just to get things started and the screen immediately shattered. Lastly, the guide is not explicit that the “home” and “overview” buttons are glued to the screen and have wires that pass along the very edge of of the screen. Sliding a pick across the bottom of the phone is likely to cut right through these wires. This is not repairable. Thanks ifixit for taking my money and destroying my phone.
Good evening.
I changed the battery successfully because the old one was stuck on 51% when charging, but the new has the same behaviour!! What kind of problems can this phone have?
Luca
On Galaxy A5-2016 A500FU it is almost impossible to insert the opening pick under the screen. The gap available between the internal edge of the frame and that of the screen is too thin and the very fragile screen is not glued to the touch screen but on the contrary partially glued to the copper sheet underlying separating the back of the display from the rest of the electronics and the battery. This copper foil is itself too strongly glued. So it retains the screen which breaks at the slightest effort. The destruction of the screen is almost certain. In my case, nothing serious since he was already wronged. But in the case of a battery change, it is very risky.
This smartphone is clearly designed not to be easily repaired unless you have a hot air generator well controlled in temperature and sufficient flow to heat at least ¼ or half of the touch screen for the heat to diffuse deep enough, evenly and without excess trough the glass.
I dared a little by challenge. I will not commit to opening another A500FU.
Thanks Hubert for Your comments. Eventually I decided not to open my A500FU just to replace the Battery, as indeed it seems far too risky to take off the screen without the frame, just to replace the battery… I have killed several screens (which had minor cracks) on Huawei phones, which are similarly attached, I agree, it is extremely easy to damage the screen or put the Pick in the wrong gap (between the screen and the glass) and thus destroy the screen while trying to remove it.