Introduzione
Una guida per sostituire la batteria nelle cartucce del GBA.
Strumenti
Ricambi
-
-
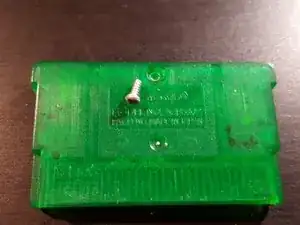
Svita la vite sul retro della cartuccia con un cacciavite Tri-Point Y0.
-
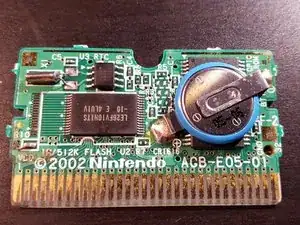
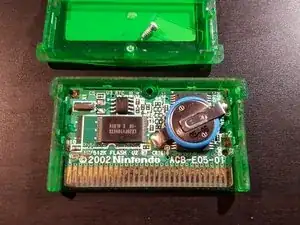
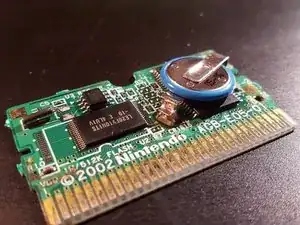
Gira la cartuccia e premi attentamente sul centro della scocca anteriore. Ora puoi rimuovere la scocca anteriore e la scheda del gioco.
-
-
-
Prepara il tuo saldatore.
-
Inizia applicando dello stagno alla punta del saldatore, quindi appoggiala ad uno dei contatti della batteria fino a sciogliere la saldatura e solleva l'estremità libera della batteria in modo che non faccia più contatto. Ripeti la stessa procedura per l'altro contatto per rimuovere completamente la batteria.
-
-
-
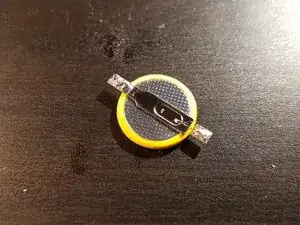
Per semplificare la procedura, puoi preapplicare dello stagno ai contatti della batteria.
-
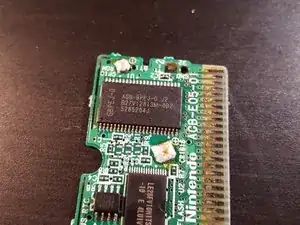
Appoggia la batteria sulla scheda logica (assicurati che sia orientata correttamente), prepara una piccola goccia di stagno sul tuo saldatore e scalda un contatto facendo una leggera pressione. Una volta saldato il primo contatto, ripeti la procedura per il secondo contatto.
-
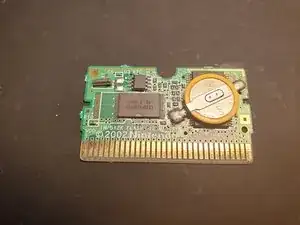
Rimonta la cartuccia e controlla che tutto funzioni.
-

Per rimontare il dispositivo, segui le istruzioni in ordine inverso.

4 commenti
The battery in the finished example is soldered in backwards. The pads are labeled + or -, the battery is also labeled + or -. You can see the - sign on the battery and the tab attached to that is soldered into the + pad in the finished example.
joeyext -
That’s is the letter e, it’s part of the branding
I was trying to fit a new battery but at the negative side pole I keep my solder pen a lot with high temperature and the pad wend away .( Under the iron there is a small square that keeps the iron )this square went away is it possible to fix it ? If yes how I glue ? Cause I don’t know what to do .
Sounds like you've torn the pad off the board, there isn't a lot you can do about this other than running a small patch wire from the battery tab to one side of the resistor marked "R9"