Introduzione

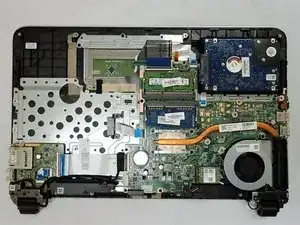
La maggior parte delle componenti che possono essere sostituite sono all'interno della base del portatile. Il computer dovrà essere smontato per accedere alle componenti interne. Dovrai rimuovere la batteria prima di scavare nelle componenti del tuo portatile. Se invece ti serve solo una guida per sostituire la batteria, segui i passaggi di questa e poi rimonta il tutto.

  1. OtGuD3sNWkaq51OK
    OtGuD3sNWkaq51OK
    42OCsDoOXiU4qWbi
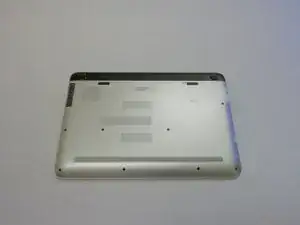
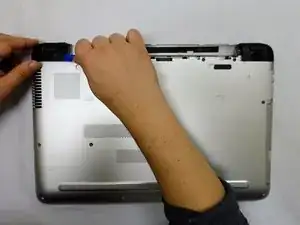
    • Ruota il portatile in modo che la scocca inferiore sia rivolta verso l'alto.

    • Fai scorrere i due interruttori di bloccaggio nella posizione "sbloccata" e rimuovi la batteria.

  2. jtQUTtTHrYvJeLxd
    jtQUTtTHrYvJeLxd
    bTvMlFdHVai5PhGE
    lFyEYKHZPHPwYMcR
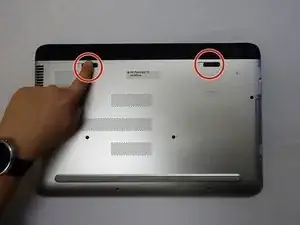
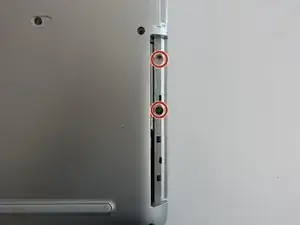
    • Svita le due viti da 8 mm nell'alloggio della batteria con un cacciavite Philips #1.

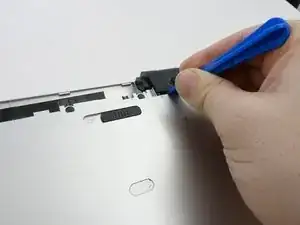
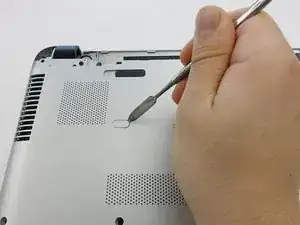
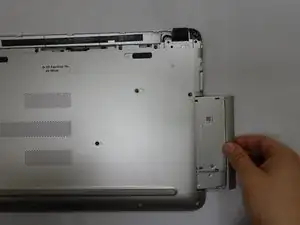
    • Usa uno strumento di apertura in plastica per rimuovere i piedini in plastica.

    Plastic feet are actually the feet bezels. They snap out

    Steven Wander -

  3. MVEAUUOggrmmh6UF
    MVEAUUOggrmmh6UF
    p5VaU2lJFK23XISI
    f5sDHEZkUDEZwJ4r
    • Rimuovi i ganci in plastica con uno spudger in metallo.

    What are the plastic tabs part number

    Regina Bowman -

  4. 2ANAFHKtyRuPCLaP
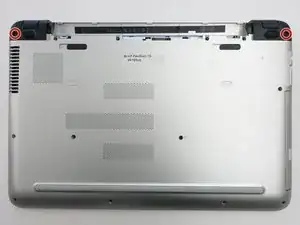
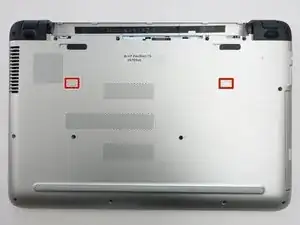
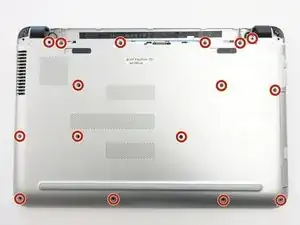
    • Svita le sedici viti da 8 mm che tengono ferma la scocca inferiore con un cacciavite Philips #1.

    There are 2 under the rear foot plastic covers that are not mentioned to remove, they snap out

    Steven Wander -

  5. 1Ir5N2RgOQhbTdQg
    • Sfila il lettore CD dal portatile.

    How do I pull the optical drive out if the computer is off?

    killertofu -

  6. pkwA1KNRWCFvmI1g
    • Svita le viti da 3 mm che erano nascoste dal lettore CD con un cacciavite Philips #0.

    Any other way to remove these screws? Phillips #00 wasn't working for

    mjsbak -

    I don’t see any screws here

    Nancy Carr Saunders -

    These screws are insanely tight for some reason. Only a good sharp #0 will work, otherwise you could notch the side and tap it loose CCW with a punch.

    Steven Wander -

    Unable to open these screws as they seem to be worn out… any other method would be helpful

    Abhi -

    These screws do not budge! My 0 screwdriver not working. How do we remove them?

    Jules Ju -

  7. MZNUdR1TBJ3xYXGx
    MZNUdR1TBJ3xYXGx
    XDpTPWtJMM6b1fWU
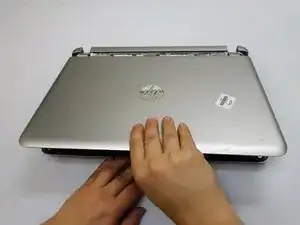
    • Ruota il portatile a testa in su.

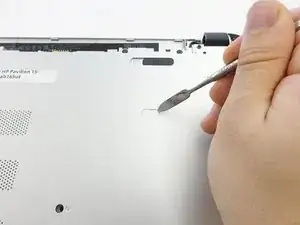
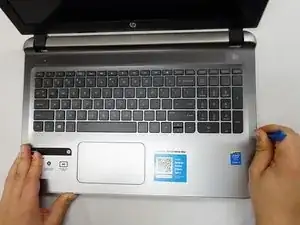
    • Usa uno strumento di apertura in plastica per liberare i ganci che tengono ferma la tastiera.

    What can I use if I don’t have a plastic opening tool?

    Nancy Carr Saunders -

  8. 3nclhPODLeaghoL1
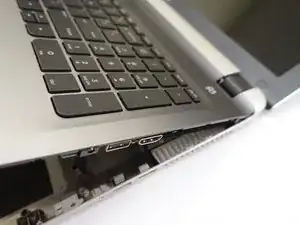
    • Chiudi il portatile e tira verso l'alto la sezione dello schermo e della tastiera per rimuovere la scocca inferiore.

    • Il disco rigido NON è fissato alla scocca sotto la sezione della tastiera.

    Note that before you remove the bottom cover, there are three plastic snaps on the back of the PC where the battery would go. These have to be detached before the entire bottom cover can be freed from the top panel.

    Kieran -

    I thought there was something they missed. Mine finally seperated with a loud snap.Thought I broke something but it looks ok. These parts are pretty tough.

    Steven Wander -

    The explanations are very good detailed and pictures help to understand it, however, if all the process is described in a video would be a lot better for sure.

    Billmart -

    This also works on the HP Pavilion ab130na.

    Filip Olczyk -

Conclusione

Per rimontare il dispositivo, segui le istruzioni in ordine inverso.

Dillon Hubble

Membro da: 20/10/17

653 Reputazione

Un commento

Where can i buy the case? I couldn’t anywhere online??

Model - HP Pavilion 15 8th gen B&O

Jackson Beno -