Introduzione
Segui questa guida per sostituire la batteria del tuo iPod Shuffle. Sostituire la batteria richiede un saldatore con punta sottile e qualche esperienza con la saldatura di componenti sulle schede logiche.
Ricambi
-
-
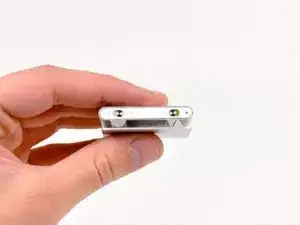
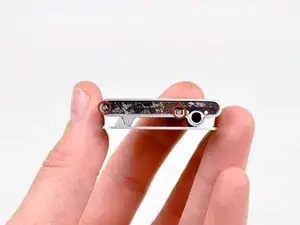
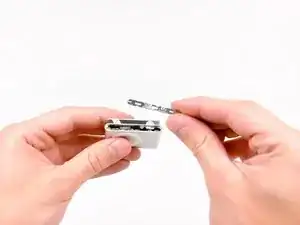
Usa il bordo di uno strumento di apertura per iPod per fare leva sulla copertura in plastica sul lato della presa jack dell'iPod Shuffle.
-
Rimuovi la copertura in plastica e mettila da parte.
-
-
-
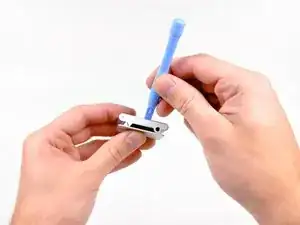
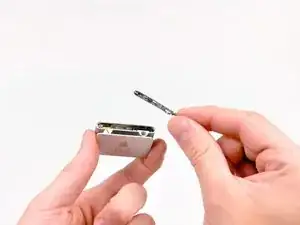
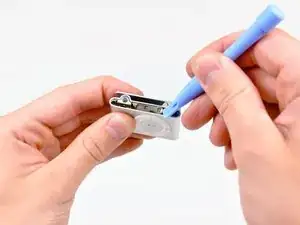
Usa il bordo di uno strumento di apertura per iPod per rimuovere la copertura in acciaio dal lato della presa jack dell'iPod Shuffle.
-
-
-
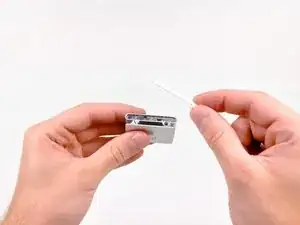
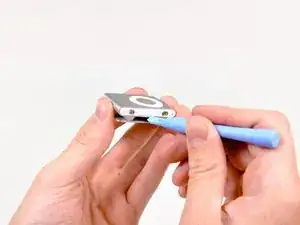
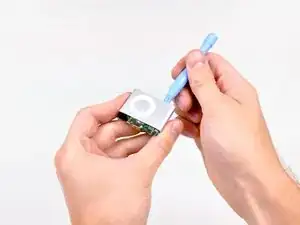
Usa il bordo di uno strumento di apertura per iPod per rimuovere la copertura in plastica dal lato dei controlli dell'iPod Shuffle.
-
Rimuovi la copertura in plastica e mettila da parte.
-
-
-
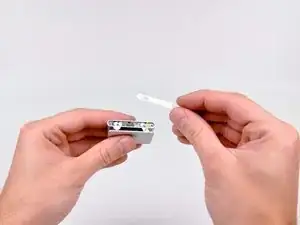
Usa il bordo di uno strumento di apertura per iPod per rimuovere la copertura in acciaio dal lato dei controlli dell'iPod Shuffle.
-
-
-
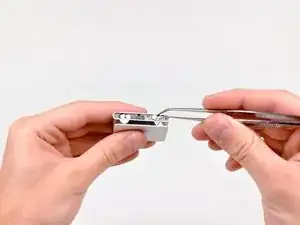
Usa il bordo di uno strumento di apertura per iPod per sollevare la copertura in acciaio dal lato della presa jack dell'iPod Shuffle, infilandolo nella fessura nella copertura esterna.
-
-
-
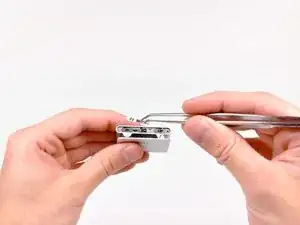
Usa lo strumento di apertura per iPod per spingere il gruppo della scheda madre fuori dalla copertura esterna abbastanza da poter prendere il bordo della scheda madre.
-
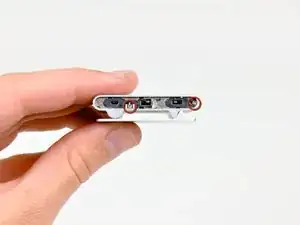
Tira il gruppo della scheda madre fuori dalla copertura esterna.
-
-
-
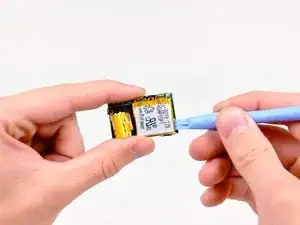
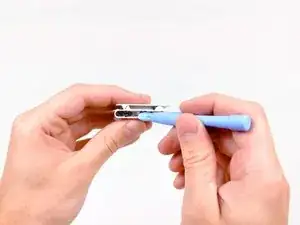
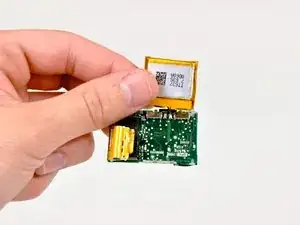
Usa il bordo di uno strumento di apertura per iPod per separare l'adesivo sotto la batteria che la fissa alla scheda madre.
-
Ruota la batteria verso l'alto per svelare i suoi contatti saldati alla scheda madre.
-
Dissalda la batteria dalla scheda madre scaldando un contatto alla volta con un saldatore e, al contempo, usando un paio di pinzette per tirare via il cavo della batteria dalla scheda madre.
-
Se non hai mai saldato prima, abbiamo una guida per aiutarti nella procedura.
-


Per rimontare il tuo dispositivo, segui le istruzioni in ordine inverso.

20 commenti
Followed your clear instructions and made a successful battery change. It would be helpful to explain that both cover plates are held ond by double sided sticky tape and to give caution on the location of the miniclips on the control cover - I cut through 2 of them by mistake. Thanks for the help.
Regards, Frank, North yorkshire, UK
FrankF -
I rarely find instructions so detailed and foolproof. I ended up with a "new" iPod saving a bunch of money.
Read on about the incidents I encountered.
The working end of the plastic pry tool snapped off rendering it useless, but not before it irreparably bent the pink housing. The suggested screwdriver for which I paid extra did not undo the tiny screws, and I eventually tapped them out with a miniscule eyeglass-repair screwdriver. (Is it a coincidence I did not see a screwdriver in any of the photos?)
Ditto on the suggestion that the super-sticky adhesive presents itself as an obstacle. A suggestion to apply pressure slowly as the adhesive releases would have been helpful.
I loved that the instructions were really easy to follow. It would be helpful to mention that the logic board ought to be really carefully pushed out. It was difficult in my case and I had to apply a considerable amount of force to slowly push it out.
Despite taking care to control my strength and push it out, part of the protective yellow tape got torn and one of the components was dislodged and broken. It must've been pretty important cuz unfortunately my iPod didn't work after I put it together in one piece. I'm sure the fault lies in my carelessness, the instructions were great. I hope you guys have better luck with yours (:
Jane -