Introduzione

  1. 6PWAXsfLearJ4TtR
    • Stacca l'adesivo sulla parte inferiore del dispositivo per scoprire le due viti.

  2. qDBbIYdeVUFFlupU
    • Svitare le due viti Torx T5.

  3. tRtEjsSpaAYMmf4Y
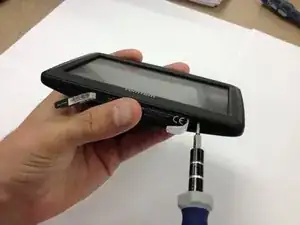
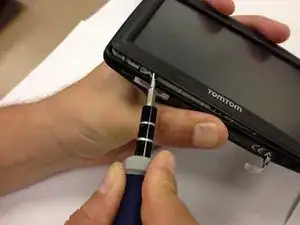
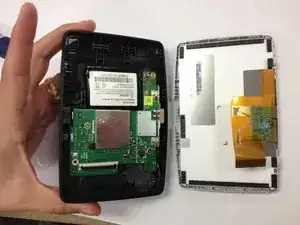
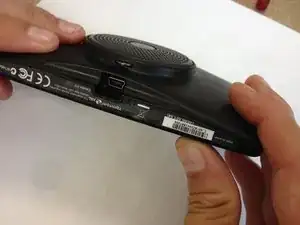
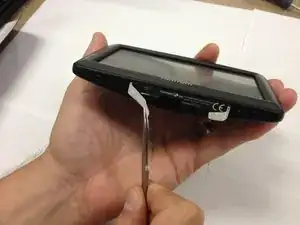
    • Incunea la testa piatta del cacciavite nel bordo del dispositivo. Solleva delicatamente lo schermo dal coperchio.

  4. KAMm6ORlqUGJ3GpL
    • Rilascia il cavo a nastro giallo.

  5. Rx4HKWVF3usVfc3Z
    • Identifica la scheda madre verde. Svita le tre viti che fissano la scheda in posizione.

  6. FlFRWBmKRG4HnKmd
    • Rimuovere la scheda madre dalla piastra posteriore.

  7. HQTHLfgD6EEWbC3k
    • Scollegare la batteria dalla scheda.

  8. lBM1GF1ZReVPAj2M
    • Collega la nuova batteria alla presa bianca sulla scheda madre verde.

  9. gSbORBSIEXVpSbE1
    • Riposizionare la scheda madre verde nella piastra posteriore e fissarla con le 3 viti.

  10. jOxOBDTmTb5jYCyM
    • Ricollegare il cavo a nastro giallo e ricollegare lo schermo e la piastra posteriore.

  11. GIh3XIOIhUIewpYr
    • Inserire le viti Torx T5 e serrarle.

  12. yhyGvcMAAR2bFLXg
    • Riposiziona l'etichetta per coprire le viti.

Conclusione

Per rimontare il tuo dispositivo, segui queste istruzioni in ordine inverso.

Mike Sollars

Membro da: 12/07/13

519 Reputazione

Un commento

Very similar for the 4FL60 and 6000, except in :

Step 1 the screws are visible without removing any stickers

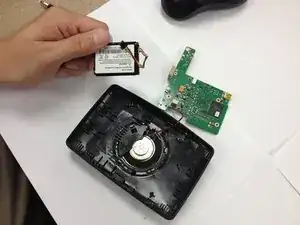
Step 4 hint: to release the ribbon, each end of the white bar has a self-sprung clip to ease away, try not to break them. And for the models above there is a small cable plug to unclip

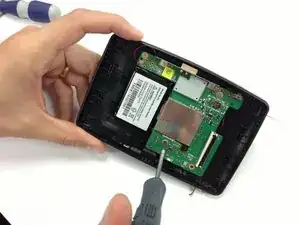
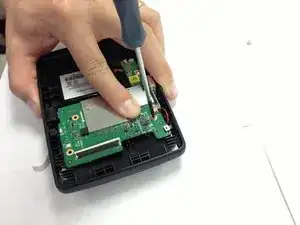
Step 5 there are 5 screws holding the motherboard

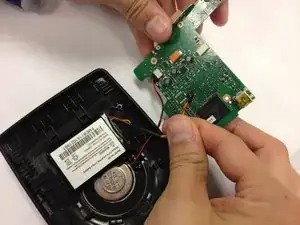
Step 6 it is necessary to unclip plugs for the battery and speaker leads

and vice versa for reassembly

Jim Shaw -