Introduzione

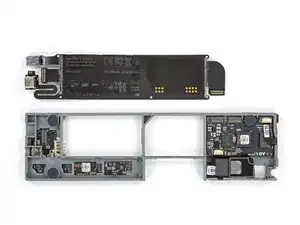
Usa questa guida per sostituire il cavo flex highway, che comprende la porta USB-C e il jack cuffie / line out dell'OP-Z.

  1. 3P3PtudTARX4VYYo
    3P3PtudTARX4VYYo
    wV3ZGSxOE1EQcKRX
    kabawgJinAQaRfXx
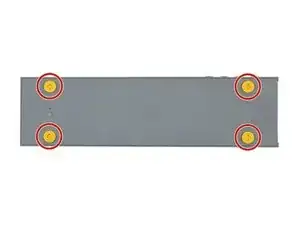
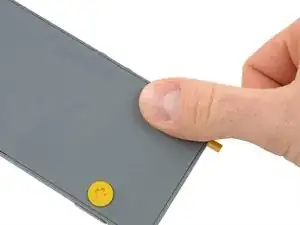
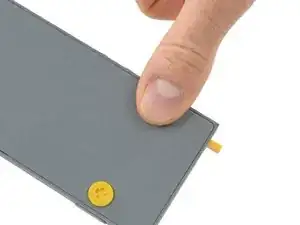
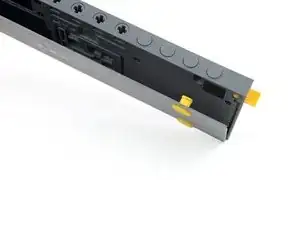
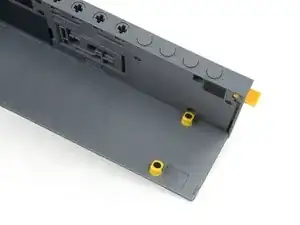
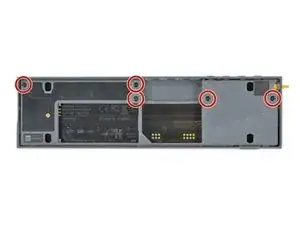
    • Sblocca i quattro piedini di gomma ruotandoli di 90° in senso antiorario usando il pollice o la punta di un dito.

    • C'è un piccolo segno su ogni piedino in corrispondenza del bordo inferiore dell'OP-Z. Dopo averli ruotati, dovrebbero essere tutti orientati verso il bordo più corto dove c'è l'interruttore on/off.

  2. pueLJe1vTPDuZsOa
    pueLJe1vTPDuZsOa
    QbptcMmcnDwpxrCE
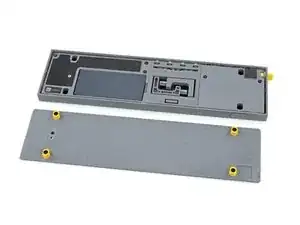
    • Nel rimettere dritto l'OPZ, la piastra inferiore dovrebbe venire via da sola (grazie alla gravità).

    • Se la piastra inferiore non viene via, controlla se ogni piedino è ruotato correttamente, provando poi a tirarli con delicatezza.

  3. QCjZngZMmxyi3pxU
    • Rimuovi la piastra inferiore insieme ai piedini di gomma.

  4. p3FkSHtKFCvwrqeh
    p3FkSHtKFCvwrqeh
    viRjEDse1dT2OS4X
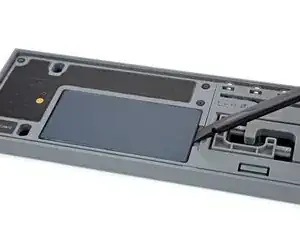
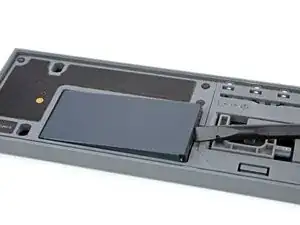
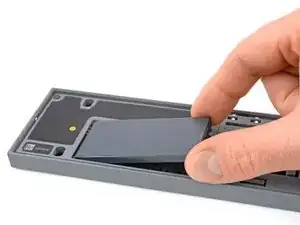
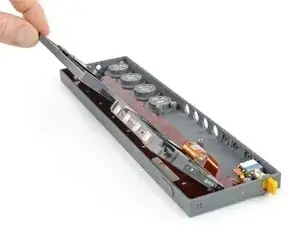
    • Usa uno spudger o un'unghia per sollevare la batteria dal lato destro, in corrispondenza dell'intaglio nella scocca.

  5. y6hJwRZefWmmEoyh
    y6hJwRZefWmmEoyh
    vAo4CAkJUTfGyAjL
    • Rimuovi la batteria.

    • Quando installi la nuova batteria, inserisci per primo il lato con i contatti elettrici.

  6. XgfsXNdbNChaCItV
    XgfsXNdbNChaCItV
    iZLHrpyCV3hLsPxA
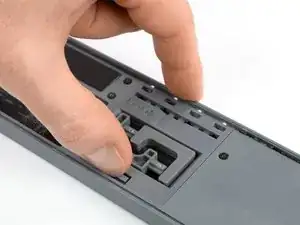
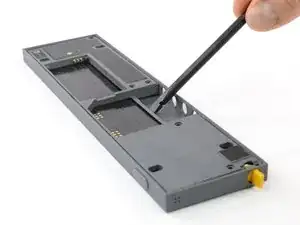
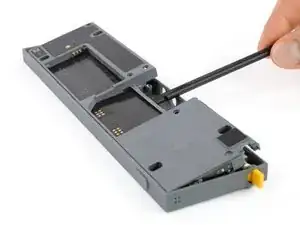
    • Usa uno spudger o un dito per premere la piccola aletta sul fondo del modulo.

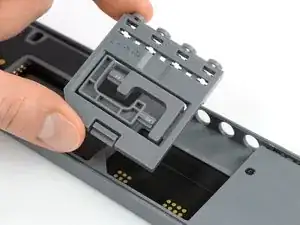
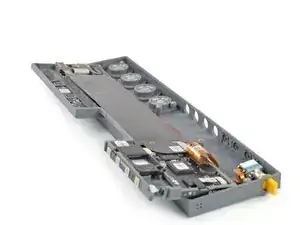
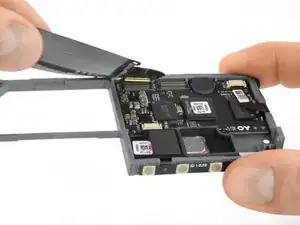
    • Solleva il modulo fuori dal suo alloggiamento iniziando dalla parte inferiore.

  7. 24rAVGncEwtxrq2c
    • Rimuovi il modulo.

    • Nell'inserire un nuovo modulo, vedi di infilare per primo il lato con gli output. Quindi premi sulla parte inferiore finché l'aletta non si aggancia.

  8. jITUlDVHew4Tk6jG
    • Rimuovi le cinque viti Torx T4.

  9. jEjjakdWPfPVCLfV
    jEjjakdWPfPVCLfV
    356PLic2YIghgbwH
    • Infila uno spudger nell'incavo del modulo di estensione per sollevare il midframe.

    • Stai attento a non danneggiare il cavo flex highway sottostante.

    • Aspetta a rimuovere il midframe. E' ancora connesso al resto dell'OP-Z.

  10. K36FYIB6YETIaIqa
    K36FYIB6YETIaIqa
    WofBDtn2woT3g4DZ
    kBLJXjtNWgi5bRUa
    • Rigira il midframe per poter accedere al connettore del flex sottostante.

  11. O1DGquvrAsqNIBJF
    O1DGquvrAsqNIBJF
    OLba64cQMSshZHEI
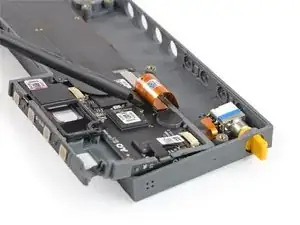
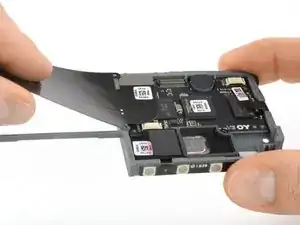
    • Usa l'estremità piatta di uno spudger per disconnettere il cavo flex dal gruppo del pannello frontale.

  12. xJ3LNW1TIPFTCDy2
    xJ3LNW1TIPFTCDy2
    eKRuknk3Uw2MxgDT
    • Usa uno spudger per disconnettere il cavo flex highway dalla scheda DSP.

  13. KZlCLY6GvwNYCe5q
    KZlCLY6GvwNYCe5q
    aeK24AwWPRlnUWQK
    • Usa lo spudger per scollegare il cavo flex dalla scheda encoder.

  14. IDT5avMF2jbgqHaH
    IDT5avMF2jbgqHaH
    Ka5aVK5EDYrxDiyA
    vCCEH1qIPOBVjMtE
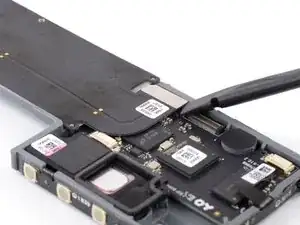
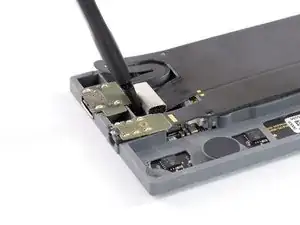
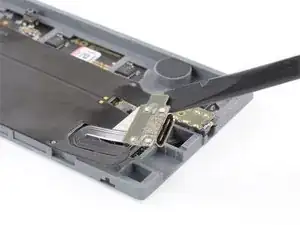
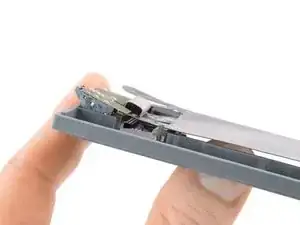
    • Stacca progressivamente, senza forzare, il connettore USB-C dal suo alloggiamento. Usa l'estremità piatta di uno spudger sulla piccola aletta sulla scheda USB-C.

    • Il connettore è attaccato con una colla a bassa tenacità.

  15. RdFLuIhaIld4yymQ
    RdFLuIhaIld4yymQ
    1ghWOIaH5yKWYLFq
    WgetNabA2E1SR5WZ
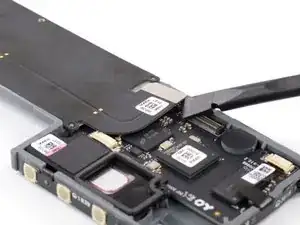
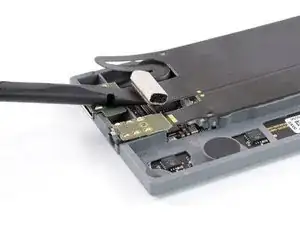
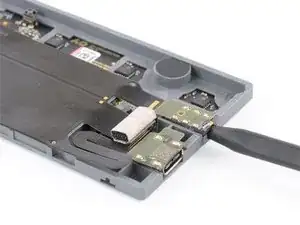
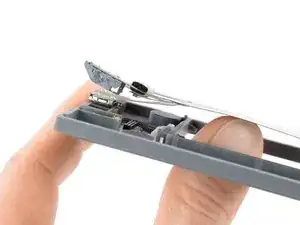
    • Inserisci l'estremità as punta dello spudger all'interno del jack line-out e fai leva su di esso con delicatezza.

    • Il connettore jack può essere ben incastrato ed è attaccato al suo alloggiamento con colla a bassa tenacità.

  16. Ptx3YyBnpdb5GGqr
    Ptx3YyBnpdb5GGqr
    EEJeHUZr3AoPWuM4
    LKA4U1RvR3LIEQ6U
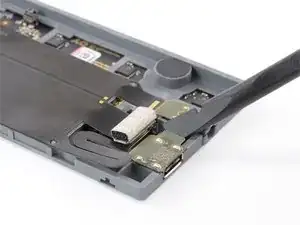
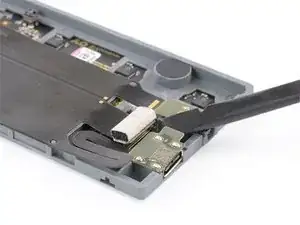
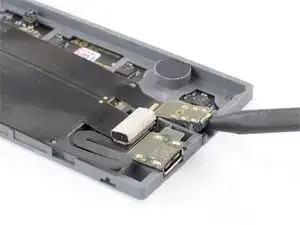
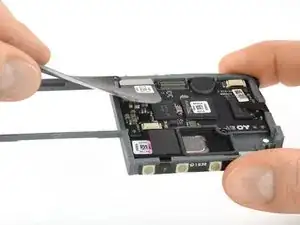
    • Il cavo flex highway aderisce lievemente al midframe. Per rimuoverlo, spingilo delicatamente fuori da sotto.

    • Potrebbe saltare via una piccola parte trasparente. È la guida luminosa dell'indicatore Bluetooh. Riagganciala al midframe come mostrato qui.

  17. mbEyBeo5ELJppJGD
    mbEyBeo5ELJppJGD
    RumqEHBUtuVV5IK4
    HWRh2A2O5HRLhVUr
    • Stacca dal midframe il cavo flex highway e rimuovilo.

Conclusione

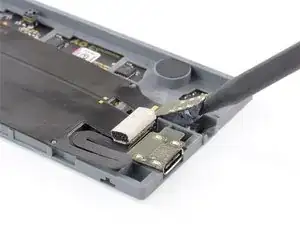
Per rimontare il tuo dispositivo, segui queste istruzioni in ordine inverso.

Tobias Isakeit

Membro da: 31/03/14

116550 Reputazione

3 commenti

It worked! Sort of. I bought a highway flex cable replacement and a new battery hoping it would solve an issue. The good news is I was able to replace it, and it’s function as before I replaced the flex cable. The only challenge really was that the audio cable plug in the new flex cable assemble was slightly bigger than the one I removed. I really had to force it down. During reassemble it was important to start left to right too - and it was easier to plug that last cable before installing the audio and USB C sockets. The issue I was trying to solve: My OP-Z will only power on when plugged in. I bought the OP Z used, and it worked fine for a while. But for reasons I can’t explain it stopped working with battery power alone. I tried all the solutions I found online including resetting the battery, firmware, etc. I’m just sharing this in case someone else has the same issue. Other than that, the new flex cable works just like the one it replaced, and I have an extra one now! Thank you!!!

thompsonkmt -

I didnt replace my highway flex cable but I did repair the rotary encoders cuz the magnet holders kept popping out of the bearings.

Eric M -

ATTENTION, some devices do not have Torx 4 screws, but much smaller ones! Why hasn't this been corrected here all this time? ...I really wonder what the point of this kind of tutorial is, if the dimensions are wrong...?

Hybyscut -