Introduzione

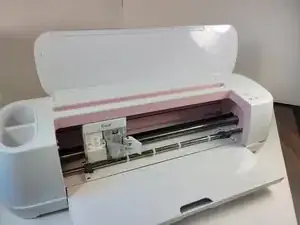
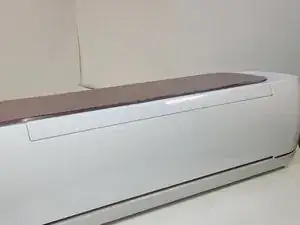
Se lo sportello della tua Cricut Maker non resta chiuso perché è danneggiato, potrebbe essere giunto il memento di una sostituzione. Segui questa guida passo-passo per cambiare da solo il coperchio.

Per prima cosa, accertati che i magneti di connessione non siano bloccati dalla sporcizia, che potrebbe impedirgli di chiudersi. Se ci sono ostruzioni, rimuovile e i magneti dovrebbero tornare ad attaccarsi. In caso, però, non ci sia nessun ostacolo, esegui un test magnetico sulla calamita del coperchio per determinare se è necessario sostituirlo.

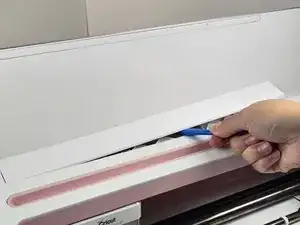
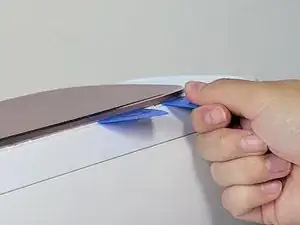
Nel primo passo, devi rimuovere la colla dalla plastica, facendo attenzione a non rompere o danneggiare ulteriormente lo sportello.

  1. OdTkartWvnsJBFQW
    OdTkartWvnsJBFQW
    gMIjVPy1s3RvBvnd
    HjKjiMfZgyxtqcxZ
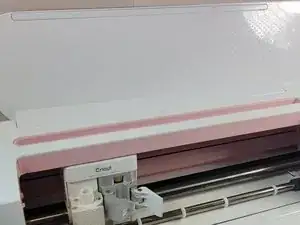
    • Per rimuovere la copertura dalla giuntura, usa uno strumento di apertura iFixit e fai leva intorno al suo perimetro per liberarla.

    • Se applichi troppa pressione in questo passo, potresti rompere la copertura, che è molto fragile.

    • C'è dell'adesivo che tiene ferma la copertura, quindi servono molta pazienza e attenzione per rimuoverla.

    • Rimuovi la copertura dalla giuntura e mettila da parte.

    The outer two attachment points of my Cricut were actually glued on, and I had to reach in with the torx driver and remove them while the strip was still on, to be able to get the lid off. On inspection, there would have been no way to lift the strip off in the way described here.

    cjberry -

  2. GjUiftAiayEeKNxn
    GjUiftAiayEeKNxn
    nDKmPPqVjZDoeFPS
    • Rimuovi le quattro viti di sicurezza Torx TR8 da 10 mm che tengono fermo il coperchio.

  3. bLG2I46C2HaLWIGX
    bLG2I46C2HaLWIGX
    4KVUbFjijpGJlHcL
    3UpLN2QpMjN4IAJT
    • Ruota il dispositivo per avere il retro di fronte.

    • Cerca i piccoli rettangoli lungo il retro del dispositivo. Tra un rettangolo e l'altro, c'è un connettore cilindrico.

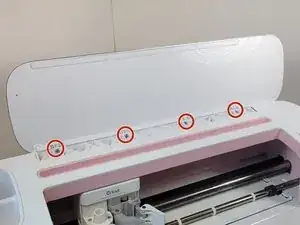
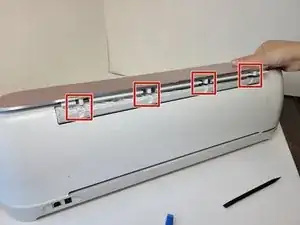
    • Inserisci uno o due plettri di apertura iFixit nella giuntura che collega lo sportello superiore al dispositivo e usa lo strumento di apertura iFixit per fare leva lungo la giuntura.

    • Queste azioni dovrebbero scoprire i connettori cilindrici.

    The lid of my Cricut maker 3 was removable by pulling upwards, while the lid was still open. It slides right off. The prying approach as described in this step is unnecessary, and could break the attachment points if forced.

    Chris Schnabel -

  4. wF4EdyPKeeKYBOEe
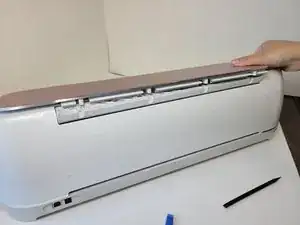
    • Premi sul coperchio.

    • Spingi il coperchio verso l'esterno per liberarlo dai ganci di chiusura.

    Where is/are the steps to get to the point of seeing the motor? I've got the top cover off, but that doesn't reveal the motor. There are steps missing between 4 and 5.

    Patty Ellis -

    There are x7 small screws on the inside upper panel that have to be removed as well as x4 long screws under the feet of the machine.

    I had to turn on my machine and send a project to it to have the cutter mechanism move out of the way to remove some of the screws. Once all the screws have been removed the case can be pulled away, but you have to be careful when removing because there are some wires connecting the buttons on the case to the harddrive.

    Margarita Armendariz -

Conclusione

Per rimontare il dispositivo, segui queste istruzioni in ordine inverso.

Devyn White

Membro da: 20/09/22

999 Reputazione

Un commento

Where i can buy Cricut Maker Top Door/ Lid Replacement?

Maria Ventura -