Introduzione

Segui questa guida per rimuovere la copertura posteriore del tuo OnePlus 5T.

  1. LxHSKiiRcjM1dTpR
    LxHSKiiRcjM1dTpR
    cw15dPAlaDVS2Uqj
    • Prima di iniziare, spegni il tuo telefono.

    • Rimuovi il carrello della scheda SIM.

  2. ARneM6bQboVSGvf6
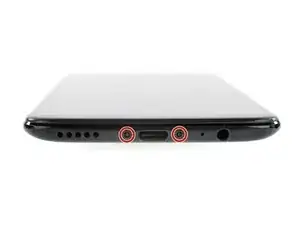
    • Svita le due viti Torx T2 da 2,5 mm.

    • Il OnePlus 5T non usa molto adesivo per tenere ferma la copertura posteriore. Comunque i ganci sono parecchio resistenti e richiedono della forza durante la procedura di apertura.

    Could you clarify the statement “The OnePlus 5T doesn't use a lot of adhesive“? Do you mean that it uses adhesive, but only a little? Or do you mean that it doesn’t use any adhesive at all to secure the back, just the clamps?

    Avram Grumer -

    Hi Avram,

    there is a little bit of adhesive underneath the edges of the back cover, however it doesn’t require heating to soften it. In case the back cover doesn’t come of straight away it won’t help to apply an iOpener to further soften the adhesive but requires a little bit more force to open the plastic clamps.

    Dominik Schnabelrauch -

    i have tried t2 srewdrivers multiple times but they doesn’t seem work, could those be different screws?

    Mr Kono -

    I had the same problem. I tried a T1 screwdriver, that fit perfectly.

    That said, the 'tools' section of this repair doesn't mention any torx screwdriver. That should be updated to include the T2 (or T1, for me!) screwdriver.

    Akka -

    I purchased the entire kit to do my battery replacement and found the opening tool was not capable of opening my One Plus 5t phone. I tried the tool for at least 30 minutes and couldn’t even get it started. Luckily I had a set of “plastic tools” for removing door panels from cars while doing stereo work. These tools have nice sharp points and are much longer and thicker, providing much better grip and leverage. With these tools, I had the back off the phone in just a few minutes. All the rest of the process was easy to follow and everything worked out great.

    David Dery -

    I have all of the necessary parts/tools for replacement. Upon removing the two screws from the bottom, one came out no problem first try. The second bolt slipped andbis now completely stripped out. Any advice?

    Derek Basham -

  3. Wvq1Uels1ydD4gHO
    Wvq1Uels1ydD4gHO
    EsjxRGZy351XTSZT
    5NDh6rBZGUSlZZdL
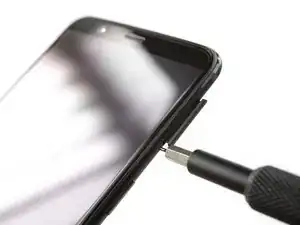
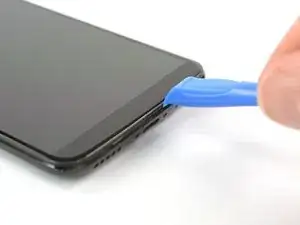
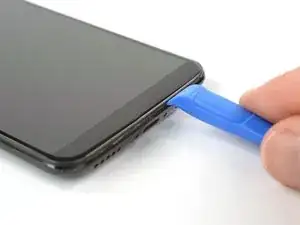
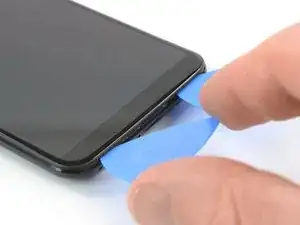
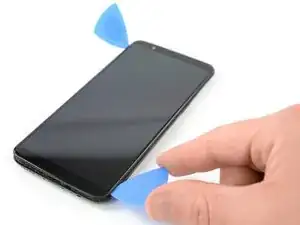
    • Infila uno strumento di apertura tra lo schermo e la copertura posteriore sotto la parte inferiore del telefono.

    • Usa lo strumento per creare una fessura tra la copertura posteriore e lo schermo.

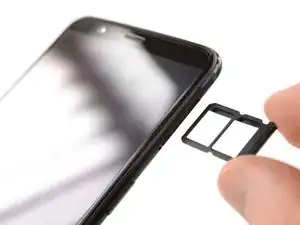
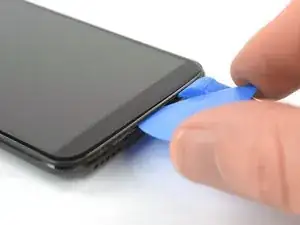
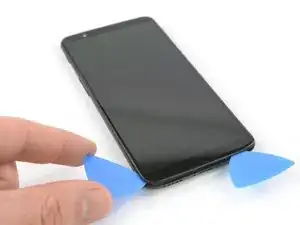
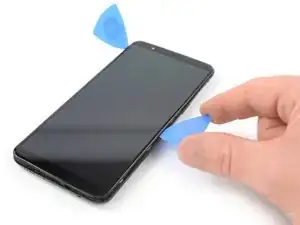
    • Infila un plettro nella fessura che hai creato con lo strumento di apertura.

    Don’t make the same mistake as i did and put the opening tool between the screen and glass rather than the screen and body. Make sure its the second line from the top where you insert your tool

    Hayden Rooney -

    This part is very difficult, i have been trying to open the phone up, still cannot.

    Taz -

    The easiest way to open the back cover, is by starting from the bottom right corner, try find a plastic tool that is slim enough to go through the display and back cover.

    Taz -

    I too had troubles with this step. I recommend having a look at the guide for opening up the back cover of the Oneplus 5 before proceeding. It has a lot of helpful images and the instructions go into far more detail than this one does.

    Sostituzione copertura posteriore OnePlus 5

    Iceblade02 -

    This step was the hardest step for me. I could only succeed with suction cup pliers and a metal pry tool, which unfortunately scratched the device’s edges a little.

    Haggai Eran -

    I found this hard. Look carefully and use a bright light. There are two small ridges. I worked ages on the top one which isn't actually a gap. You need to work on the bottom one of the two. I used a very small metal screw driver with a thin flat blade. I pushed this in to open the gap a fraction then put a plastic tool in the now slightly opened gap and worked it round.

    Duncan Putman -

    For opening up the device, Sostituzione copertura posteriore OnePlus 5 that Iceblade02 mentions is excellent. The tools in the kit also correspond to it since the new kit that I received last week had no guitar picks and instead had the suction cup.

    Anirudh Ramanathan -

    Be sure you are getting below the screen's LOWER lip, as in the photo, as HaydenRooney mentions.

    Try to minimize flexing of the screen when you are wedging, the clamps (like snaps or tabs) will demand force and you want to avoid turning that into screen flex. There are several forum posts here about device working-but-dark after a repair. Too bad user input is rather folded away on ifixit, and few will see these.

    Professor Z -

  4. uGVHiIEDn6ZXv4AU
    uGVHiIEDn6ZXv4AU
    5FQouJJstYPBjhfc
    1GkhVTDislVhWL2J
    • Fai scorrere il plettro verso l'angolo in basso a destra del telefono.

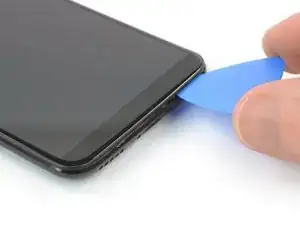
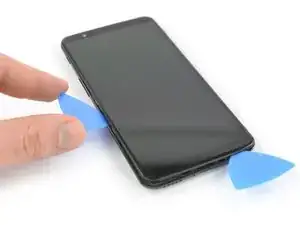
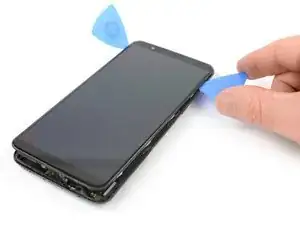
    • Infila un secondo plettro e fallo scorrere verso l'angolo in basso a sinistra del telefono.

  5. SGpZYRjercLcF1kD
    SGpZYRjercLcF1kD
    hDWgumDbhAII5RC2
    v6UHrvDAUFN4axMf
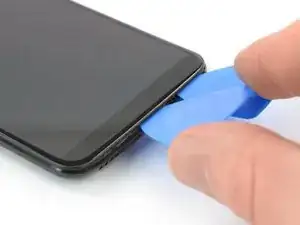
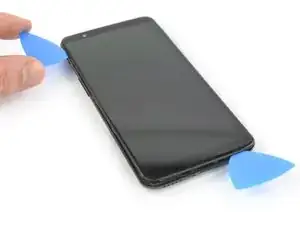
    • Fai scorrere il plettro attorno all'angolo in basso a sinistra e quindi verso l'alto sotto il bordo sinistro del telefono per rilasciare i ganci in plastica che tengono ferma la copertura posteriore.

  6. EOVFtIPUeUWATCE2
    EOVFtIPUeUWATCE2
    My66WfLlkrWZtmTa
    XVdrfYDR4LOF3b5c
    • Fai scorrere il plettro attorno all'angolo in basso a destra e quindi verso l'alto sotto il bordo destro del telefono per rilasciare i ganci in plastica che tengono ferma la copertura posteriore.

  7. 2WWFDdfylDZArCP3
    2WWFDdfylDZArCP3
    fQ5VpDSOAVyfdcF1
    vl6Yusv6DqyKEPyn
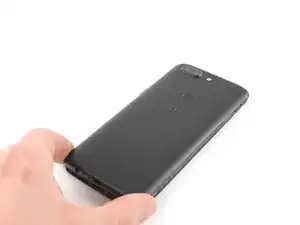
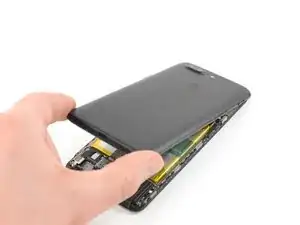
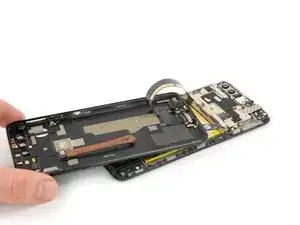
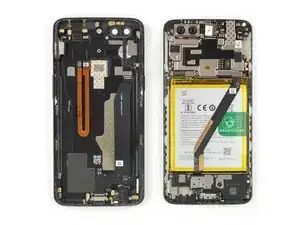
    • Cerca di non rimuovere ancora del tutto la copertura posteriore. I cavi a nastro del sensore delle impronte, della porta di carica e della presa jack sono ancora collegati alla scheda madre.

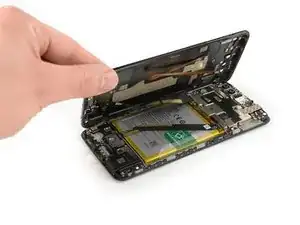
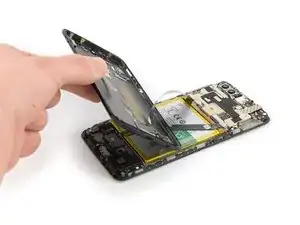
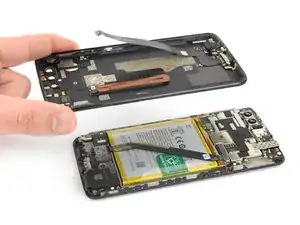
    • Gira il tuo telefono e solleva attentamente la parte inferiore della copertura posteriore dal corpo del telefono. Giralo a sinistra e tienilo ad un angolo di 80°.

  8. 1vqeLDjxS6hguE5r
    1vqeLDjxS6hguE5r
    NBYCODIFvIMf5MjR
    • Usa uno spudger per sollevare e scollegare il cavo a nastro del sensore delle impronte.

  9. 6QaItEJdF5IifEVy
    6QaItEJdF5IifEVy
    LylHAFPItwWiVTJU
    LXMDDG3UPRUMkCvO
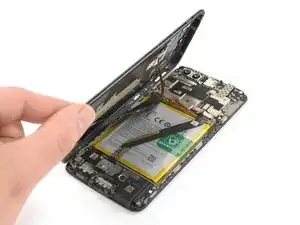
    • Ruota la copertura posteriore di 180° ed appoggiala allineandone il bordo inferiore con il bordo superiore della batteria.

  10. ROi1WRDSSVb2UJDA
    ROi1WRDSSVb2UJDA
    vKwBpmUQsokoKi6D
    gpM4gOVAUoEdUygt
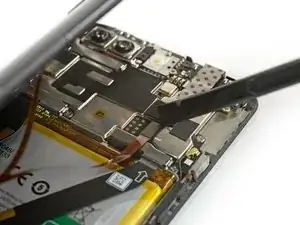
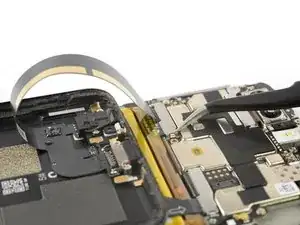
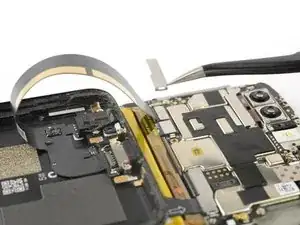
    • Usa un paio di pinzette per rimuovere la piccola copertura in metallo che copre i connettori dei cavi a nastro della batteria, della porta di carica e della presa jack.

  11. ULkBQEMD2kiPwPqh
    ULkBQEMD2kiPwPqh
    xhaBK12Vd4EyIyQ4
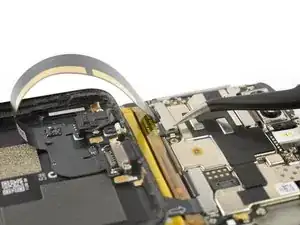
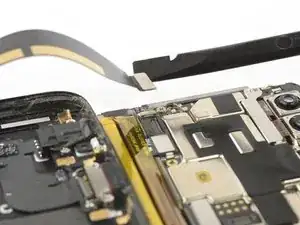
    • Usa uno spudger per sollevare e scollegare il cavo a nastro della porta di carica e della presa jack.

  12. XZ51MpYgIbIC5Yys
    XZ51MpYgIbIC5Yys
    EeOXNPsJYVhxN5w1
    • Rimuovi la copertura posteriore.

Conclusione

Per rimontare il tuo dispositivo, segui le istruzioni in ordine inverso. Applica del nuovo adesivo dove necessario dopo aver pulito le zone interessate con dell'alcool isopropilico (>90%).

Porta i tuoi rifiuti elettronici a un riciclatore certificato R2 o e-Stewards.

La riparazione non è andata come previsto? Prova delle soluzioni di base ai problemi, oppure rivolgiti alla nostra comunità Risposte per trovare aiuto.

Dominik Schnabelrauch

Membro da: 23/11/16

200708 Reputazione

0 commenti