Introduzione

  1. U224BwRqPPQoxqEx
    U224BwRqPPQoxqEx
    AwlpEvUCxIOEMKTj
    • Spegni il tuo Kindle prima di iniziare a smontarlo.

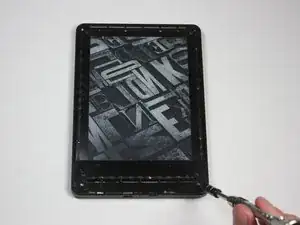
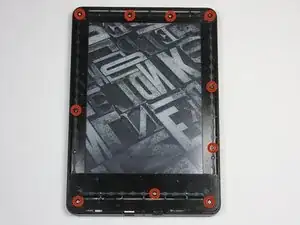
    • Usa lo strumento di apertura in plastica blu per separare la cornice dall'adesivo sotto ogni angolo.

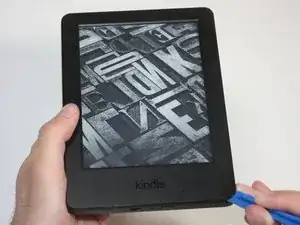
    • Fai scorrere lo strumento di apertura lungo i bordi per separare la cornice.

    i had a battery that wouldn't even last a full day in the end. by accident i let the battery fall below 10% charge and when turned on it only showed the battery icon. I fully charged it and now i am having no problems with it. what i think happened is it reset the batteries memory and that was the problem. worth trying anyway before buying a new battery.

    soupamanx -

  2. tIMKotWQsDZPImRJ
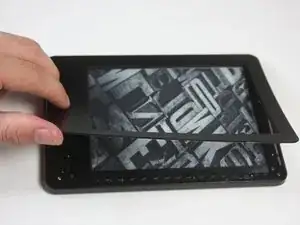
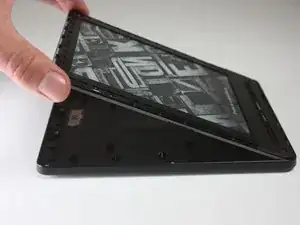
    • Rimuovi delicatamente la cornice dallo schermo.

    • Se è la prima volta che la cornice viene rimossa, può essere necessario fare una notevole forza per staccare l'adesivo.

    • Per evitare di danneggiare la cornice, inizia a scollare partendo dagli angoli e procedendo verso il centro del Kindle.

    • Quando riassemblerai il tuo dispositivo, potrebbe essere necessario dell'adesivo extra per rimontare lo schermo.

    What is the adhesive you are using resecure the screen? Would Tesa 61395 Tape work (4mm) or would this create protrusion?

    Camble Scott -

    Did that option work for you? I'm about to try and change my battery and don't have any idea on what backup adhesive to have

    Lagroth -

  3. DSrvV1cL3BKDbRYS
    DSrvV1cL3BKDbRYS
    N5hIl4JWJ6REHBDs
    • Rimuovi le dieci viti Torx T5 da 5,0 mm.

    • Un tappetino magnetizzato potrebbe aiutarti a non perdere le viti.

    You will break the newer vision of kindle just like this. there is a peg that connect the top center of the screen to the back case. Remove the black double sided tape in the center and push this peg back .

    Kyle Darnell -

    If you see black double sided tape at the top of your Kindle, as the commenter above did, you are on the wrong model—have a look here to see if this is your model: Kindle Paperwhite 3rd Generation Screen/Display Touch Panel Replacement

    Lipsmeyer -

  4. kMq4PUsvd141fy2l
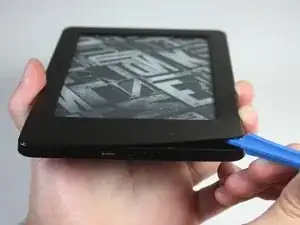
    • Facendo leva in maniera uniforme lungo i bordi e gli angoli, separa i componenti interni dal pannello posteriore.

    • Ci sono numerosi punti di aggancio che fissano lo schermo al pannello. Potrebbe essere utile fare un po' di forza, ma non devi mai avere la sensazione che il Kindle stia per rompersi.

Conclusione

Per riassemblare il tuo dispositivo, segui le istruzioni in ordine inverso.

Abby Roulier

Membro da: 08/02/15

948 Reputazione

0 commenti