Introduzione
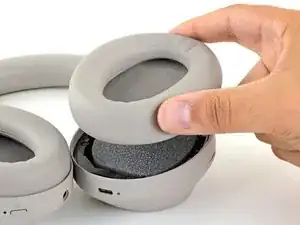
Segui questa guida per rimuovere o sostituire i cuscini delle cuffie Sony WH-1000XM4.
Nota: Il cuscino destro e quello sinistro sono diversi su questo modello.
Strumenti
-
-
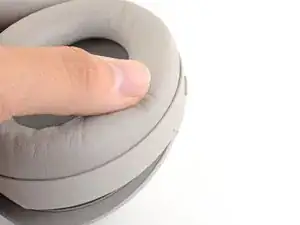
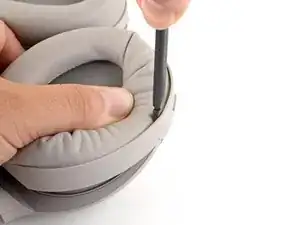
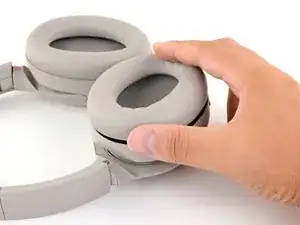
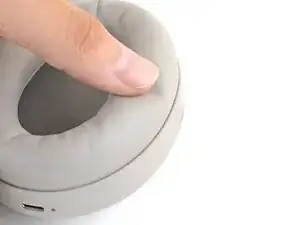
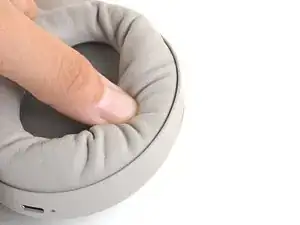
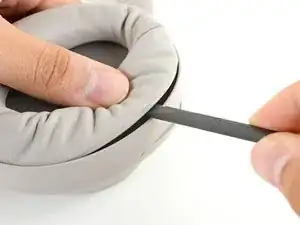
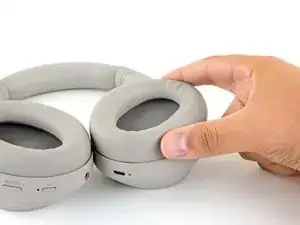
Usa il pollice per premere il cuscino sinistro vicino al bordo esterno, creando una fessura tra il cuscino e la cornice.
-
-
-
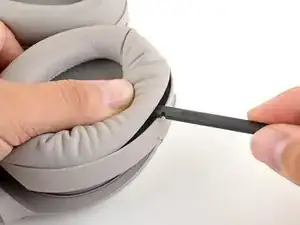
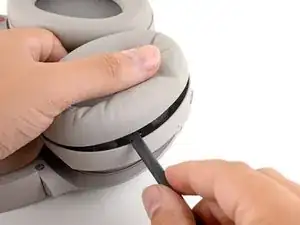
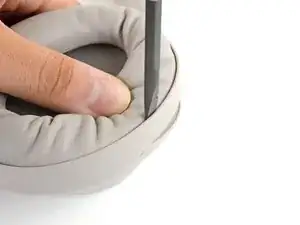
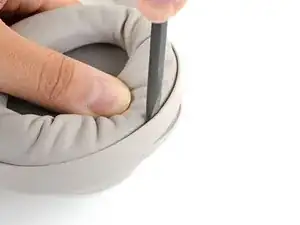
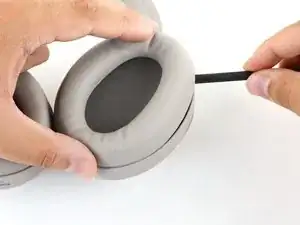
Infila la parte piatta di uno spudger nella fessura che hai creato, tra il bordo del cuscino e la cornice.
-
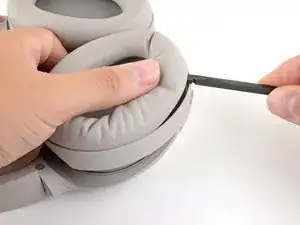
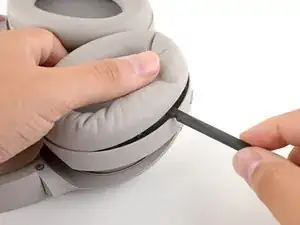
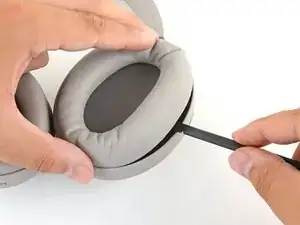
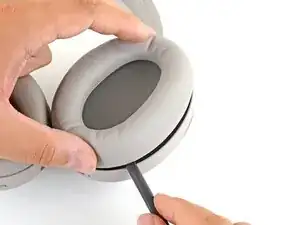
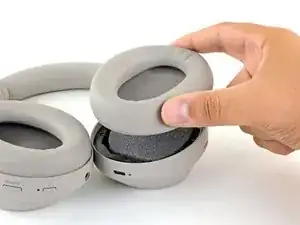
Spingi lo spudger verso il basso per sganciare il bordo lungo del cuscino.
-
-
-
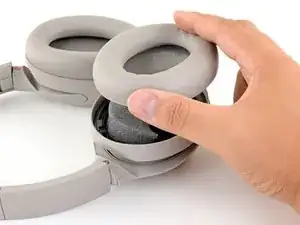
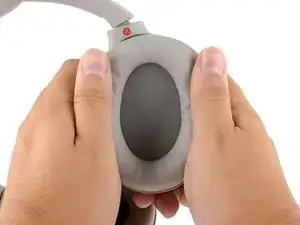
Allinea il cuscino sullo speaker e premili con decisione per farlo scattare in posizione.
-
Premi attorno l'intero bordo del cuscino, assicurandoti che tutti i ganci abbiano fatto presa.
-
-
-
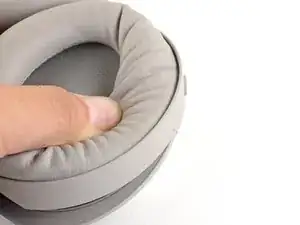
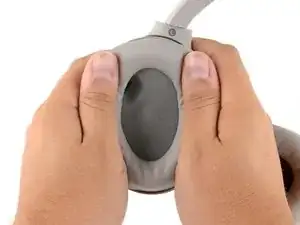
Usa il pollice per premere il cuscino destro vicino al bordo esterno, creando una fessura tra il cuscino e la cornice.
-
-
-
Infila la parte piatta di uno spudger nella fessura che hai creato, tra il bordo del cuscino e la cornice.
-
Spingi lo spudger verso il basso per sganciare il bordo lungo del cuscino.
-
-
-
Allinea il cuscino sullo speaker e premili con decisione per farlo scattare in posizione.
-
Premi attorno l'intero bordo del cuscino, assicurandoti che tutti i ganci abbiano fatto presa.
-


Confronta la tua parte di ricambio con quella originale: potrebbe essere necessario il trasferimento di alcuni componenti o la rimozione di protezioni adesive dalla nuova parte prima di installarla.
Per rimontare il tuo dispositivo, segui le istruzioni in ordine inverso.
La riparazione non è andata come previsto? Prova delle soluzioni di base ai problemi, oppure rivolgiti alla nostra comunità Risposte per trovare aiuto.

14 commenti
This is a great guide!
it is also the solution to the ticking problem on the left ear cup!
there is a small cable linking the microphone to the headset that is beneath the earcup. it has a small holder that should prevent it from moving.
if it’s not attached properly, the noise canceling will start ticking every few seconds in a very annoying way.
removing the earcup and cleaning there is the best solution I found!
Thanks a lot for the amazing guide!!
I was having a similar issue where the right ear cup was making an annoying scratching sound. Turned out to be a hair that was stuck in and brushing against the speaker. Fixed by opening and removing with tweezers!
spencer -
Very comprehensible instructions, thank you! I have rather the problem that the original ear pads are not available anywhere and are not shipped to Germany by Sony. Does anyone have a tip on how to get the replacement pads or any idea which third-party pads can be recommendet?
Where can I buy official replacement earpads?
i also need to know that, i found some OEM on amazon, but i don't trust any of them
I don't know where to find the originals but you might want to look into Dekoni earpads, I just recieved mine for the Sony.
Haven't applied them yet but own plenty of other headphones with Dekoni eapads and I'm always satisfied with them.
Sony outsources the replacement parts to a company named Encompass. https://sony.encompass.com/model/SONWH10...
https://sony.encompass.com/item/11687300...
You can get the battery from here as well!
Will -