
Introduzione
Strumenti
Ricambi
-
-
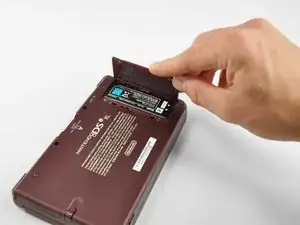
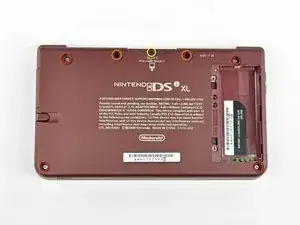
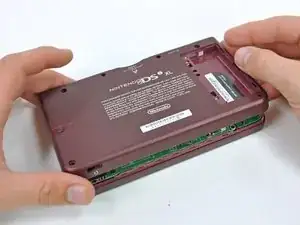
Rimuovi le due viti a croce Phillips che fissano la copertura della batteria al retro della console portatile.
-
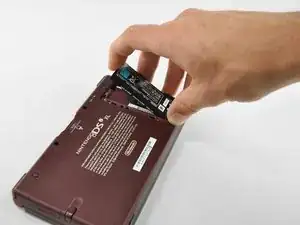
Rimuovi la copertura della batteria dal retro del DSi XL.
-
-
-
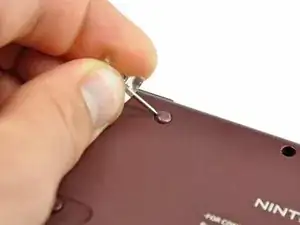
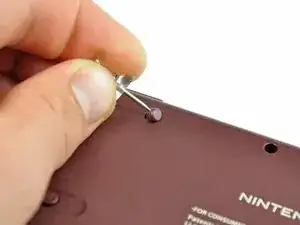
Rimuovi le quattro coperture di gomma delle viti del case inferiore facendo leva su di loro con una puntina.
-
-
-
Rimuovi le seguenti sette viti a croce Phillips che fissano il case inferiore al resto del DSi XL.
-
Quattro viti argentate da 5,3 mm
-
Due viti nere da 5,3 mm
-
Una vite nera da 2,5 mm
-
-
-
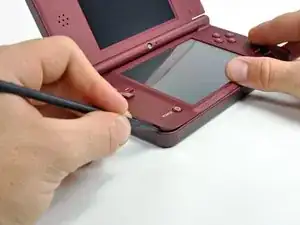
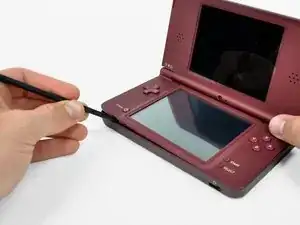
Inserisci uno spudger tra il case superiore e quello inferiore nell'angolo in basso a sinistra del DSi.
-
Fai scivolare lo spudger lungo il bordo inferiore del case superiore per liberare i ganci che fissano il case superiore al case inferiore.
-
-
-
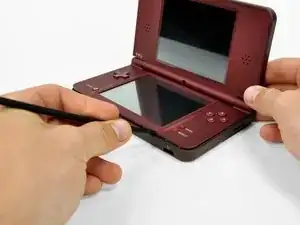
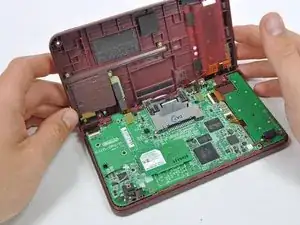
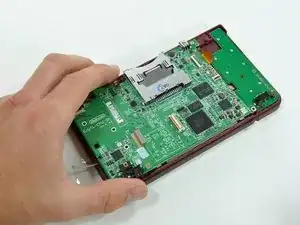
Solleva il case inferiore dal bordo frontale.
-
Ruota il case inferiore allontanandolo dal DSi.
-
-
-
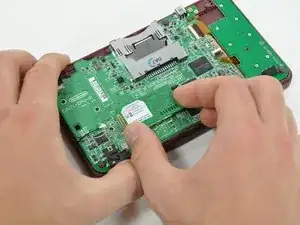
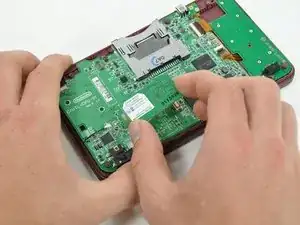
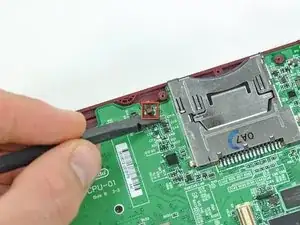
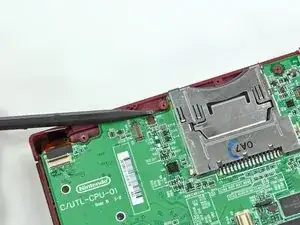
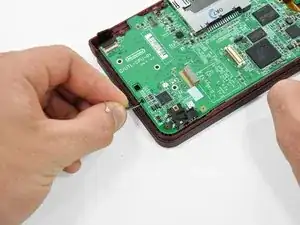
Usando uno spudger, solleva il connettore di scheda SD/pulsante del lato destro dalla sua presa.
-
Solleva il connettore del pulsante del volume/pulsante del lato sinistro dalla sua presa sulla scheda madre con uno spudger.
-
-
-
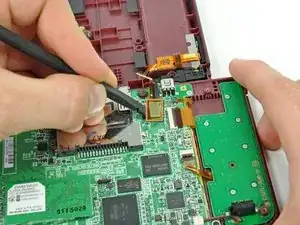
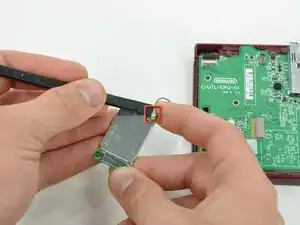
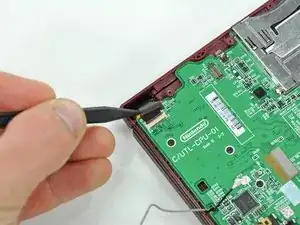
Utilizza uno spudger per sollevare il cavo Wi-Fi dalla sua presa sull lato inferiore della scheda Wi-Fi.
-
-
-
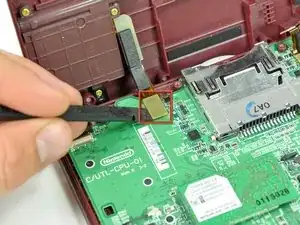
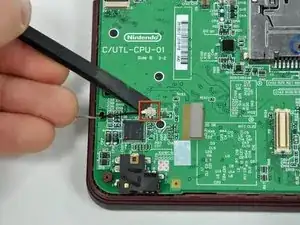
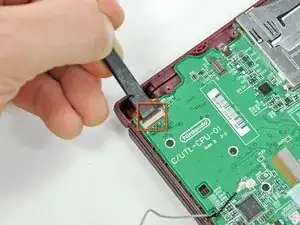
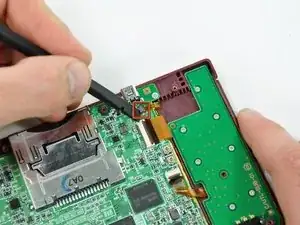
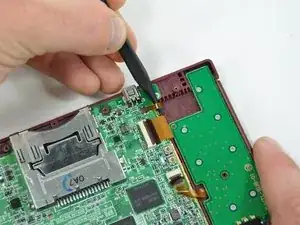
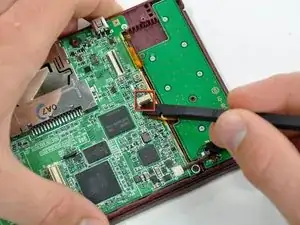
Utilizzando l'estremità piatta di uno spudger, capovolgi il nastro di bloccaggio sul connettore ZIF del cavo a nastro della fotocamera.
-
Utilizza l'estremità appuntita di uno spudger per tirare via il cavo a nastro della fotocamera dal connettore ZIF.
-
-
-
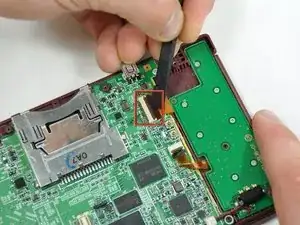
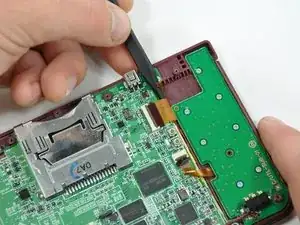
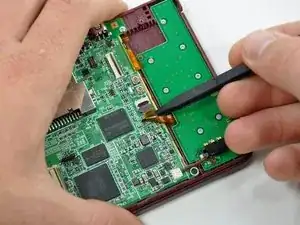
Utilizzando l'estremità piatta di uno spudger, capovolgi il nastro di bloccaggio sul connettore ZIF del cavo del touchscreen.
-
Con l'estremità appuntita di uno spudger, tira via il cavo del touchscreen dal suo connettore sulla scheda madre.
-
-
-
Utilizzando l'estremità piatta di uno spudger, capovolgi il nastro di bloccaggio sul connettore ZIF del cavo della retroilluminazione.
-
Con l'estremità appuntita di uno spudger, tira via il cavo della retroilluminazione dal suo connettore sulla scheda madre.
-
-
-
Utilizzando l'estremità piatta di uno spudger, capovolgi il nastro di bloccaggio sul connettore ZIF del cavo dati del display inferiore.
-
Con l'estremità appuntita di uno spudger, tira il display inferiore del cavo dati dal suo connettore sulla scheda madre.
-
-
-
Utilizzando l'estremità piatta di uno spudger, capovolgi il nastro di bloccaggio sul connettore ZIF per il cavo del D-Pad/del pulsante di accensione.
-
Con l'estremità appuntita di uno spudger, tira il cavo del D-Pad/del pulsante di accensione dal suo connettore sulla scheda madre.
-
-
-
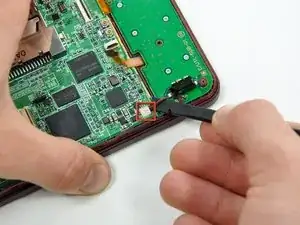
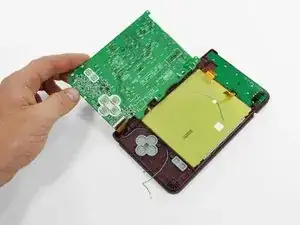
Utilizzando l'estremità piatta di uno spudger, solleva il cavo della batteria dalla sua presa sulla scheda madre.
-
-
-
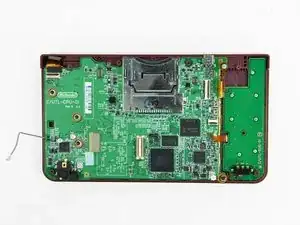
Rimuovi le viti che fissano la scheda madre al case superiore:
-
Una sola vite argentata a croce Phillips da 2,5 mm
-
Quattro viti a croce Phillips nere da 3,7 mm
-
-
-
Utilizzando l'estremità piatta di uno spudger, capovolgi il nastro di bloccaggio sul connettore ZIF del cavo dati del display superiore.
-
Con l'estremità appuntita di uno spudger, tira il cavo dati del display superiore dal suo connettore al di sotto della scheda madre.
-
-
-
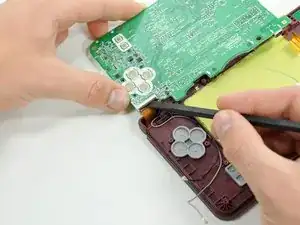
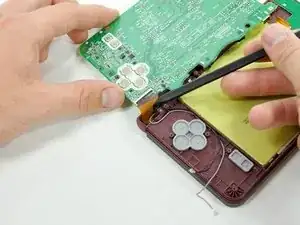
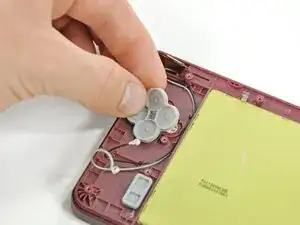
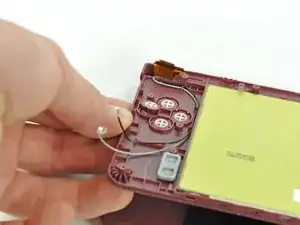
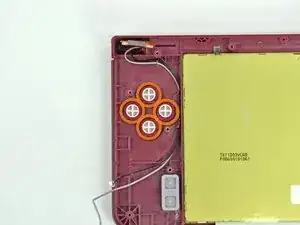
Apri leggermente il display e allontana ciascun pulsante dal case superiore.
-
Rimuovi tutti i quattro pulsanti dal DSi XL.
-


Per rimontare il tuo dispositivo, segui queste istruzioni in ordine inverso.

rust/white powder built up on a screw and can’t unscrew it
Eco -