Introduzione
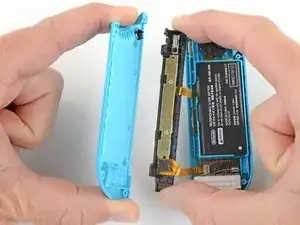
Segui questa guida per sostituire il meccanismo di bloccaggio originale dei Joy-Con con uno in metallo, o con uno in plastica.
Ci sono delle piccole differenze tra il Joy-Con sinistro e quello destro, ma non influiranno sulla procedura. Questi passaggi vanno bene per entrambi i Joy-Con.
-
-
Usa un cacciavite Tri-point Y00 per svitare le quattro viti da 6,3 mm dalla copertura posteriore del Joy-Con.
-
-
-
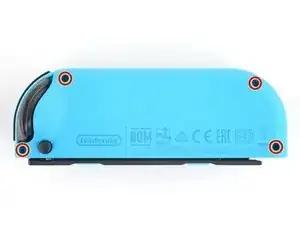
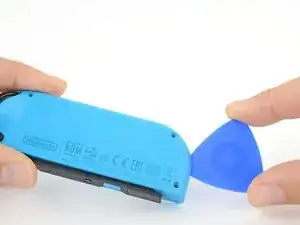
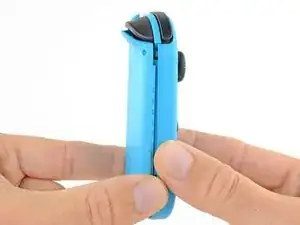
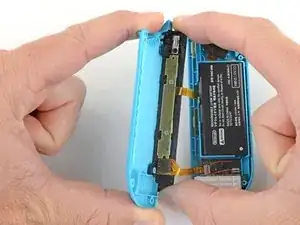
Infila un plettro nella fessura nel bordo inferiore del controller (sul lato opposto ai tasti L e ZL).
-
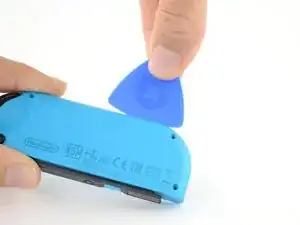
Fai scorrere lentamente il plettro sotto il bordo laterale del Joy-Con.
-
-
-
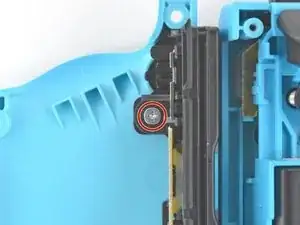
Usa un cacciavite a croce Phillips #00 per svitare la vite da 2,5 mm che tiene ferma la rotaia di carica.
-
-
-
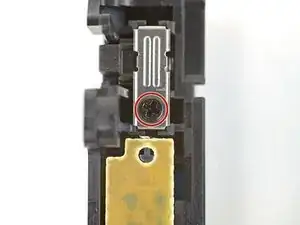
Usa un cacciavite a croce Phillips #00 per svitare la vite che tiene ferma la staffa di bloccaggio del meccanismo di bloccaggio.
-
-
-
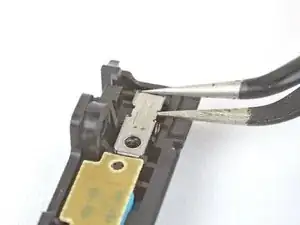
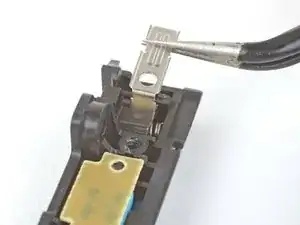
Infila una punta di un paio di pinzette sotto la parte piatta in mezzo alla staffa del meccanismo di bloccaggio.
-
Prendi la staffa con le pinzette e tirala via dalla rotaia di carica per rimuoverla.
-
-
-
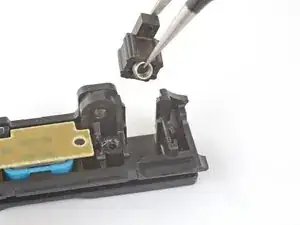
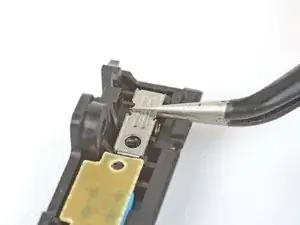
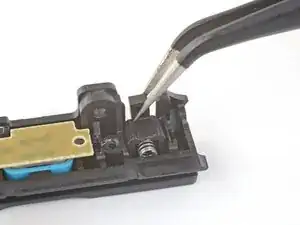
Solleva leggermente il meccanismo di bloccaggio dal suo alloggio nella rotaia di carica, il necessario affinché la molla sia abbastanza esposta per poterla prendere con le pinzette.
-
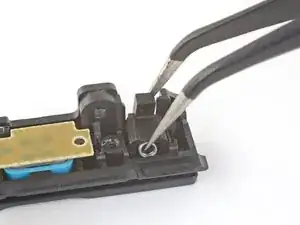
Prendi il meccanismo di bloccaggio in modo che le pinzette siano su entrambi i lati del meccanismo e che tengano ferma la molla all'interno del meccanismo.
-
Rimuovi il meccanismo dal suo alloggio nella rotaia di carica.
-


Per rimontare il tuo dispositivo, segui le istruzioni in ordine inverso.
Porta i tuoi rifiuti elettronici a un riciclatore certificato R2 o e-Stewards.
La riparazione non è andata come previsto? Prova delle soluzioni di base ai problemi, oppure rivolgiti alla nostra comunità Risposte per trovare aiuto.

34 commenti
I tried to do this carefully, but I ended up removing the side rail ribbon cables and I had to disassemble the whole thing just to try to get to the inside of these babies. However it seems I messed up, and now I could use some help here. I don't want to lose my left Joy-Con.
It seems rather strange.. Its pretty easy to reattach. All I have is a $@$*!& ph00 + y00 that stripped the screws so I broke the cover. Technically not my fault. I have done multiple reshells.
I tryed to do this but the 2nd at the bottom would not come out now my buckle is chiped
You mean the screws? Break off the shell! A perfect opportunity to put some clear ones :))
I bought this kit of replacement metal buckles, and they work beautifully: https://www.amazon.com/gp/product/B07BDH...
This kit comes with four buckles, two for the left Joy Con, and two for the right. If you happen to have two sets (or plan to get a second set) of Joy Cons, a whopping $9.00 will set you up right.
I did have a bit of trouble replacing the metal cover that holds the buckle in place, but that was my own stupidity as I was trying to do this repair with insufficient light. Once I shed some light on the subject and I could see what I was doing, everything went back together smooth as silk. I replaced the buckles on both of my Joy Cons, and they’re both rock solid now.
I just bent that and refitted it. Force INDEED works.