Introduzione
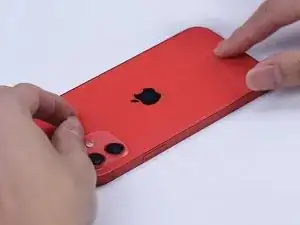
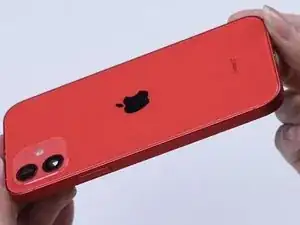
Com'è noto, Apple ha implementato il sistema MagSafe nella serie 12 di iPhone. Mentre cercavamo di smontare il vetro posteriore ci siamo accorti che i magneti sono incollati a tale vetro. Quindi, non c'è dubbio che questo abbia reso più difficile sostituire il vetro posteriore degli iPhone della serie 12. Ma alla fine, grazie alla nostra ampia esperienza e agli attrezzi giusti, siamo riusciti a trovare un modo per sostituire il vetro posteriore dell'iPhone 12.
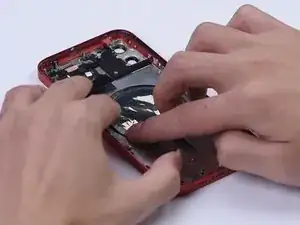
#Abbiamo smontato il telefono e rimosso la bobina per la ricarica senza filo.
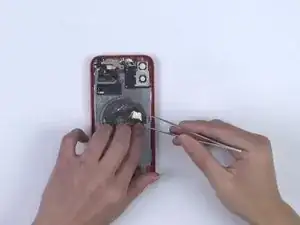
- Dopodiché, abbiamo scansionato il vetro posteriore col laser evitando la zona delle fotocamere
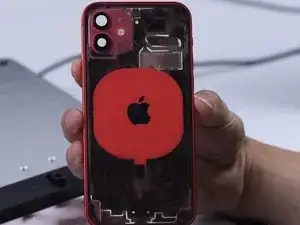
- Abbiamo quindi rimosso il magnete e il vetro posteriore
- Abbiamo montato il vetro posteriore nuovo con i fori delle fotocamere più grandi
- Abbiamo incollato il magnete e la schermatura al vetro posteriore nuovo
La guida che segue vi darà istruzioni chiare e corrette su come sostituire il vetro posteriore dell'iPhone 12.
Però non è stato semplice trovare il modo giusto di farlo. Il nostro primo tentativo stava per fallire.
Se scorrete la guida vedrete quali sfide abbiamo dovuto affrontare.
-
-
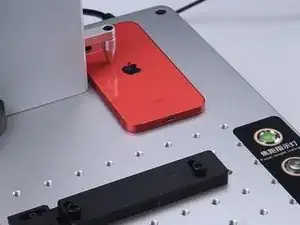
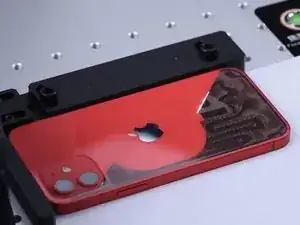
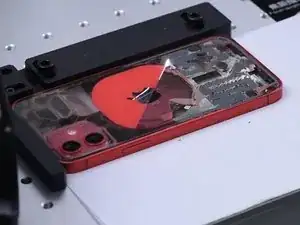
Posizionate il la parte posteriore dell'iPhone 12 sotto alla punta della macchina di marcatura laser. Dopo averla posizionata, marcate il vetro posteriore evitando l'area delle fotocamere e della bobina di ricarica wireless. Non abbiamo marcato la zona di ricarica wireless per evitare danneggiamenti.
-
-
-
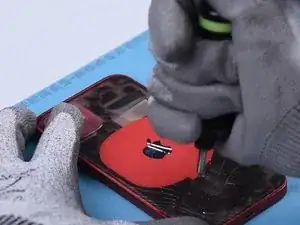
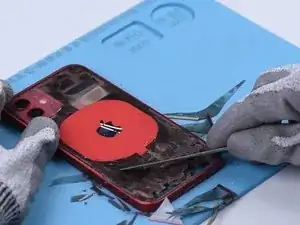
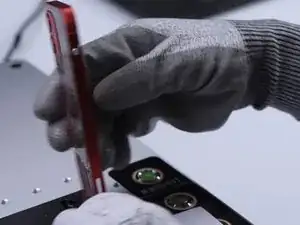
Diamo il benvenuto alla Glass Breaking Pen nella famiglia dei nostri arnesi per riparare il vetro posteriore. Rompete il vetro posteriore con la Glass Breaking Pen e rimuovete i cocci con la Pry Bar
-
Se seguissimo il vecchio metodo, i magneti cadrebbero e si separerebbero. Di conseguenza poi il rimontaggio sarebbe davvero difficile. Inoltre, non possiamo marcare la zona di ricarica wireless direttamente col laser per evitare danni
-
-
-
Dobbiamo rimuovere la bobina di ricarica wireless e successivamente marcare. I magneti e la schermatura possono essere rimossi facilmente dopo la marcatura
-
-
-
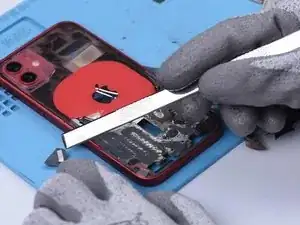
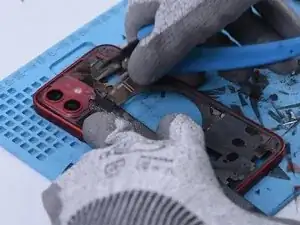
Ora rimuoviamo il vetro delle fotocamere. Cercate di non toccare le lenti delle fotocamere.
-
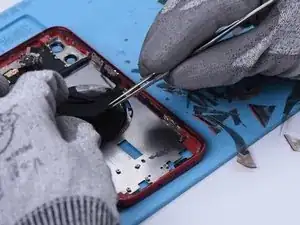
Dopo aver rimosso completamente il vetro, marcate nuovamente il dorso per rimuovere tutti i residui di colla
-
-
-
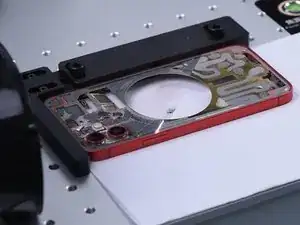
Posizionate il nuovo vetro posteriore coi fori della fotocamera allargati sul telaio centrale per controllare che calzi a pennello
-
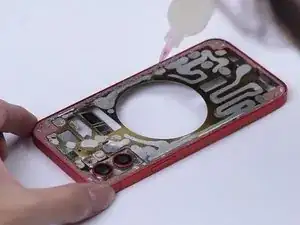
Applicate la colla in maniera uniforme sul telaio centrale. Riposizionate il vetro posteriore e premetelo delicatamente contro al telaio centrale
-
-
-
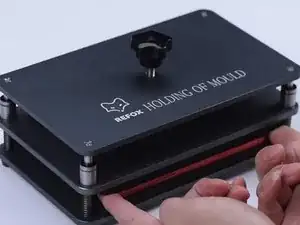
Continuate ad applicare pressione sul vetro posteriore e sul telaio centrale per mezzo di una pressa
-
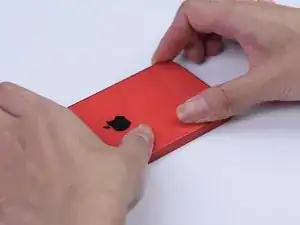
Dopo 10 minuti la colla è asciugata. Togliete la cover posteriore. Controllate se ci sono delle fessure, se ci sono fuoriuscite di colla e se il vetro è allineato al telaio.
-
-
-
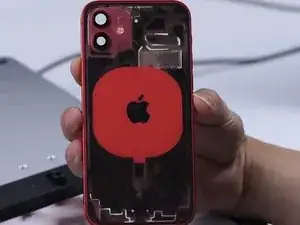
Dopo aver incollato il vetro posteriore, installiamo i magneti e la schermatura. Applicate un po' di colla B-7000 sulla circonferenza del magnete per farlo aderire al dorso
-
Assicuratevi che l'apertura dei magneti sia posizionata correttamente come nella fotografia
-
Incollate il magnete che avete tagliato accidentalmente e incollate il magnete di allineamento
-
In ultimo, riassemblate il telefono e controllate che il MagSafe funzioni a dovere.
-

Per concludere, l'aggiunta del MagSafe all'iPhone 12 ha reso più difficile la riparazione del vetro posteriore. Dato che i magneti sono incollati al vetro posteriore, è necessario staccarli prima di rimuoverlo. Quindi, non è possibile sostituire il vetro posteriore della serie 12 dell'iPhone senza smontarlo. È necessario rimuovere per prima la bobina per la ricarica senza filo. Quindi si può smontare il vetro posteriore incidendolo col laser evitando la zona delle fotocamere. Questo metodo ha un tasso di successo molto alto. Però non è affatto semplice e richiede che il tecnico riparatore sia altamente qualificato. Nel frattempo noi continueremo a cercare un metodo per poter sostituire o riparare il vetro posteriore dell'iPhone 12 senza doverlo smontare. Restate sintonizzati.

10 commenti
I have a small 3 in 1 CNC printer laser machine. How can I set the laser portion up so that I can use it to repair back glass via “marking”?
Jesus Christ this is getting into early days irl cyberpunk levels of tools and know how just to repair the part of your telephone covered by every case ever. Who has a laser position sensor laying around the apartment? Where do you even get one? Lol
I actually just looked and the author of this post is a VERY well stocked and knowledgeable repair business supply shop that does actually sell the laser position machine used in the tutorial.
At just shy of $1700.00 I'm curious about its sale numbers though. I suppose with magsafe being the new standard buying one of these makes sense for an established shop but it's definitely now the financial fork in the road for us casual fixes.
The tools are now so expensive that filing a insurance claim or flat out buying a whole new device is the more financially responsible path.
...that being said HOLY DIVER would I love to have my own personal crazy laser tool! I haven't gotten to play with lasers since I did Lidar scans way back when the LS880 from Faro was cutting edge.
Where can we find the files necessary to program the laser for 12's?
Scott Chiste -