Introduzione

Questa guida spiega passo passo come sostituire in sicurezza la batteria della calcolatrice scientifica TI-30X IIS.

  1. LLHQ1K2DhDNBpACU
    LLHQ1K2DhDNBpACU
    SAFPiovHu4GCSBo2
    cvvOExLHXLdsatWR
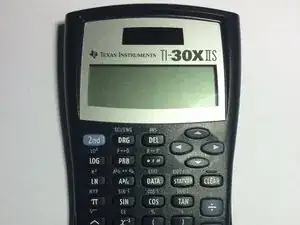
    • Verificare che la calcolatrice sia una TI-30X IIS guardando nell'angolo in alto a destra della parte anteriore.

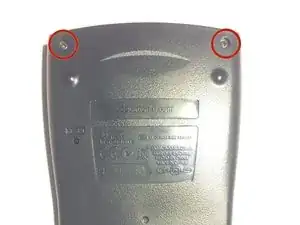
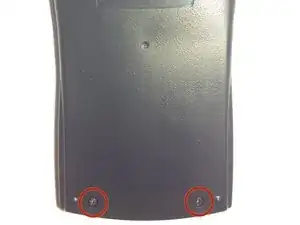
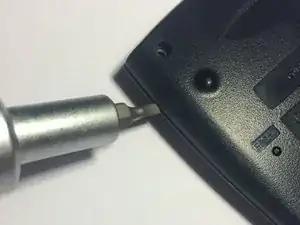
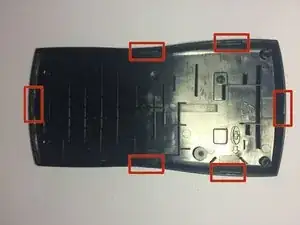
    • Guarda la parte posteriore della calcolatrice e individua le quattro viti del case. Ce ne sono due in alto e due in basso.

  2. Wjt1vuhWXTBKHiNj
    Wjt1vuhWXTBKHiNj
    TasFRJpkN3jvSaUJ
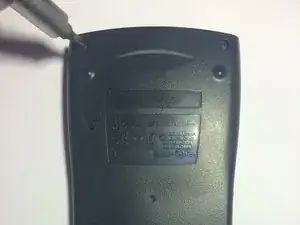
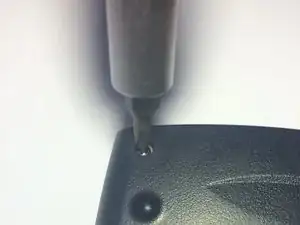
    • Utilizzare un cacciavite Philips #00 per rimuovere le quattro viti del case sul lato posteriore della calcolatrice.

    • Assicurati di conservare le viti in un luogo sicuro poiché sono piccole e facili da perdere. Saranno necessari in seguito per il rimontaggio.

  3. vBm2bOErlDAlSuvr
    vBm2bOErlDAlSuvr
    qXpjT5RXnURK5Dv3
    rogWrBgUJvMvkVq1
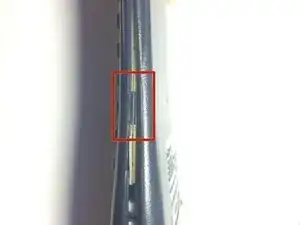
    • Dopo aver rimosso tutte e quattro le viti, utilizzare un cacciavite a testa piatta o un oggetto piatto simile per separare il rivestimento anteriore e quello posteriore.

    • Ci sono sei clip che tengono insieme le custodie. Queste aree richiederanno una forza extra per separarsi, ma fai attenzione a non rompere i pezzi di plastica.

    TI should have indicated the 6 clips on the back or sides of the calculator. Thanks for showing!

    James Shyu -

    I have a TI-30X IIS but mine has 2 clips at the top about 1/3 of the way in at each side and the battery is attached to the backside (as someone commented below) with a wire attaching it to the front, so be careful separating the sides..

    Thanks for this tutorial!!!

    Free Movie -

  4. 6lrEQAWQs5Z6jVFB
    6lrEQAWQs5Z6jVFB
    HvEwygPHYmwYxcqA
    cAXt23wgtd4OksCF
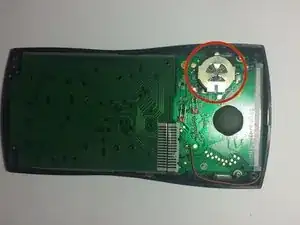
    • Con il case posteriore rimosso, la batteria è esposta e accessibile.

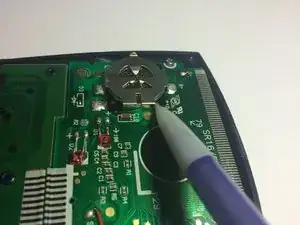
    • Utilizzando uno strumento appuntito, fai scorrere la batteria fuori dal suo terminale verso il bordo più vicino.

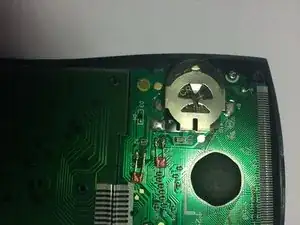
    • Quando la batteria sporge dai contatti, rimuoverla con le dita.

    This process varies as there are two versions I know of, one like the one in the picture, and one with the battery in the back cover.

    So that should help if you are scratching your head saying why they look different!

    the bongo guy -

    Thanks the bong guy

    Alexander Sides -

    Thank you bongo guy. Mine was on the back, which was connected to the front by a wire, so be careful separating the sides.

    Free Movie -

  5. BFZJWUP2wAqtb5QU
    • Smaltire correttamente la vecchia batteria.

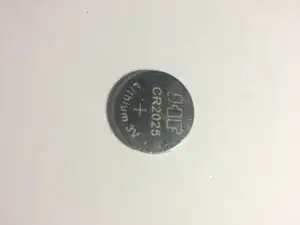
    • Sostituire la batteria con una identica, terminale positivo in alto e terminale negativo rivolto verso il basso verso; la scheda del circuito.

    • Seguire i passaggi precedenti nell'ordine inverso per riassemblare la calcolatrice.

Conclusione

Per riassemblare il tuo dispositivo, segui queste istruzioni in ordine inverso.

Ryan

Membro da: 01/03/15

515 Reputazione

0 commenti