Introduzione
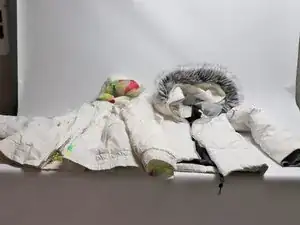
Una cerniera rotta ha rovinato il vostro capo d’abbigliamento preferito? Non buttatelo via subito! Il problema più comune con le cerniere zip riguarda la rottura o la mancanza dello “spillo”, la parte della zip che va inserita nel cursore. Potrebbero comunque esserci dei negozi che vendono kit per la riparazione delle zip, ma tendono a non durare comunque a lungo, a causa della tensione a cui lo spillo viene sottoposto quotidianamente. Il miglior modo per sostituire lo spillo è ricucirne uno nuovo, insieme al tessuto e al rinforzo di plastica intorno a esso. Non servono kit - solo forbici, ago e filo.
Strumenti
Ricambi
-
-
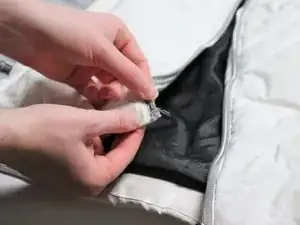
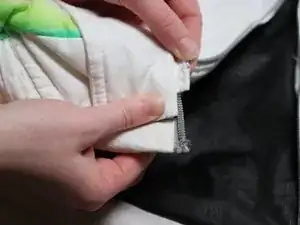
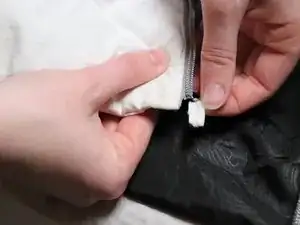
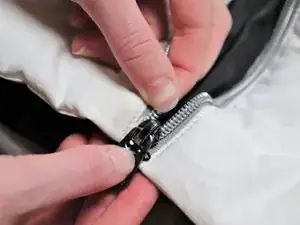
Ritaglia dalla cerniera lo "spillo". Se è già assente (come nella foto), taglia via le parti di tessuto sfilacciate. Non tagliare i denti della zip.
-
-
-
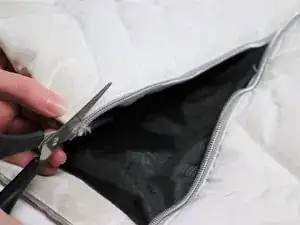
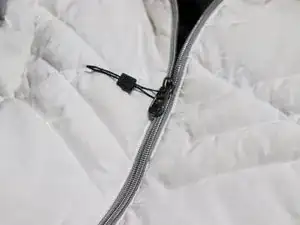
Trova un capo d’abbigliamento che non usi più, fornito di una cerniera zip. Lo spillo deve essere della stessa lunghezza di quello rotto/danneggiato; non importa se è di plastica o metallo.
-
-
-
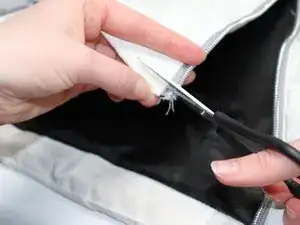
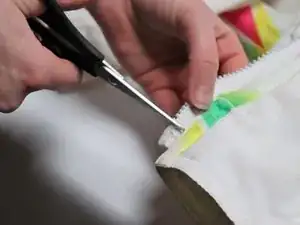
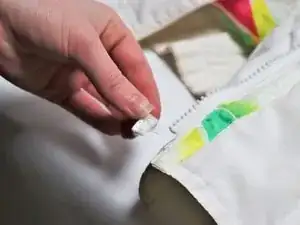
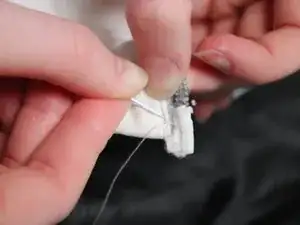
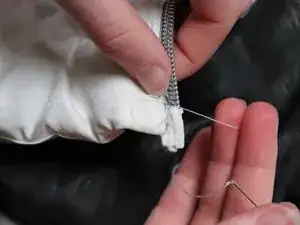
Tagliate via dalla cerniera il terminale funzionante. Attenzione a non tagliare via da esso il supporto quadrato di plastica o troppo tessuto. Servirà averne abbastanza da poterlo cucire.
-
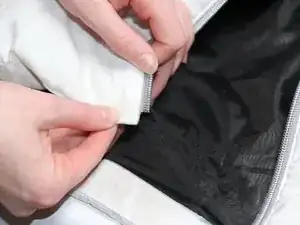

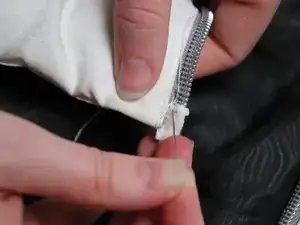
Se lo spillo non si allinea correttamente, rimuovi il filo e ricuci.
11 commenti
Hi, I have a north face jacket and the zipper is fine but the plastic square backing is what’s missing so I can’t zip it up. Do you know what that’s really called so I can find a replacement? Or do you know what I can replace it with? Thanks, Amy
Instead of cutting a notch out, I removed the stitching at the edge of the coat to expose the entire zipper body end, and completely cut the end off. Then I stitched a complete new end on. The advantage was that it provided the maximum mechanical strength to keep the insertion pin aligned.
Careful when at the cut lines, do not pull on any threads, some are loose, but I have a way to fix that later. Then stitch using long stiches to avoid the areas too close to the cut lines where the threads are loose.
Finally, I zip the 2 halves together in order to align all the parts together into their final relative positions, and use a Bondic glue pen on all stitches and areas around the cuts where the loose threads are. When I cure with the UV light, the result is much stronger than just the threads. I was careful to not apply any of the epoxy close to the zipper, so that I don’t block the passage of the zipper slider.
Then I lightly sand to remove any sharp edges, and sew the zipper tape back to the jacket.
I will need to see a YouTube video on that lol
That’s a great solution. I considered that, but it seemed like way more work, so I opted for a simpler fix. You could also replace the entire zipper if you wanted!
Hello:
I have a question. I own an LL BEAN winter jacket. The zipper doesn't work. It seems I need a Bottom Stop, an Insertion Pin, and a Retainer Stop. On the back of the slider, it says:
YKK
5VSt
VISLON
Can you help me? I have a photo, if needed.
Thank you,
David
Hi, David!
I’m certainly no expert, but can you include the photo? Maybe I’ll be able to help.
All you have to do is go to amazon, or wherever and put in the type of zipper that you mentioned above. If replacing the whole thing, you need to know how many inches it is. If you’re just replacing the bottom pieces mentioned, it doesn’t matter how long it is.