
Introduzione
Segui questa guida per sostituire il disco rigido del tuo iMac. Sostituire il disco rigido richiede di separare lo schermo e spostare la cassa di sinistra.
Questa guida comprende dei passi per aggiornare l'hard drive del tuo iMac con un SSD. Descrive anche come installare il sensore di temperatura in modo che le ventole del Mac lavorino alla velocità corretta.
Prima di iniziare a lavorare sul tuo iMac: Scollegalo dalla corrente e tieni premuto il tasto di accensione per dieci secondi per scaricare i condensatori dell'alimentatore.
Stai molto attento a non toccare i contatti dei condensatori o qualsiasi altra saldatura esposta sul retro dell'alimentatore.
Strumenti
-
-
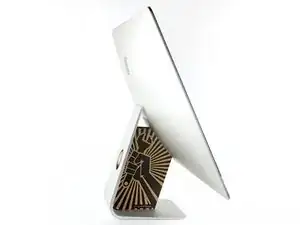
Con il perno libero di muoversi, l'iMac sarà sbilanciato e sarà difficile lavorarci sopra. Le riparazioni possono essere fatte con l'iMac a faccia in giù, ma sono più veloci e facili con un cuneo di supporto per iMac.
-
Se stai usando il Cuneo iFixit di cartone di supporto dell'iMac, segui queste indicazioni per montarlo.
-
-
-
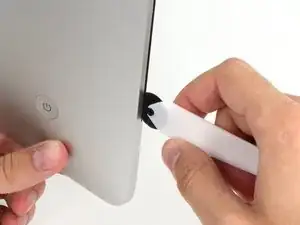
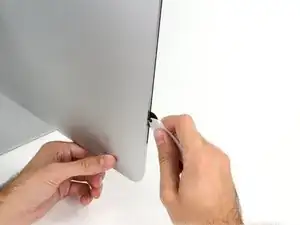
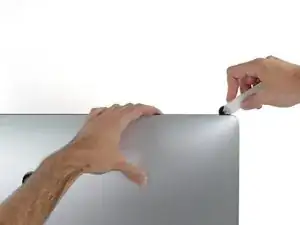
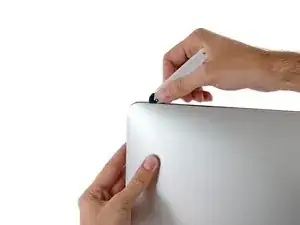
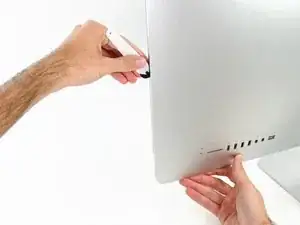
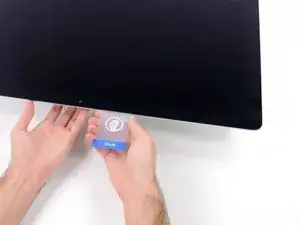
Iniziando dalla sinistra del display, vicino al tasto di accensione, inserisci lo strumento di apertura per iMac nello spazio tra il vetro e la scocca posteriore.
-
-
-
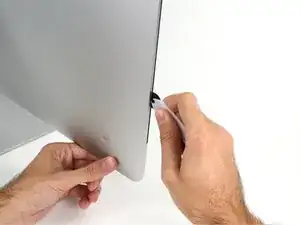
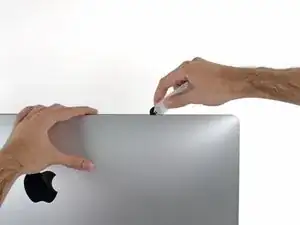
Usa l'attrezzo come una rotella tagliapizza: fallo girare nella fessura per tagliare la parte centrale dell'adesivo in schiuma.
-
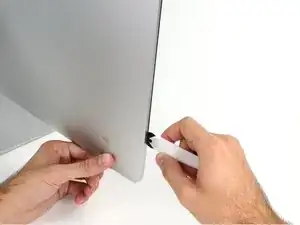
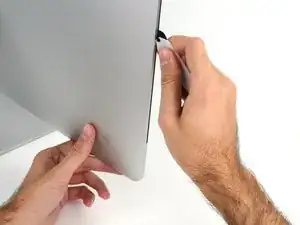
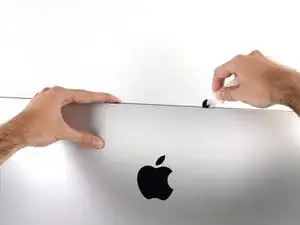
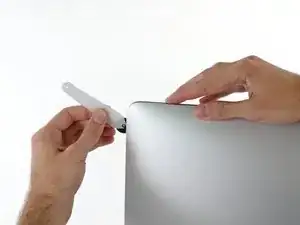
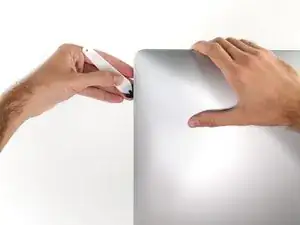
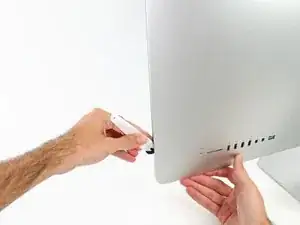
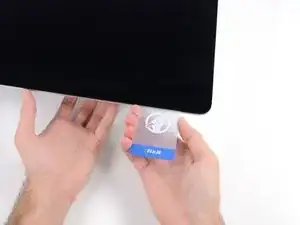
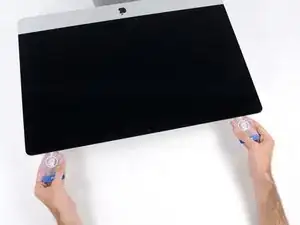
Fai scorrere l'attrezzo lungo la parte sinistra del display.
-
-
-
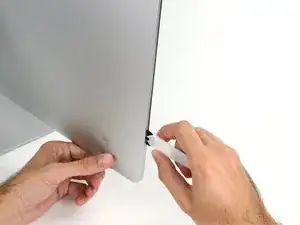
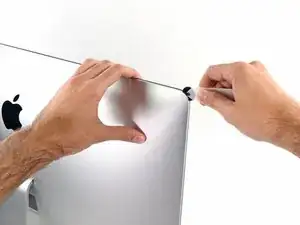
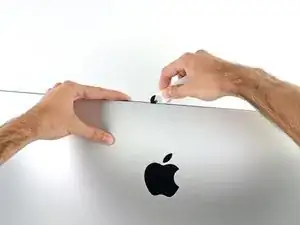
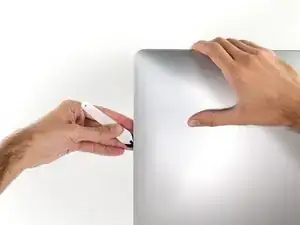
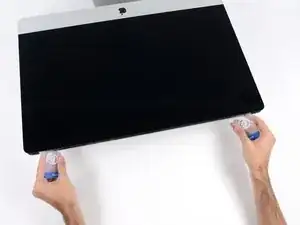
Finisci di spingere lo strumento di apertura fino alla parte bassa del lato destro del display.
-
-
-
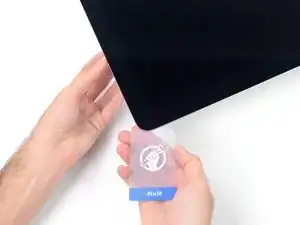
Posiziona l'iMac a faccia in su sopra un tavolo.
-
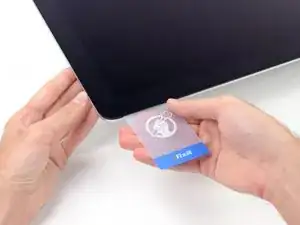
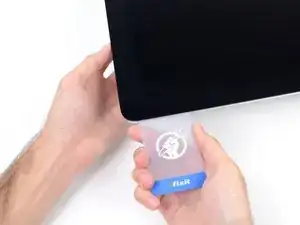
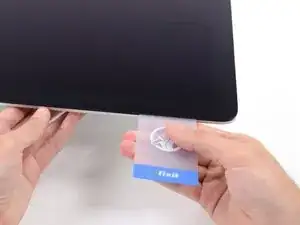
Partendo dall'angolo superiore destro, inserisci una scheda di plastica tra il display e la scocca.
-
-
-
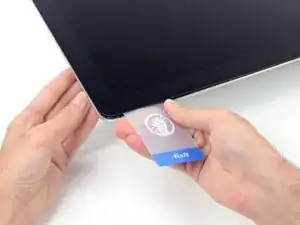
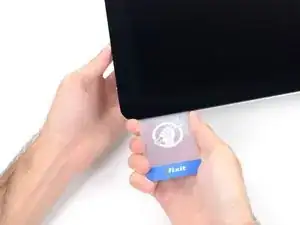
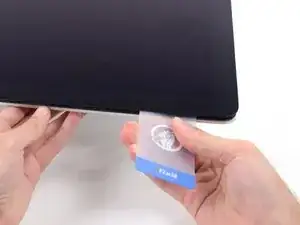
Torci delicatamente la scheda di plastica per allargare la fessura tra il display e la scocca e taglia l'adesivo rimanente vicino agli angoli.
-
-
-
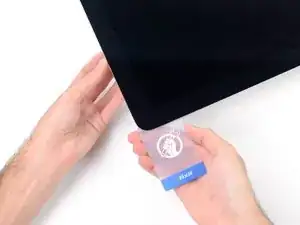
Inserisci di nuovo la scheda nell'angolo e lasciala lì per evitare che l'adesivo si riattacchi.
-
-
-
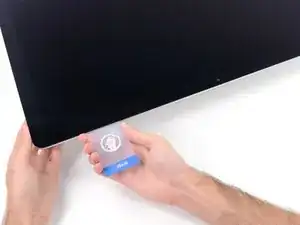
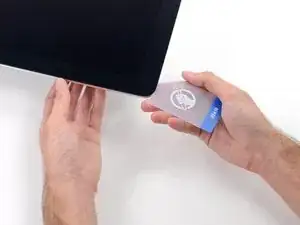
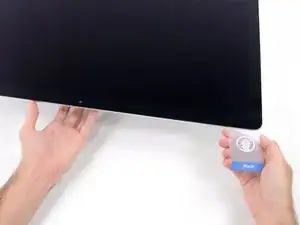
Inserisci una seconda scheda nella fessura tra lo schermo e la scocca nell'angolo superiore sinistro.
-
-
-
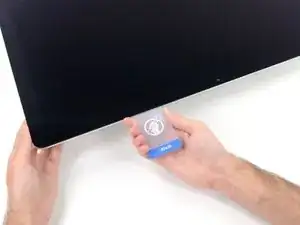
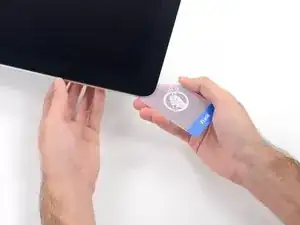
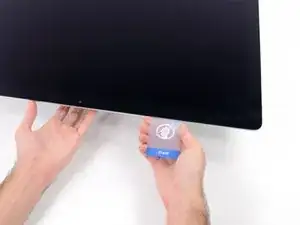
Torci delicatamente la scheda, allargando lievemente la fessura tra lo schermo e la scocca.
-
-
-
Fai scorrere la scheda di plastica verso il centro, fermati anche questa volta prima della fotocamera iSight.
-
-
-
Con le schede inserite come mostrato vicino agli angoli, torci delicatamente le schede stesse per allargare la fessura tra display e scocca.
-
Se c'è ancora qualche punto che sembra incollato e non vuole separarsi, smetti di torcere le schede e usane una per tagliare l'adesivo in quel punto.
-
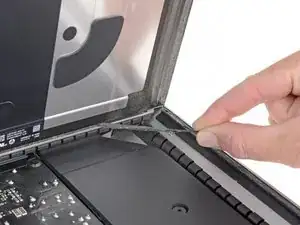
Comincia a sollevare dalla scocca la parte superiore dello schermo.
-
-
-
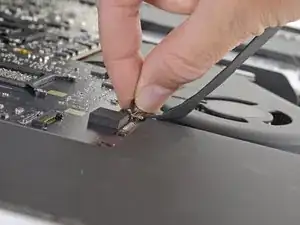
Mentre tieni lo schermo con una mano, usa l'altra per scollegare il cavo di alimentazione del display.
-
-
-
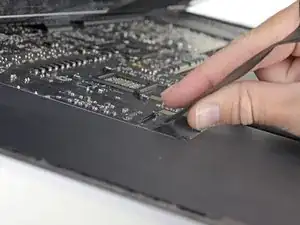
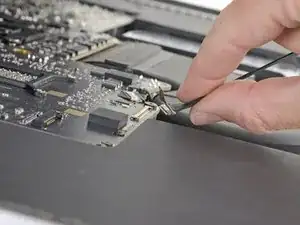
Solleva la piastra metallica che assicura il cavo dati del display.
-
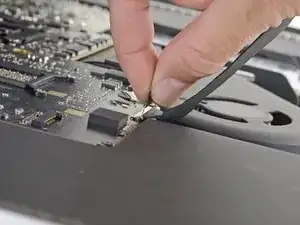
Scollega il cavo dati dello schermo.
-
-
-
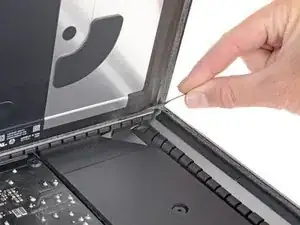
Prendi le piccole alette all'estremità di una delle strisce adesive sul bordo inferiore dello schermo e tirala verso il bordo superiore dell'iMac per rimuoverla.
-
Ripeti questo passaggi per l'altra striscia adesiva e rimuovila.
-
-
-
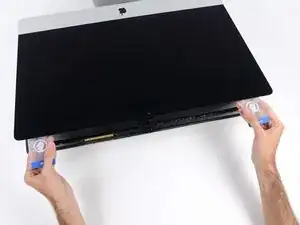
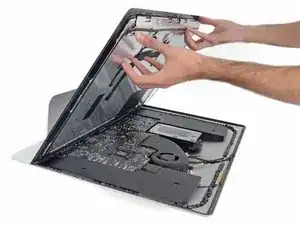
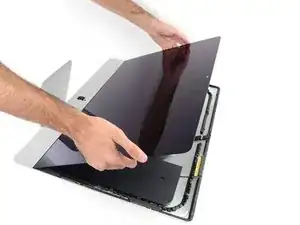
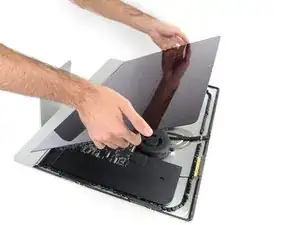
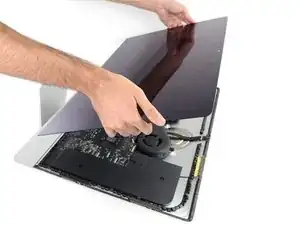
Solleva il display dalla scocca e rimuovilo dall'iMac. Appoggia il display faccia in giù su una superficie piana e morbida.
-
Potrebbe essere necessario sollevare lentamente lo schermo da una parte per staccare l'adesivo rimanente.
-
-
-
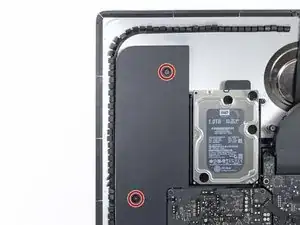
Usa un cacciavite T10 per rimuovere le due viti da 10 mm che fissano l'altoparlante sinistro.
-
-
-
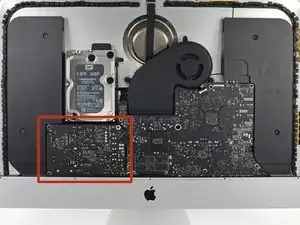
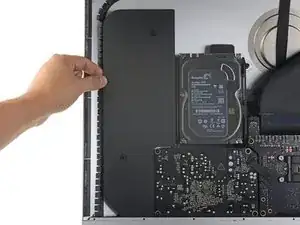
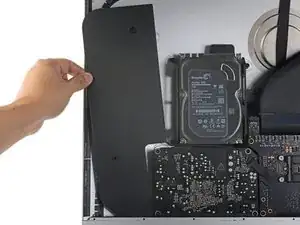
Fai scorrere l'altoparlante sinistro liberato verso sinistra, quanto basta per scoprire le viti della staffa dell'hard drive.
-
-
-
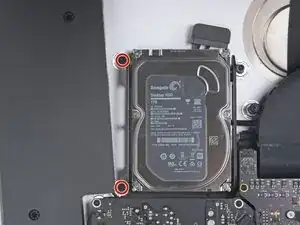
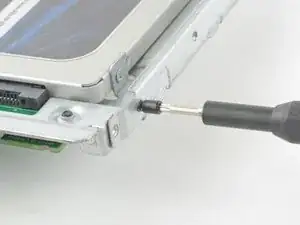
Usa un cacciavite T8 per rimuovere le due viti da 7,3 mm che fissano la staffa sinistra dell'hard drive al case posteriore.
-
-
-
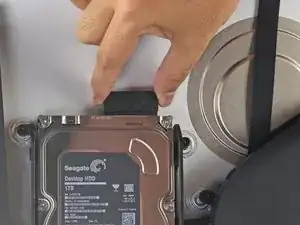
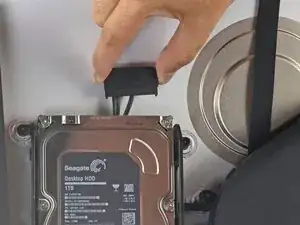
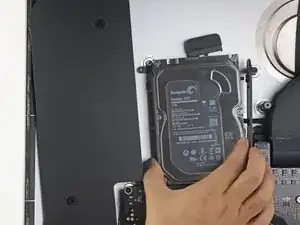
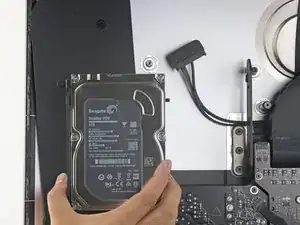
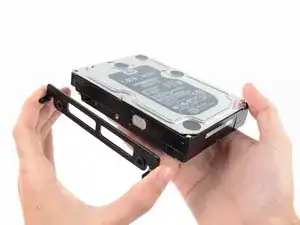
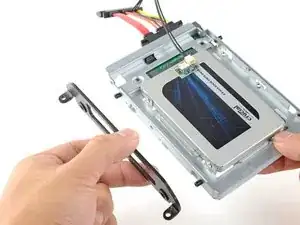
Afferra insieme l'hard drive e la staffa di supporto sinistra dell'unità stessa.
-
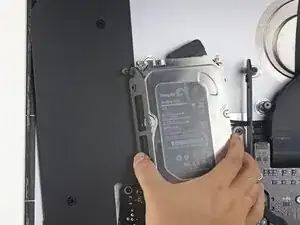
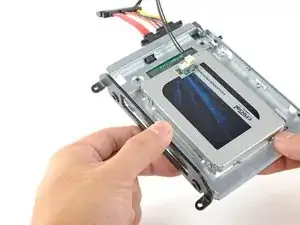
Inclina il lato sinistro dell'HD allontanandolo dal case posteriore e fai scorrere a sinistra tutto l'insieme.
-
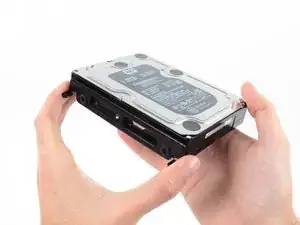
Rimuovi dall'iMac l'hard drive e la sua staffa di supporto sinistra.
-
-
-
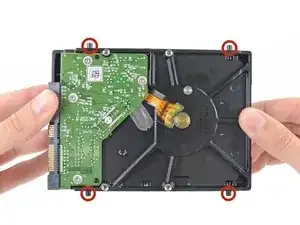
Rimuovi i quattro supporti per le viti Torx T8 da 8,1 mm dal disco rigido e trasferiscili sulla copertura del nuovo disco rigido.
-
-
-
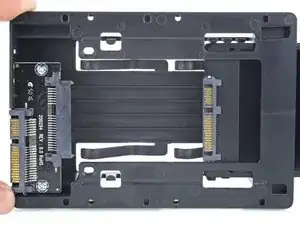
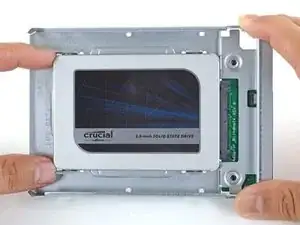
Allinea il connettore dell'SSD con i rispettivi zoccoli dell'involucro metallico.
-
Premi il disco contro gli zoccoli dell'alloggiamento finché l'SSD non si blocca in posizione corretta.
-
-
-
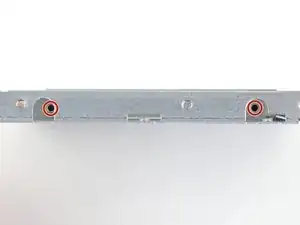
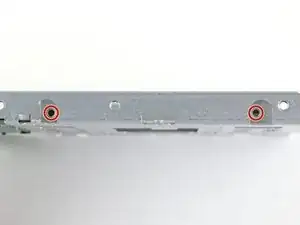
Usa un cacciavite a croce Phillips per installare le quattro viti cromate (due su ciascun lato) lungo i bordi dell'SSD per fissarlo all'involucro.
-
-
-
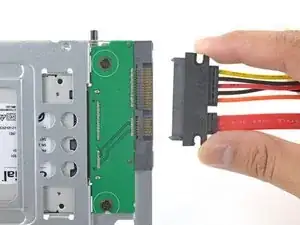
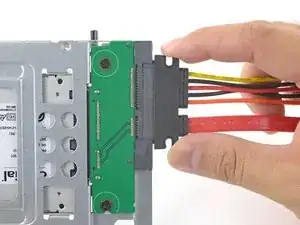
Collega il cavo di alimentazione SATA con predisposizione sensore incluso nella porta dell'alloggiamento.
-
-
-
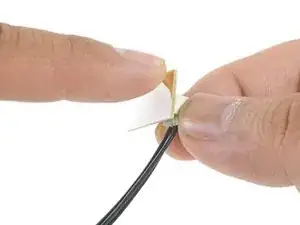
Stacca la protezione bianca dal retro della piccola scheda del sensore di temperatura per esporre l'adesivo presente su questo componente.
-
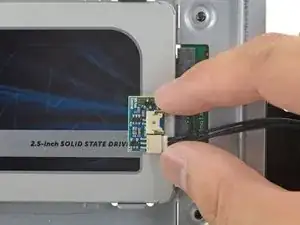
Fai aderire la scheda del sensore di temperatura su una superficie metallica esposta dell'SSD, vicino al connettore SATA.
-
Ripiega i cavi del sensore di temperatura che ingombrano in modo che non siano di intralcio in fase di montaggio dell'alloggiamento.
-
-
-
Usa un cacciavite T8 per trasferire le spinette di allineamento dal vecchio HD ai lati dell'involucro.
-
-
-
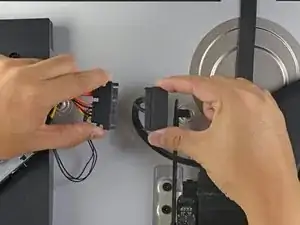
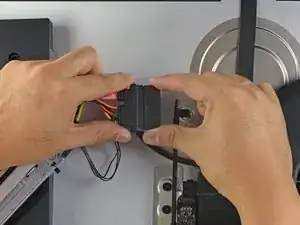
Connetti il cavo combinato dell'iMac all'altra estremità del nuovo cavo combinato predisposto per il sensore di temperatura.
-
-
-
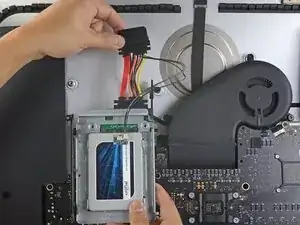
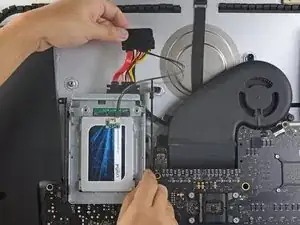
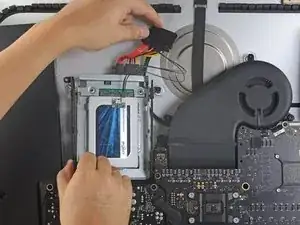
Fai scorrere l'involucro dell'SSD nello spazio occupato in precedenza dall'hard drive.
-
Fai passare i cavi in modo che non interferiscano con alcun altro componente.
-


Confronta la tua parte di ricambio con quella originale: potrebbe essere necessario il trasferimento di alcuni componenti o la rimozione di protezioni adesive dalla nuova parte prima di installarla.
Per rimontare il tuo dispositivo, segui le istruzioni in ordine inverso.
Porta i tuoi rifiuti elettronici a un riciclatore certificato R2 o e-Stewards.
La riparazione non è andata come previsto? Dai un'occhiata alla nostra comunità Risposte per aiutarti nella risoluzione dei tuoi problemi.

9 commenti
What’s the difference with this guide? Sostituzione hard drive su iMac Intel 27" con display Retina 5K
Mr 3s -
Hello, I have an iMac (Retina 5K, 27-inch, 2017) and I would like to change my hard disk, which is a 3.5GHz 1TB Fusion Unit, for an SSD disk, would you recommend doing it? And if so, what reference or brand do you recommend to do it?
I can confirm the OWC thermal sensor cable is not needed for HDD to SSD upgrade. I successfully upgraded my 2017 5k iMac fusion drive’s HDD to WD blue 2TB SATA3 ssd without it and the fans speeds don’t ramp up at all. Anyhow thanks for your guides Ifixit on how to DIY. I successfully upgraded my 128gb NVME to a 1TB NVME and to a SATA3 ssd for storage. Transfer speeds are insane and my boot up time now only takes 12 seconds compared to 32 seconds previously. I also upgraded my cpu from the i5-7600k to the i7-7700k. My 2017 5k iMac is blazing fast now. Thanks again ifixit.
Andy C -
What’s the point of this? You run the wheel around the outside, and then you lay it down anyway to pull the glass and do the rest. The wedge is not needed.
ebay -
I have a story to tell about this teardown. It all went wonderfully well until after I completed the process and attempted to format my new SSD drive only to discovery that the capacity of the drive was 256GB… not the 2TB I was sure I had ordered. iFixit was very supportive and helpful in sending me a new set of sticky tape strips and and RMA to return the SSD and some of the other parts.
I finally had received my new set of strips and the 2TB SSD…. I figured, piece of cake… I already know how to do this… but I watched the video again and started following the teardown…
…apparently the new sticky tape strips was way more powerful that the original tape and while using the pizza cutter tool and not advancing much, I proceeded to use one of the iFixit credit card style wedges…. I now have 2 pretty severe cracks on the glass of my display, which as clearly explained by @mayer can only be replaced by an entire display… which runs at about $500. Cosmetically it looks horrible, but it works… for now.
Erich Hentschel -