
Introduzione
Un prerequisito per rimuovere il gruppo della scheda madre.
-
-
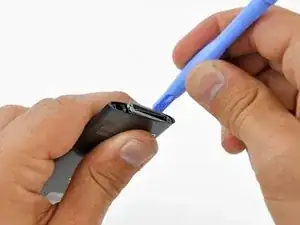
Usa una pistola termica per ammorbidire l'adesivo sotto il bordo in plastica inferiore dell'iPod.
-
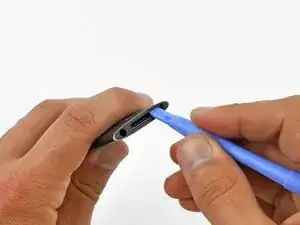
Usa uno strumento di apertura in plastica per fare leva tra il bordo in plastica e la copertura esterna dell'iPod per rimuoverla.
-
-
-
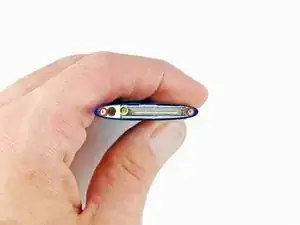
Svita le tre viti dal bordo inferiore dell'iPod:
-
Due viti a croce Phillips inclinate da 4,4 mm
-
Una vite a croce Phillips da 5,4 mm
-
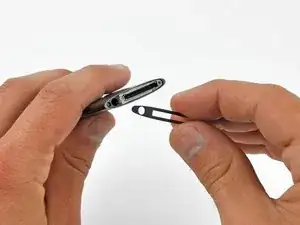
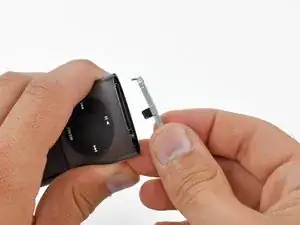
Usa uno strumento di apertura in plastica per fare leva sul supporto in metallo e rimuoverlo dal bordo inferiore dell'iPod.
-
-
-
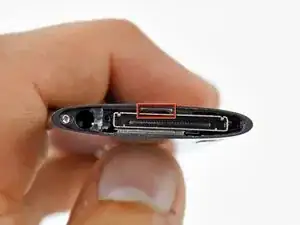
Infila uno spudger in metallo nella fessura sul fondo dell'iPod appena sopra la porta di carica.
-
Usa lo spudger in metallo per far leva sul bordo inferiore della ghiera cliccabile.
-
-
-
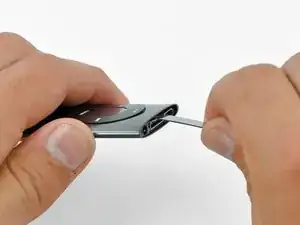
Infila un plettro tra la ghiera cliccabile e la copertura esterna dell'iPod Nano e rimuovi lo spudger in metallo.
-
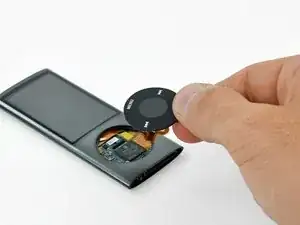
Fai leva sui bordi della ghiera cliccabile con il plettro per sollevarla finché non si libera dalla copertura esterna.
-
-
-
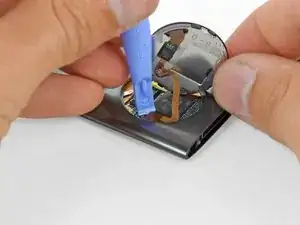
Solleva la ghiera cliccabile con una mano e con uno strumento di apertura in plastica solleva il connettore del cavo a nastro della ghiera dalla sua presa sulla scheda madre per scollegarlo.
-
Rimuovi la ghiera cliccabile.
-


Per rimontare il dispositivo, segui le istruzioni in ordine inverso.

On the Nano I worked on I had to do steps 12-14 before step 10 because the metal plate on the bottom is one of the two things holding the click wheel in place.
ethan -
You MUST remove the bottom plate BEFORE forcing of the wheel or you WILL tare it apart as there is a lug on the bottom plate that holds the wheel in place ( wish I had known this before I damaged mine)
also do not lose the very small spring that is under the wheel (I DID )
Keith -
+1. There is a tiny piece of plastic containing a little spring just under the wheel. Remove thoses parts before extracting the main board or you will probably loose them.
jonathanct -