-
-
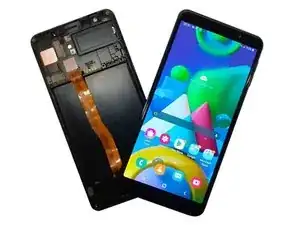
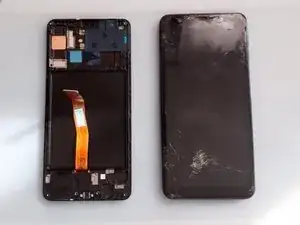
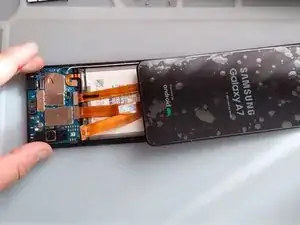
È meglio utilizzare il gruppo display (schermo con cornice) per riparare il dispositivo rotto.
-
-
-
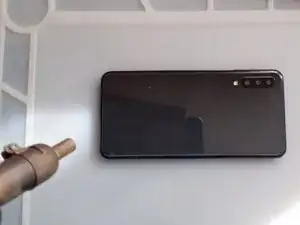
Usa aria calda per riscaldare il dispositivo ed ammorbidire il tipo di adesivo.
-
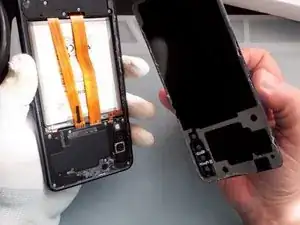
Separa delicatamente la copertura posteriore.
-
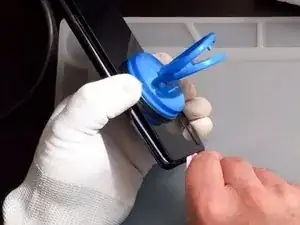
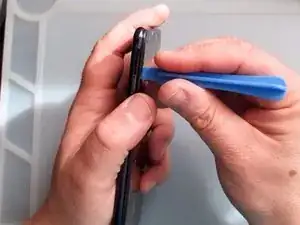
Usa una ventosa e uno strumento per apertura di plastica (carta di credito).
-
-
-
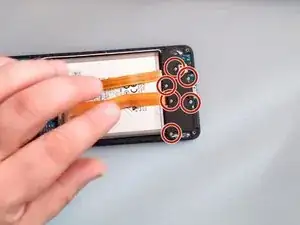
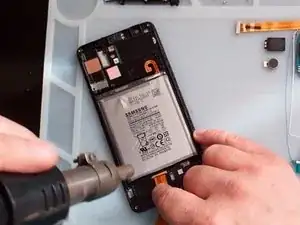
Ti servirà un cacciavite a croce Phillips per rimuovere tutte e nove le viti.
-
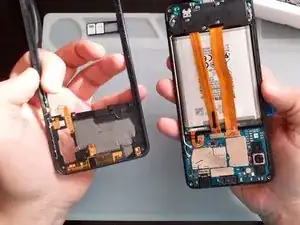
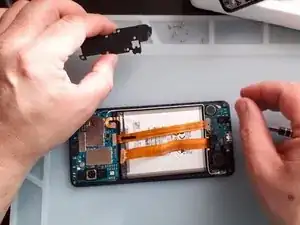
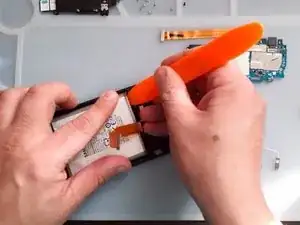
Di nuovo, usa solo strumenti di plastica per rimuovere il telaio intermedio.
-
-
-
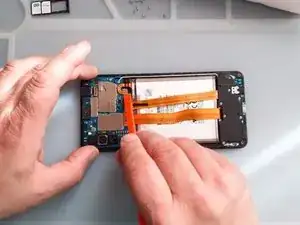
Una volta che hai accesso alla batteria, disconnettila.
-
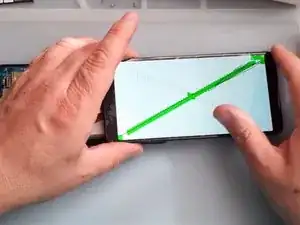
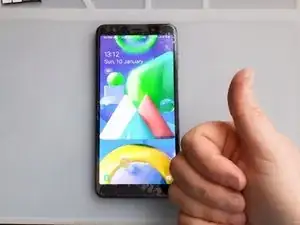
Prova il nuovo schermo prima dell'installazione.
-
-
-
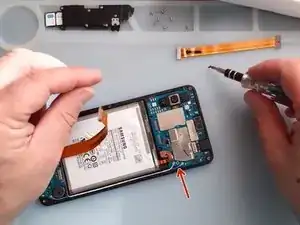
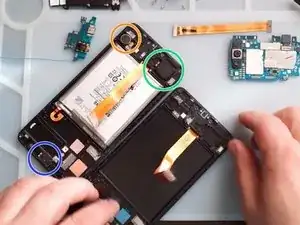
Usa un cacciavite a croce Philips e uno strumento in plastica e rimuovi il coperchio della scheda secondaria.
-
-
-
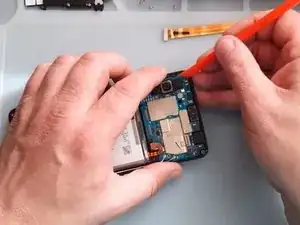
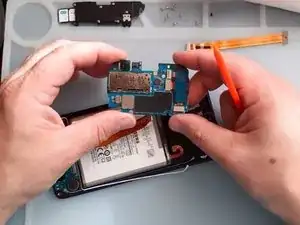
Rimuovi la scheda dell'antenna Sub-PBA.
-
È più facile estrarre la scheda secondaria se la riscaldi un po'.
-
-
-
Trasferisci la nuova cornice dello schermo:
-
Motore di vibrazione
-
Altoparlante
-
Ricevitore
-
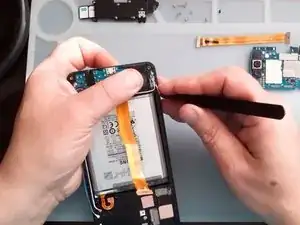
Usa aria calda e strumenti di plastica per rimuovere la batteria.
-


Per riassemblare il tuo dispositivo, segui queste istruzioni in ordine inverso.

2 commenti
Hey!!!!!!. I’ve just recently fixed my A7 (2018) screen, and with this screen, you’ll have to remove the old one, and replace it. The adhesive what is on your old screen is very strong, So i advise to use isopropyl alcohol, and/or heat, also with suction, so that you can pry up the screen. Also, Do NOT bent the Flex Cable because it is very delicate, and it will tear easy. All in all, the repair was fun, for a repairman myself, and allowed me to use my talent!!. 10/10 Recommend
I want buy the screen for samsung a7 ?