
Introduzione
Usa questa guida per rimuovere il gruppo display che include il vetro frontale, il digitizer e il cavo tasto home.
-
-
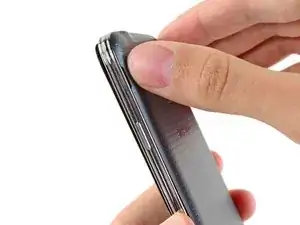
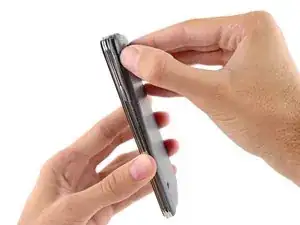
Inserisci un'unghia o uno strumento di apertura in plastica nell'intaglio a sinistra della fotocamera posteriore.
-
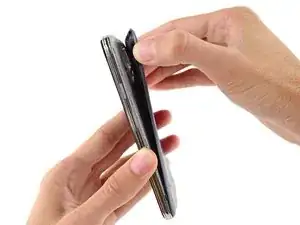
Solleva e ruota delicatamente, allontanando il bordo superiore, il case posteriore flessibile dal retro del telefono.
-
-
-
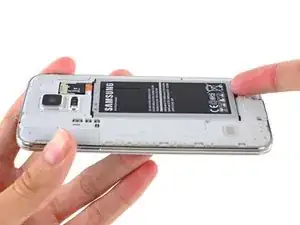
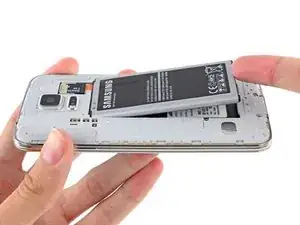
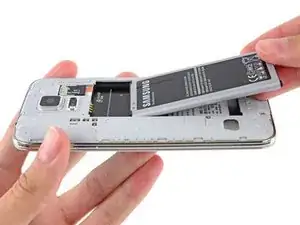
Inserisci un'unghia o uno strumento di apertura in plastica nell'intaglio nell'angolo inferiore destro della batteria e solleva la cella verso l'alto.
-
Rimuovi la batteria dal telefono.
-
-
-
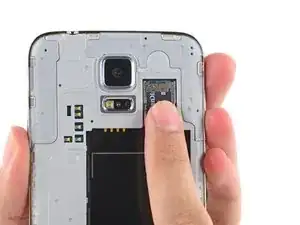
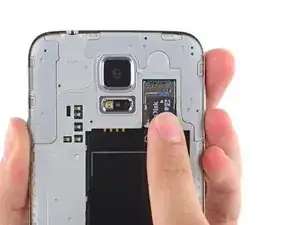
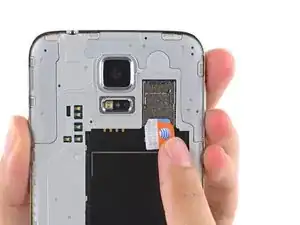
Con la punta di un dito premi sulla scheda microSD e falla scorrere verso il basso per tirarla fuori dal suo alloggiamento.
-
Rimuovi la scheda microSD dal telefono.
-
-
-
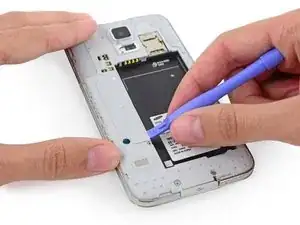
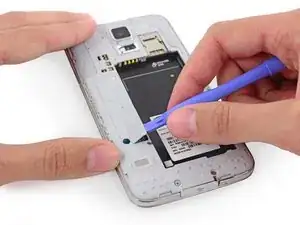
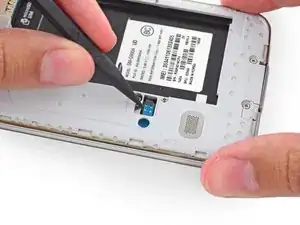
Usa uno strumento di apertura in plastica per sollevare il pannello che copre il connettore del telaio centrale in plastica.
-
Rimuovi il pannello con un paio di pinzette.
-
-
-
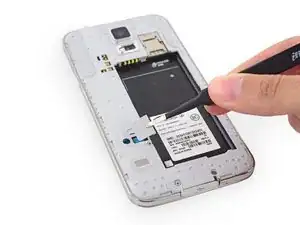
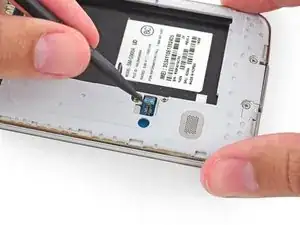
Usa la punta di uno spudger per sollevare verso l'alto il connettore del cavo del pulsante home dal suo zoccolo.
-
-
-
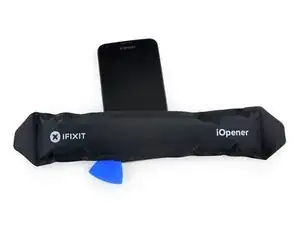
Applica un iOpener caldo sulla metà sinistra del telefono per un periodo massimo di 90 secondi.
-
Riscalda l'iOpener e applicalo sulla metà destra del telefono.
-
-
-
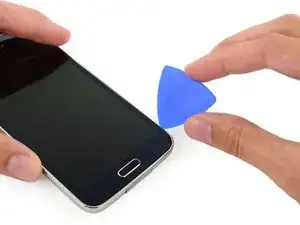
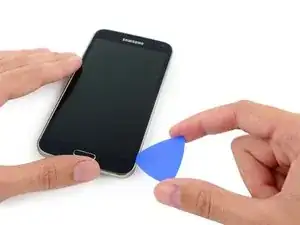
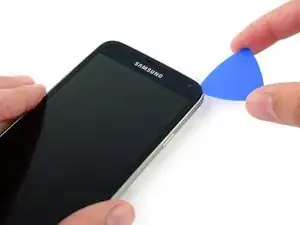
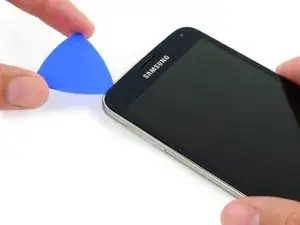
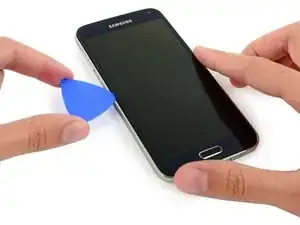
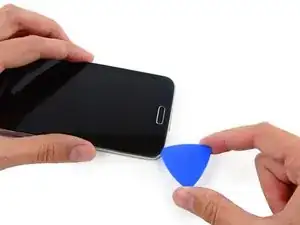
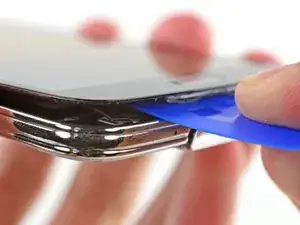
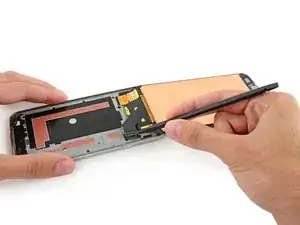
Inserisci la punta di un plettro di apertura sotto il lato inferiore destro del pannello di vetro.
-
-
-
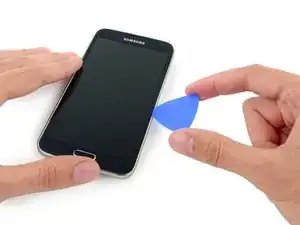
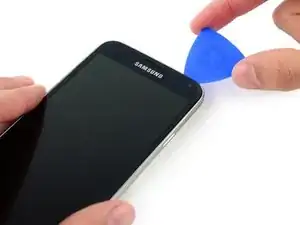
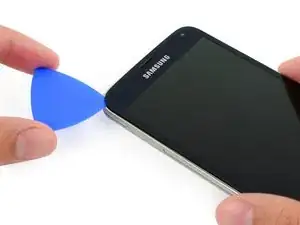
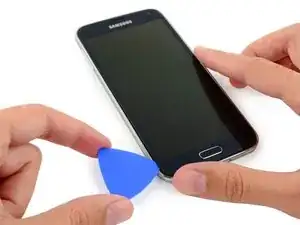
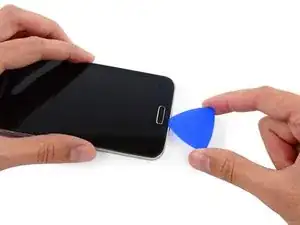
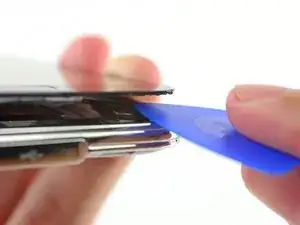
Fai scorrere delicatamente il plettro attorno all'angolo e fermati prima della griglia dell'altoparlante sopra il telefono.
-
-
-
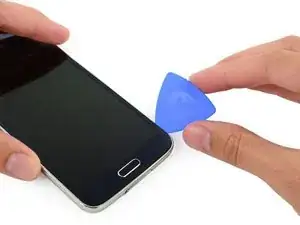
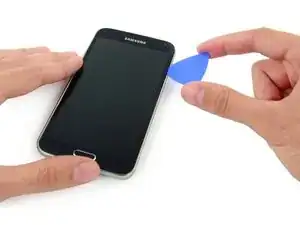
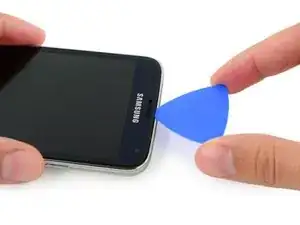
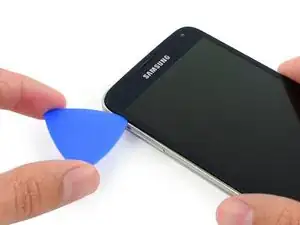
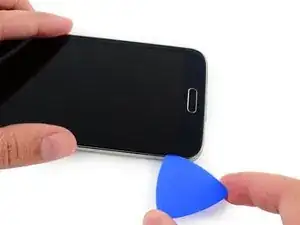
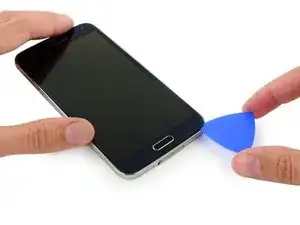
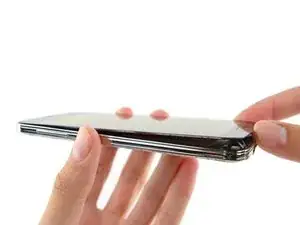
Fai scorrere il plettro lungo il bordo superiore del telefono, stando attento a non inserire il plettro troppo in profondità.
-
-
-
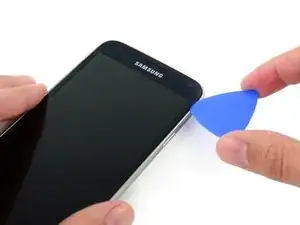
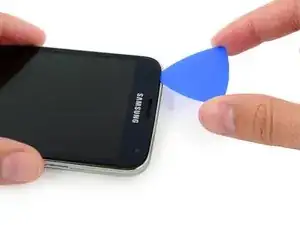
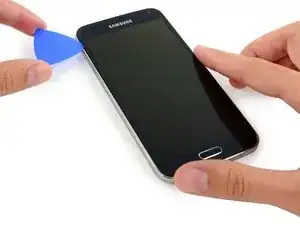
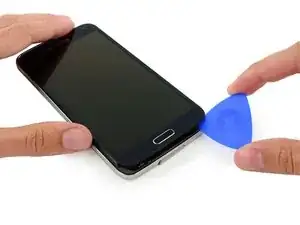
Fai scorrere il plettro lungo la metà sinistra del telefono e fermati all'angolo inferiore sinistro.
-
-
-
Fai scorrere il plettro attorno all'angolo inferiore sinistro del telefono, assicurandoti che rimanga saldamente in posizione in questo punto.
-
-
-
Fai scorrere solo la punta del plettro lungo il bordo inferiore dello schermo per finire di separare l'adesivo rimasto.
-
-
-
Inserisci uno strumento di apertura sotto i simboli del tasto menu del display e premi i cavi del tasto verso il basso per staccarli del pannello frontale.
-
-
-
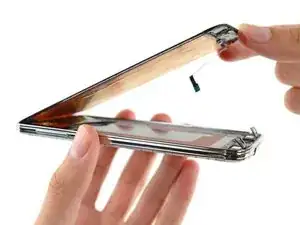
Usa l'estremità a punta di uno spudger per sollevare dal suo zoccolo sulla scheda madre il connettore del cavo del gruppo del pannello anteriore.
-
Ora si può rimuovere dal telefono in tutta sicurezza il gruppo del pannello anteriore.
-


Per rimontare il tuo dispositivo, segui queste istruzioni in ordine inverso.

36 commenti
Be aware that the LCD is glued not just at the edges, but also in the middle (the orange areas in the photos for Step 20. These can adhere strongly enough to cause the LCD to crack. Don't ask how I know that.
I cracked it this way, so yeah. Any way to get the glue fluetly enough to get the LCD off the rest of the Phone? (the LCD and digitalizer is cracked anyway)
Onfortunately I read this to late. Many thanks anyway for confirming I'm not the only one ;)
Been there man. Had my Samsung Galaxy S5 Active pull one of those numbers. not a fun time.
Just found out about that, during my first time. Thanks for the tip.
Am I missing something?
How does it get re glued when you reverse the process? Doesn't it need to be re glued so water doesn't get into the hardware past the screen?
That would be my concern, the phone not being waterproof after the repairs are completed.
Thanks for your insight. Guide is done very well.
Bogdan.
I agree Bogdan Georgescu, the step of adding a new screen is not covered in these instructions but would be very helpful to know if anyone has experience? The instructions are wonderful to help you remove a screen, but the process of replacing is lacking for me. Has anyone had success replacing a screen that primarily has had surface damage? (I pay a monthly insurance fee on my galaxy s5 phone. But in addition, if I wanted to replace it, it will cost another $200 to get a replacement (refurbished - someone else's junk?) phone. I'd rather chance starting with replacing my screen myself, with the help from this online community if possible? Thank you!!! Karen
Karen -
They don't use glue, they use double sided adhesive that is not easy to find. 3M double sided tape works well but I have had screens come up when using the 3M adhesive. So yes you need to apply adhesive before install of new screen to keep it water resistant. The phone is and never was waterproof just resistant and I recommend using the best double sided tape you can get as you will fudge up the already adhered tape.
As mentioned above, the screens are held down by double sided tape, usually made by the 3M company. But most other good quality tape can do the same. The proper tapes are cut perfectly to fit all the little adge bits of the casing-to-screen, and that's all that makes it waterproof.
A thing to remember is, most people loose the charger cover anyway, so worrying about a perfect screen seal from water doesn't matter then I guess as water will just flow in anyway.
The screen isnt really waterproof, its just water resistant, so it's okay for the odd splash, but drop it in a bucket, and it's probably ruined :-( unless the bucket is empty of course ;-) When I refit a screen, i put a 5mm strip of my own tape down the centre (it MUST be the thinnest tape possible!!) and that helps keep the screens in place, but that idea varies from one phone model to another.
I replaced my midframe, but I cut the cables to the back and menu buttons. I also ripped some of the foil on the back of my screen, but that didn't seem to hurt anything.